• Banner 1

News

DJI 0205.DNG.preview

After 28 years of increased use, the Redwoods Driving Range is in dire need of some major TLC! With the golf course closed due to the Trans Mountain Expansion Project, we are taking the opportunity to do a complete renovation of the entire turf surface of our popular range to bring it back to life!

Some History

The driving range was originally built as a 20-stall covered range tailored to golfers wanting to warm up before they hit the course. There were no heaters, there weren't any teaching stalls or an upper deckit was almost strictly used by golfers for a pre-game warm-up.

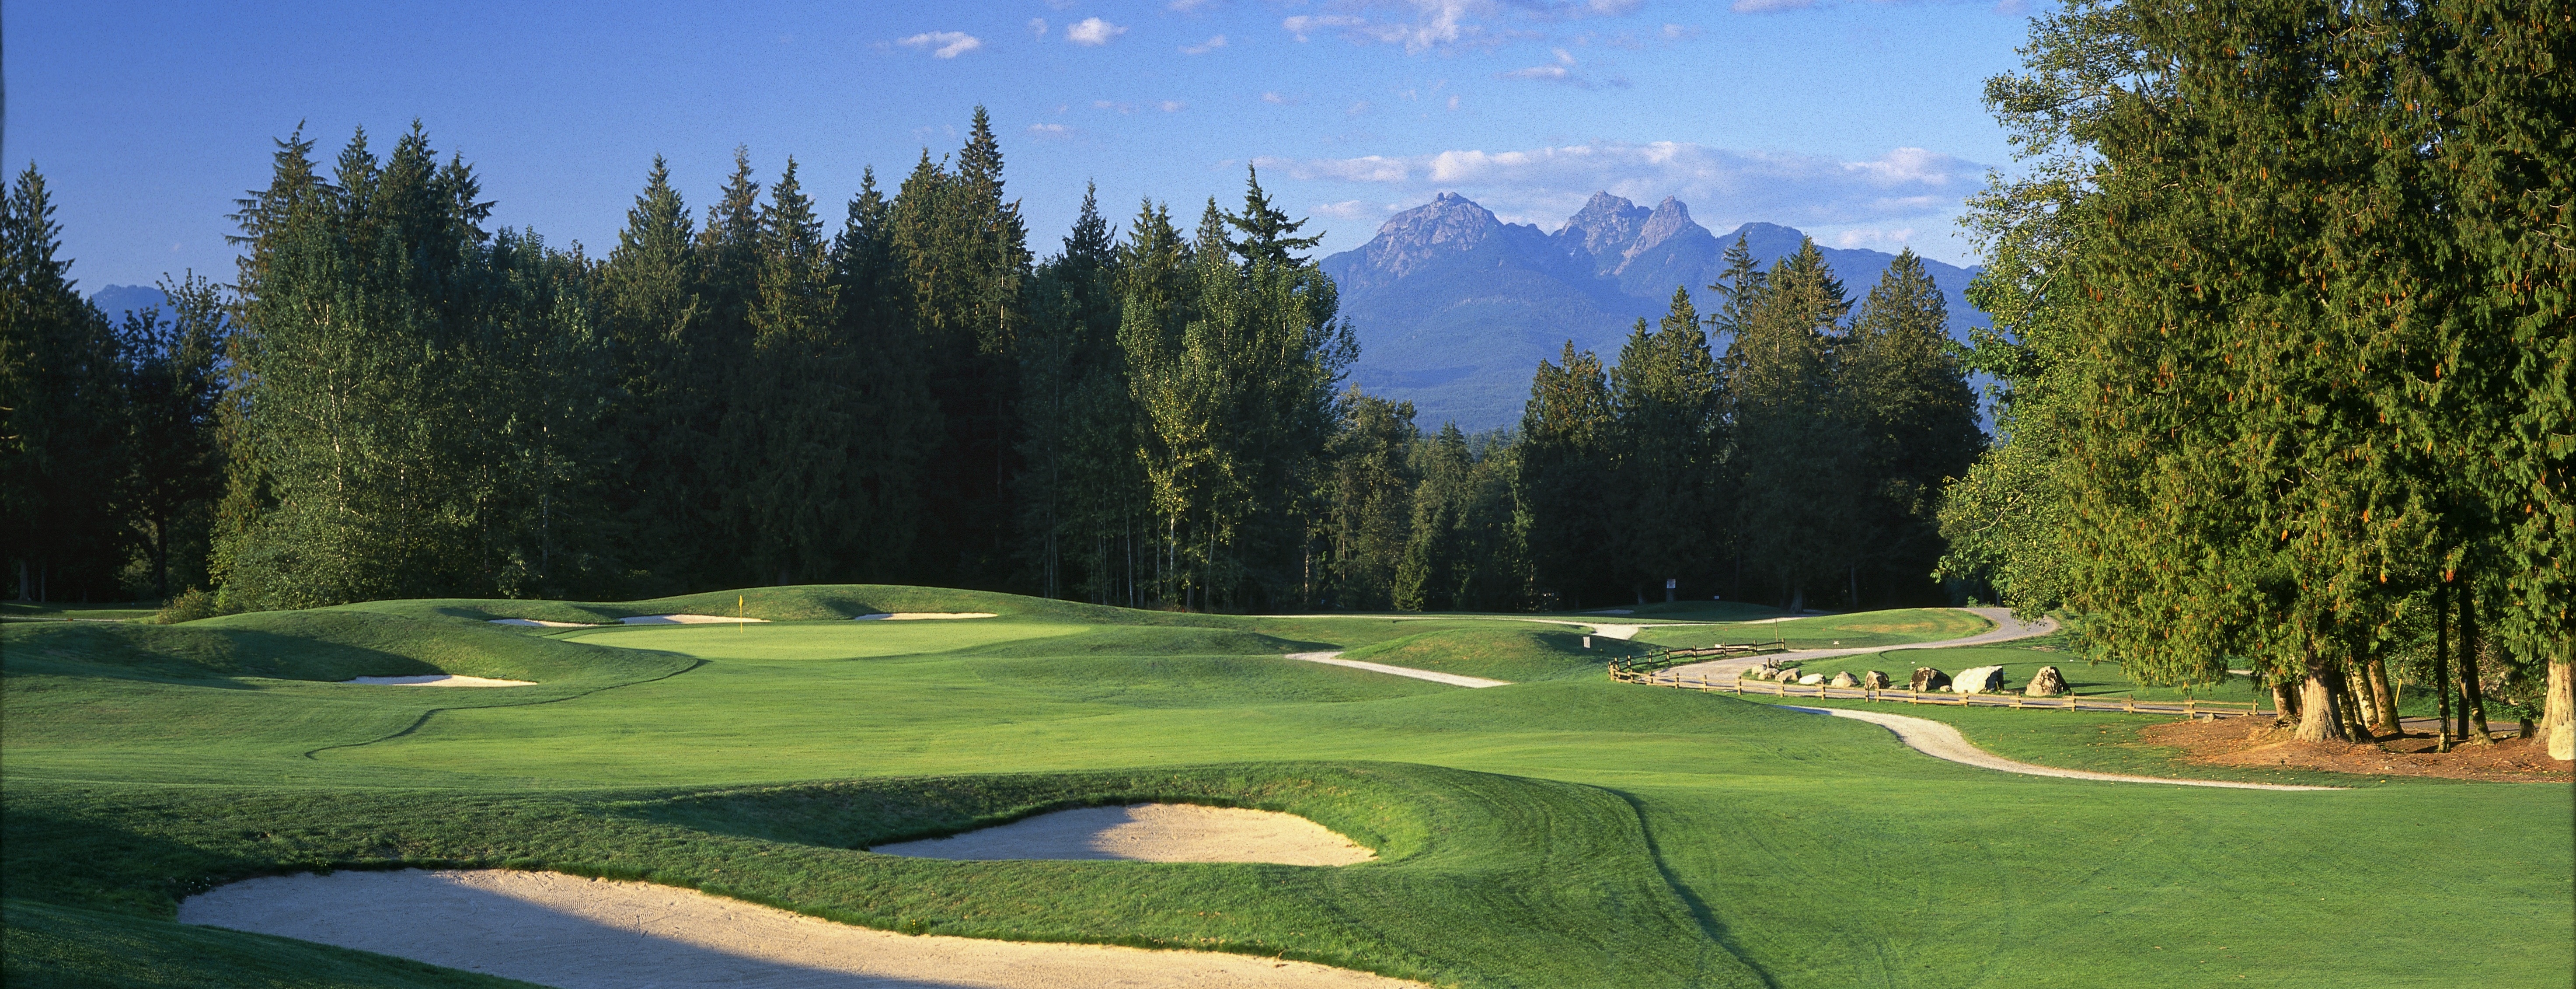
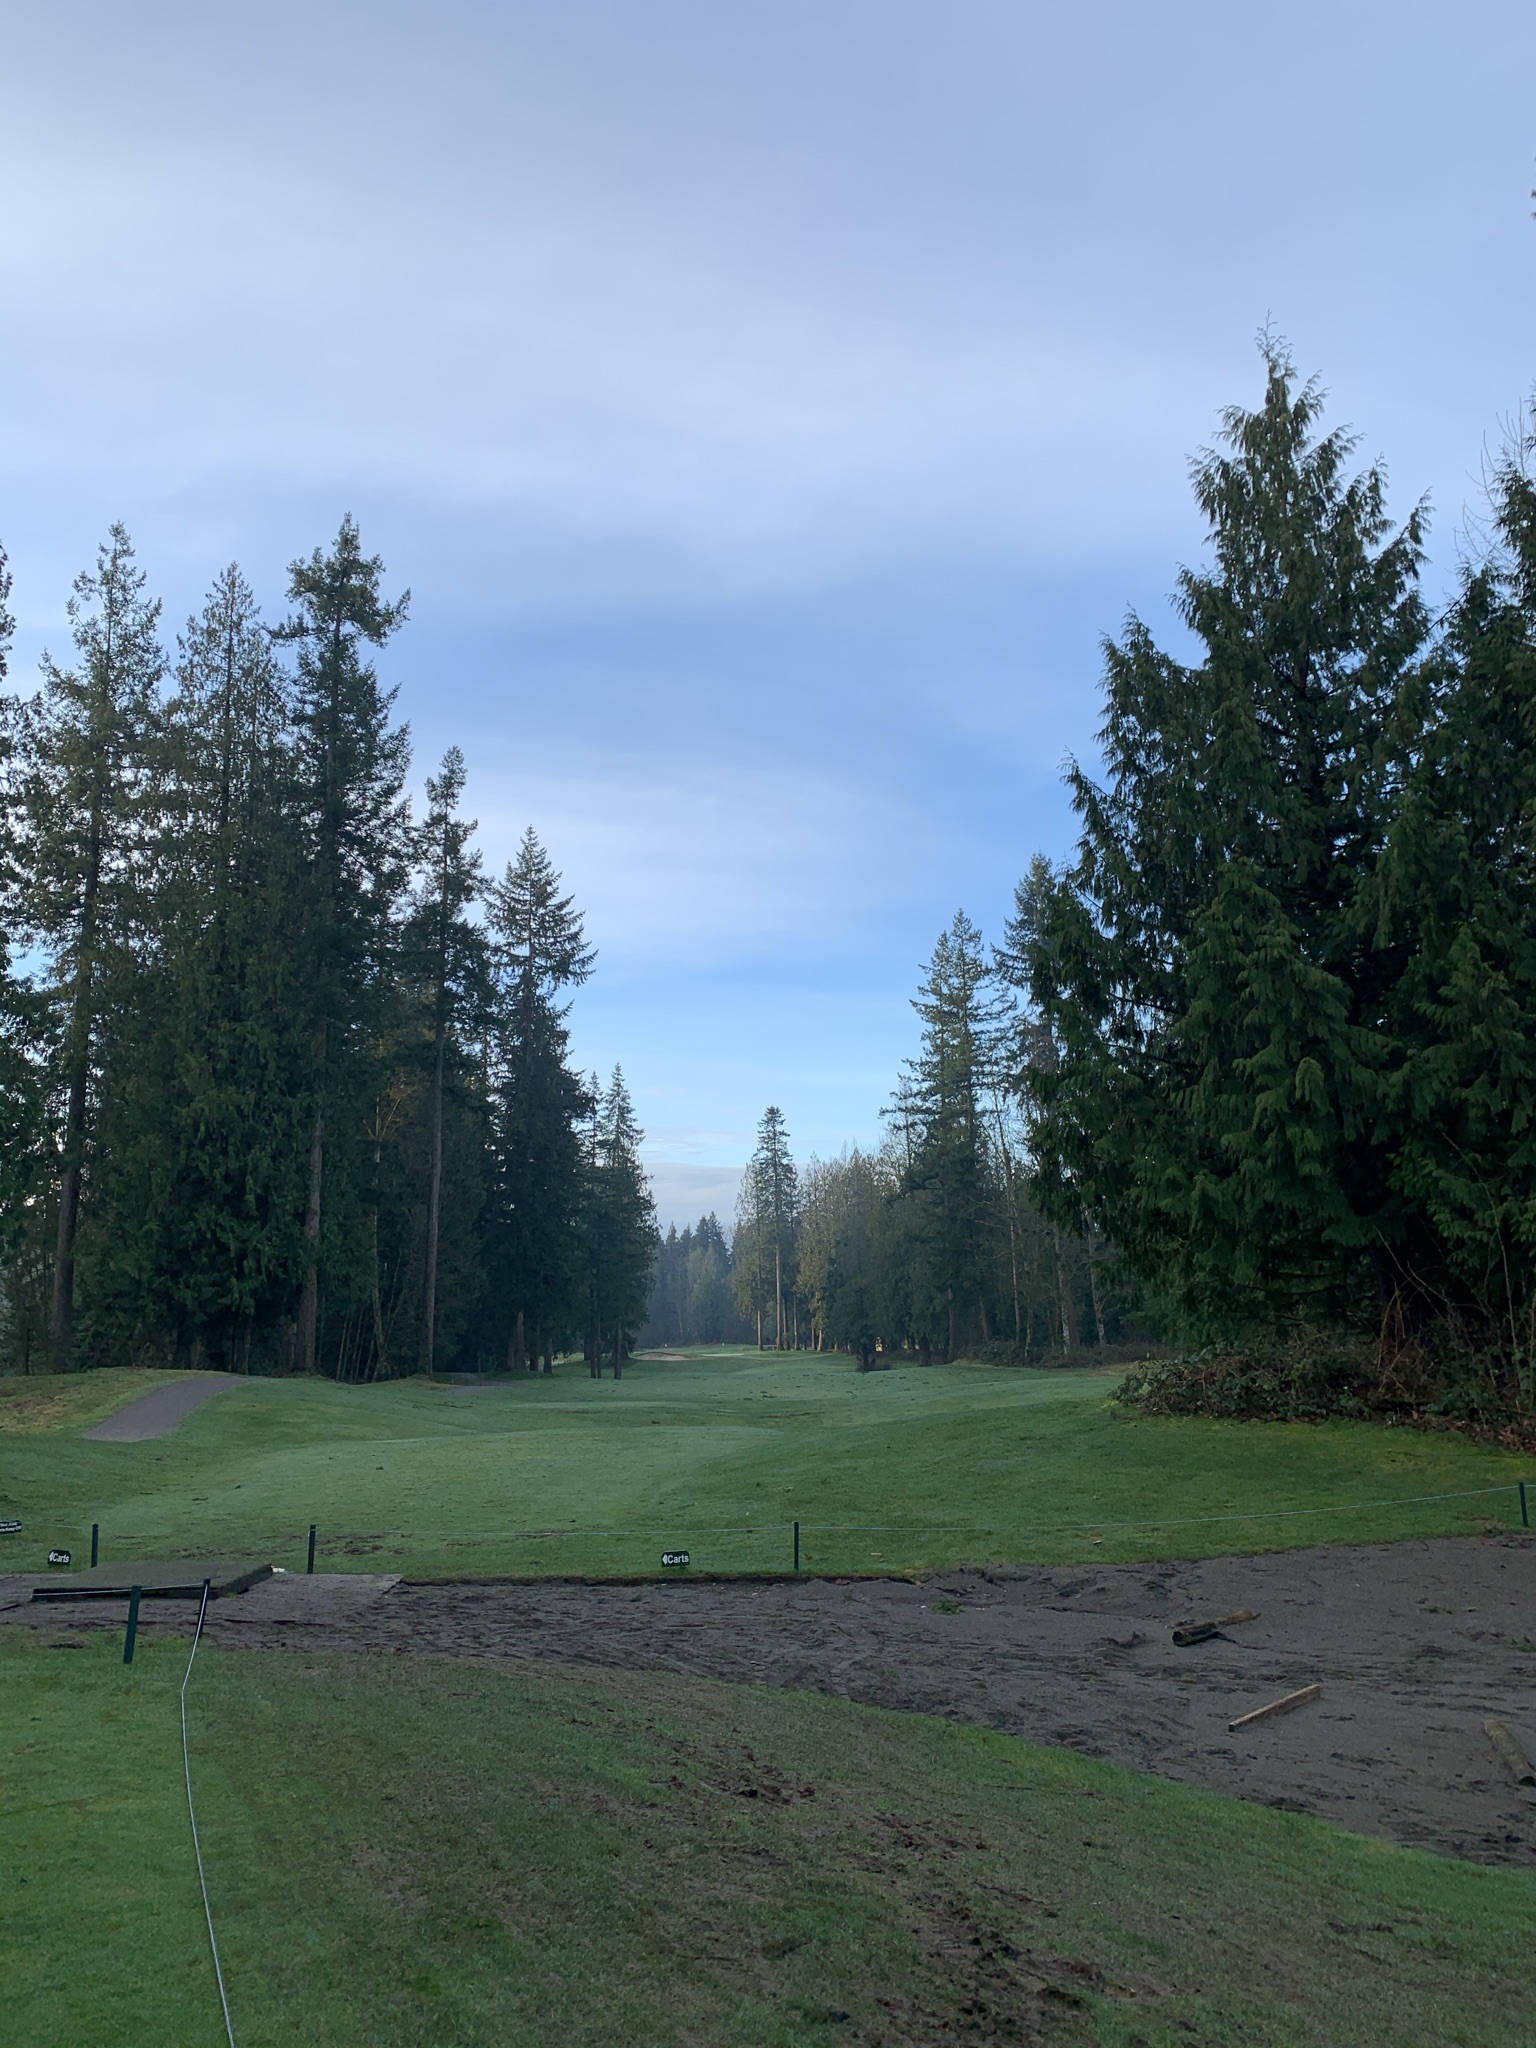
Since it was intended for warm-up, we designed the range to mimic a fairway: there were plenty of bunkers for hazards, cut greens with pins for targets, as well as rolling undulations in the turf. It was perfect for nailing down that pre-round warm-up!

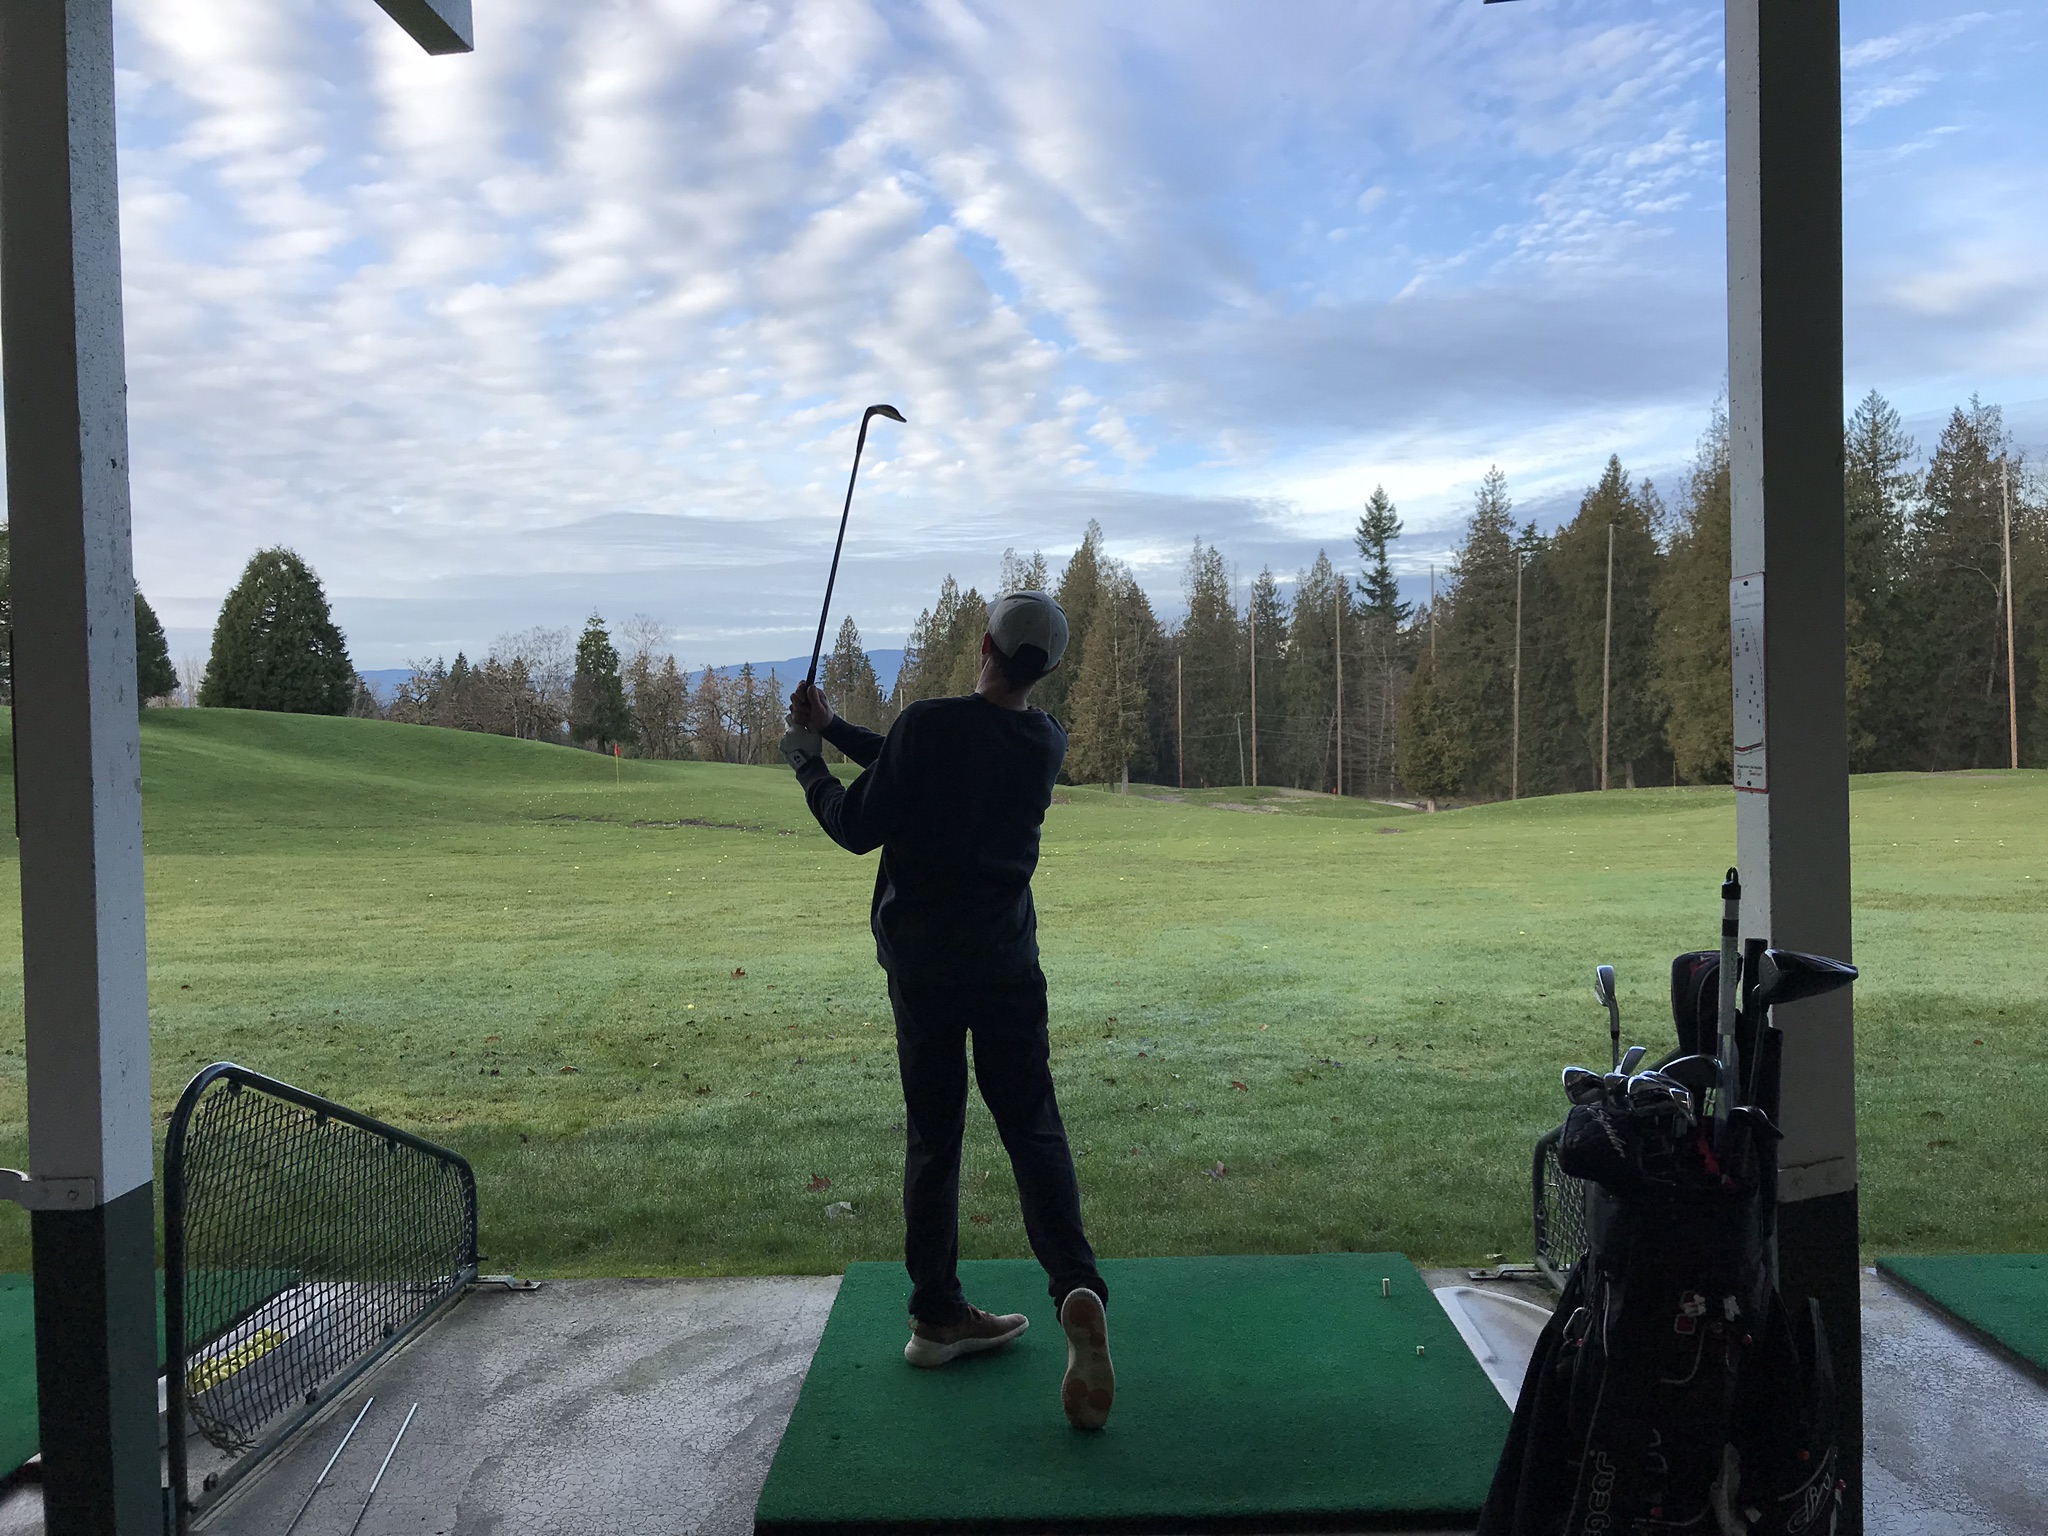
Since 1994 the driving range use has shifted significantly. We are no longer seeing range use primarily for warm-up. Instead, we see regulars practicing daily, juniors spending entire afternoons perfecting their swing, and back-to-back lessons with our certified PGA of Canada teaching professionals. We see non-golfers coming to try out a new sport, parents bringing their kids out for a local adventure (and energy burner!) and couples using the range as a great date night activity. With this substantial change in users, the range itself is ready for a makeover as well.

Driving Range 1993
Driving Range
Driving Range 4

The Reno

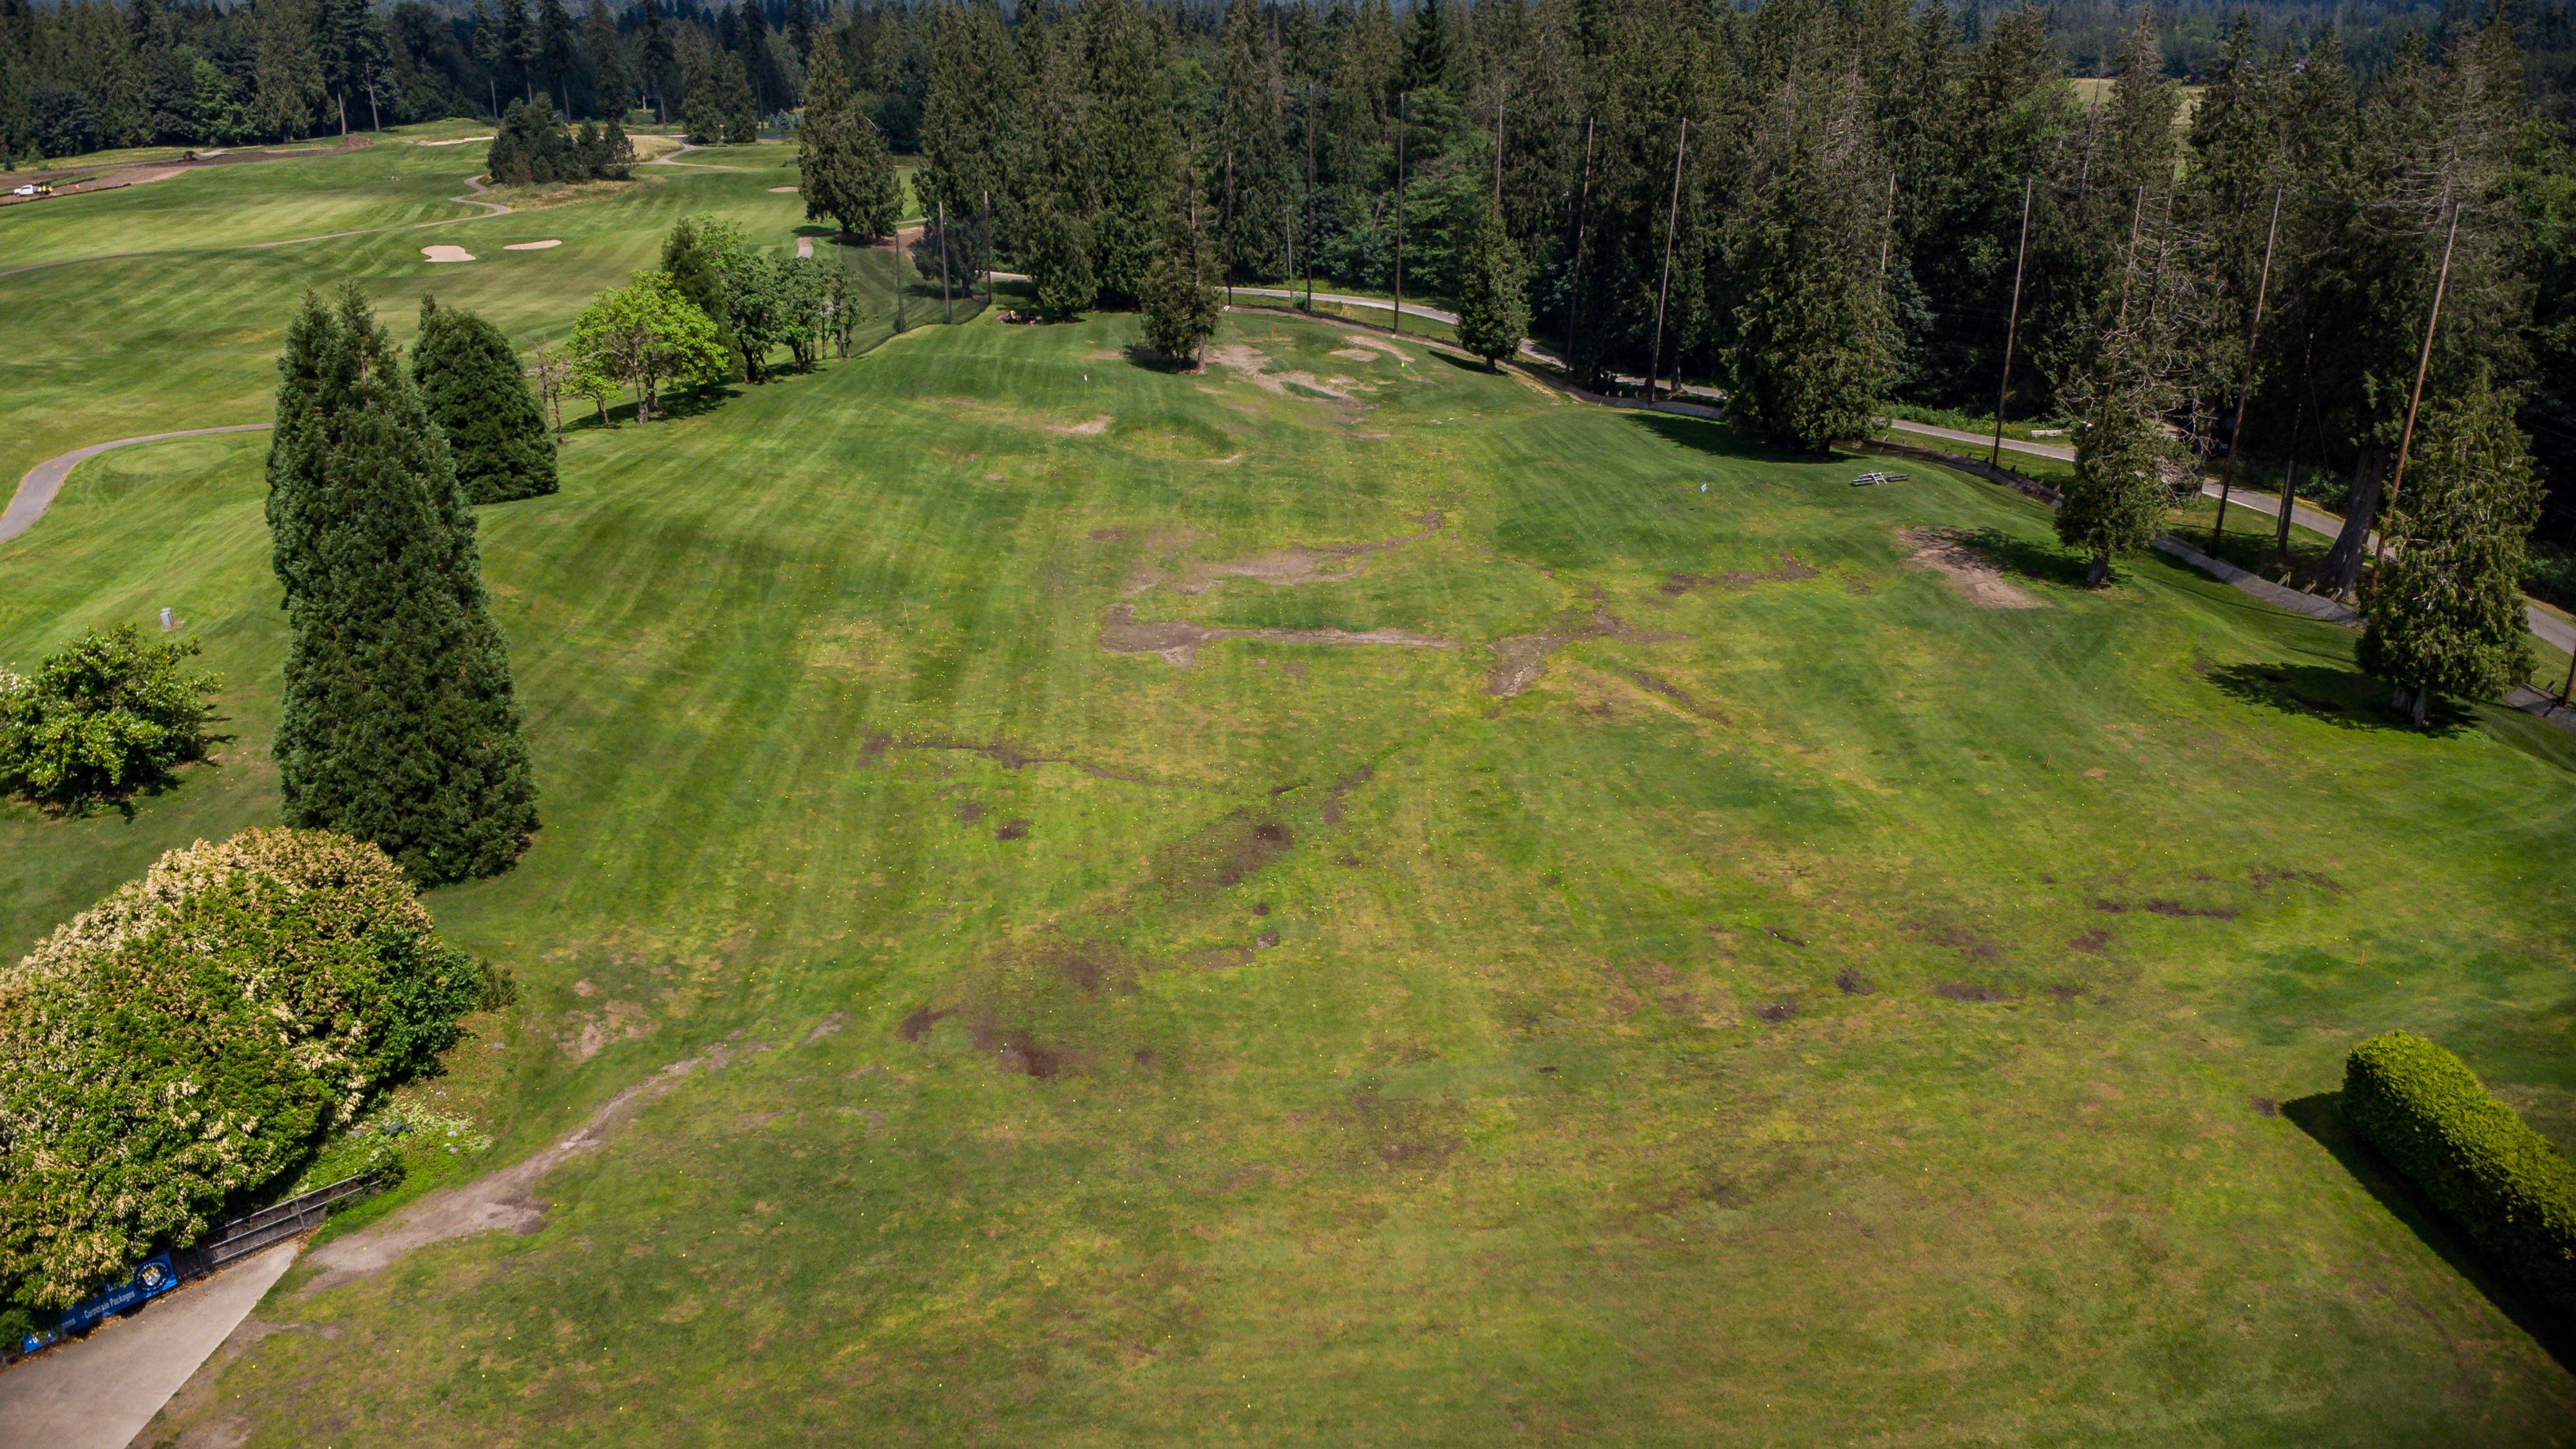
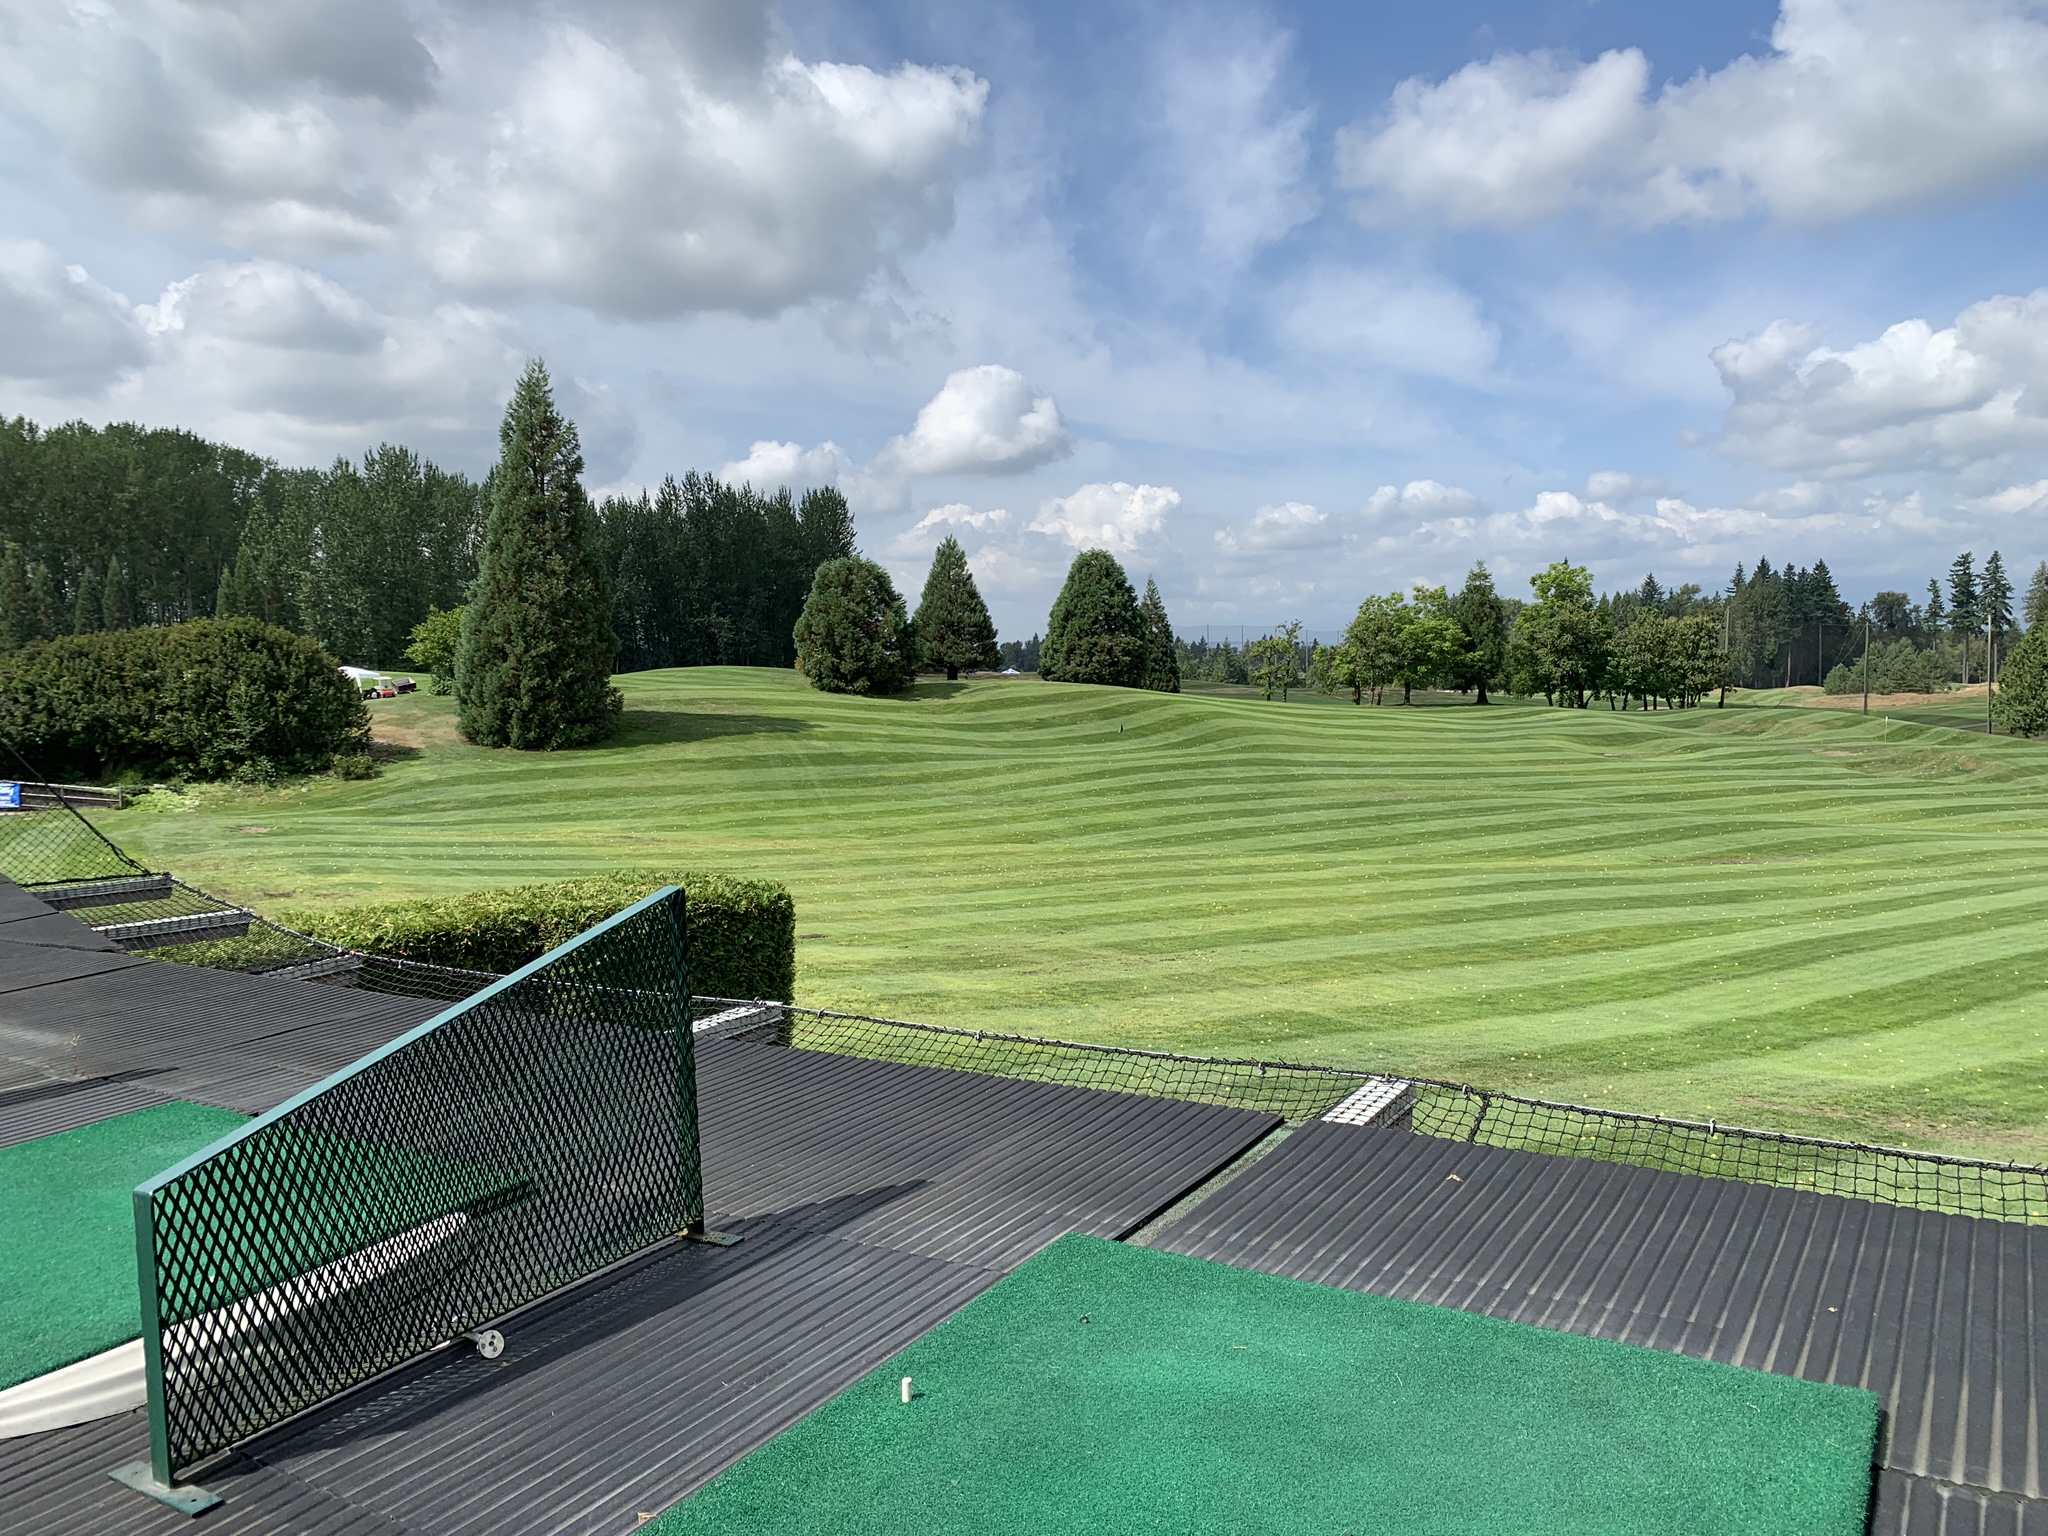
As you have may have noticed, the turf on the range was in pretty poor condition. It did okay in the dry summer months but as soon as it rained there are several bare areas, muddy spots, and even standing water. It's not great to look at but it also made it very difficult for our team to successfully pick range balls overnight in the off-season. You would not believe how many range balls get plugged underground! The turf condition has also resulted in lengthy winter closures over the past several seasons and we hope to limit this with the renovation. 

Over the years we have built a section of 6 stalls primarily for golf instruction, as well as an upper deck with stalls to help accommodate the increased demand for public golf practice. We have also added heaters for cold wintery days of practice and lights for those short days of sunlight. Next on the list is renovating the grass portion of the range to elevate the area to the high standards to keep for the rest of the Redwoods property. 

Winter
Upper Deck
Driving Range

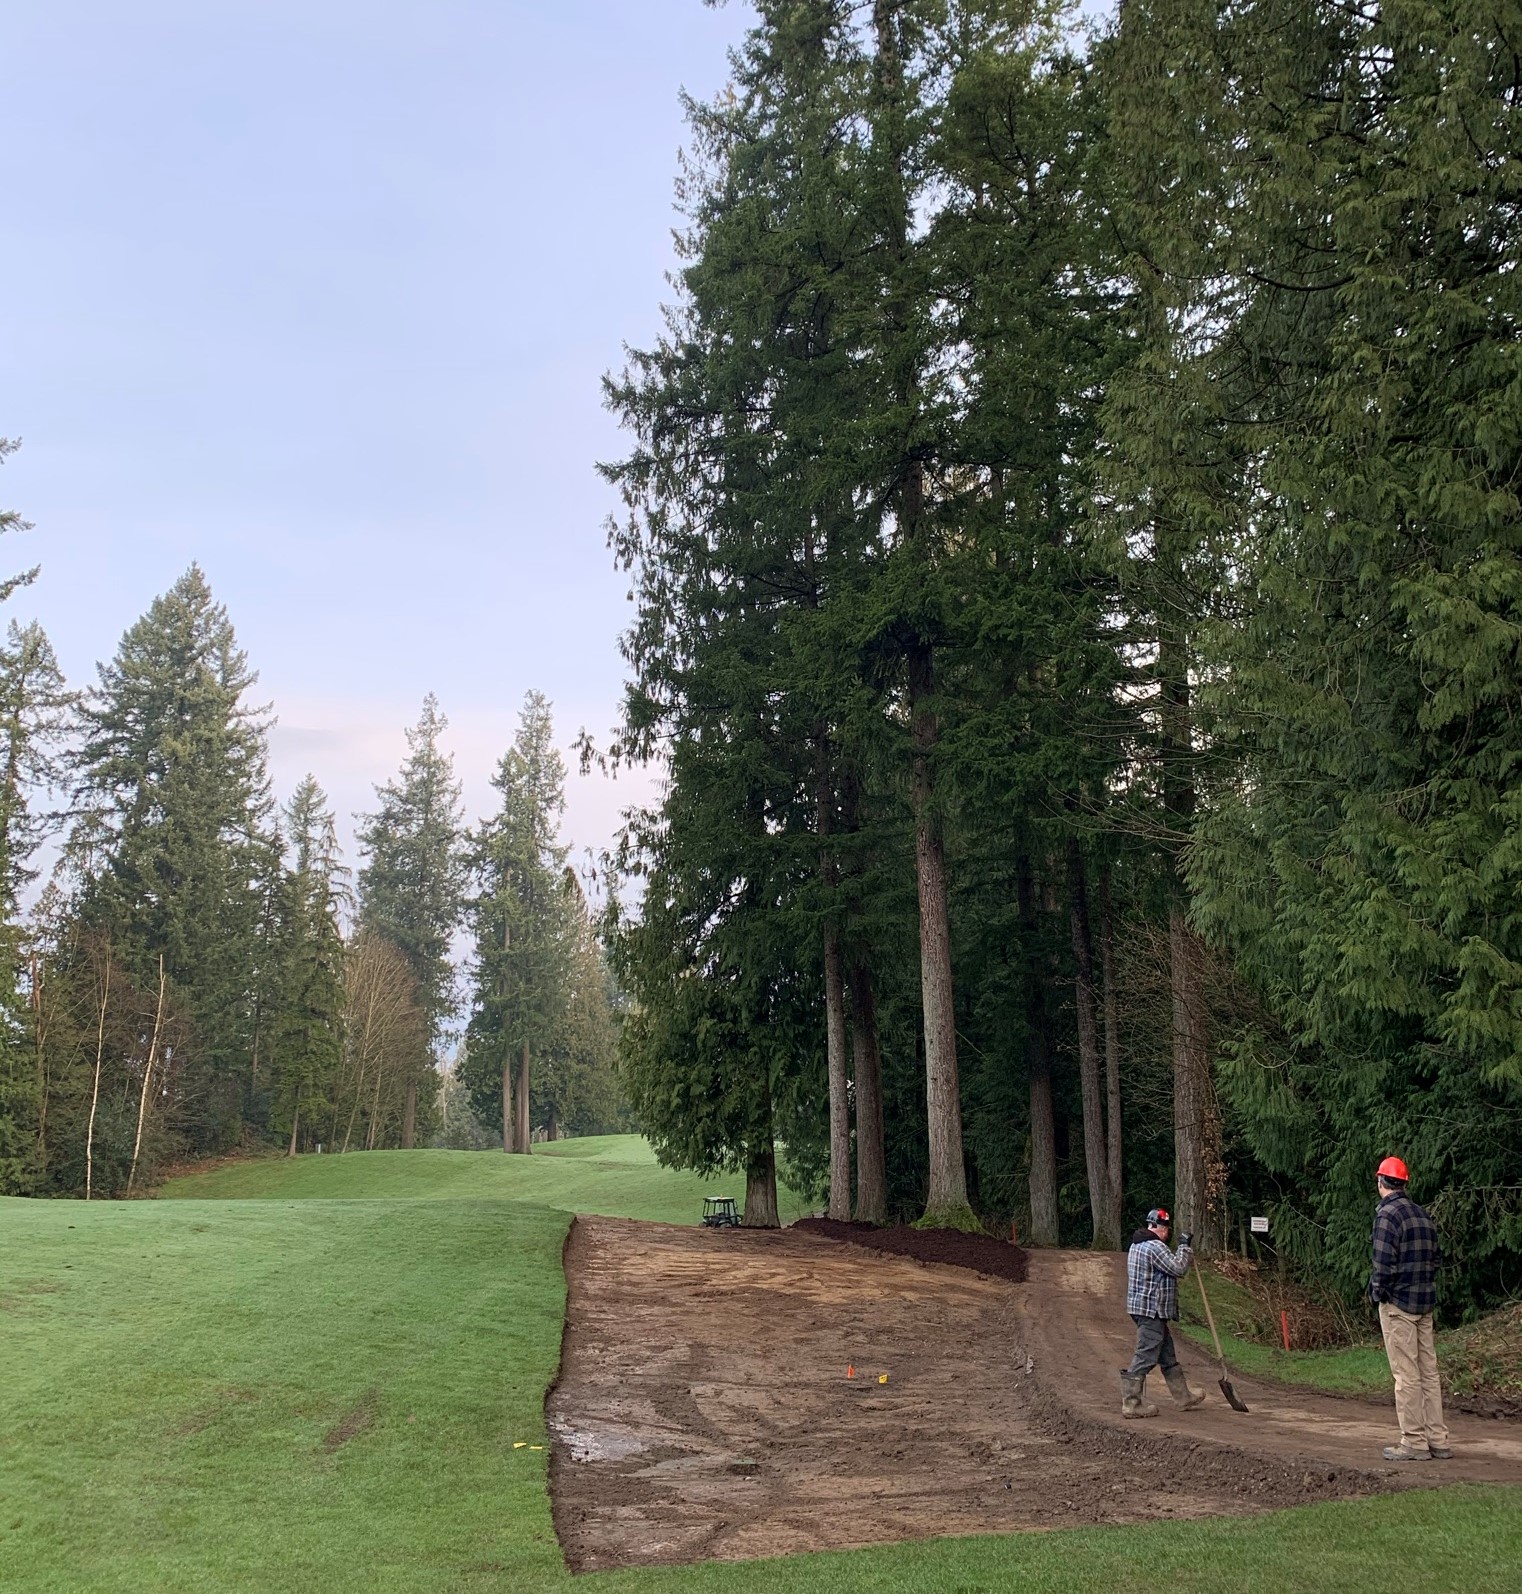
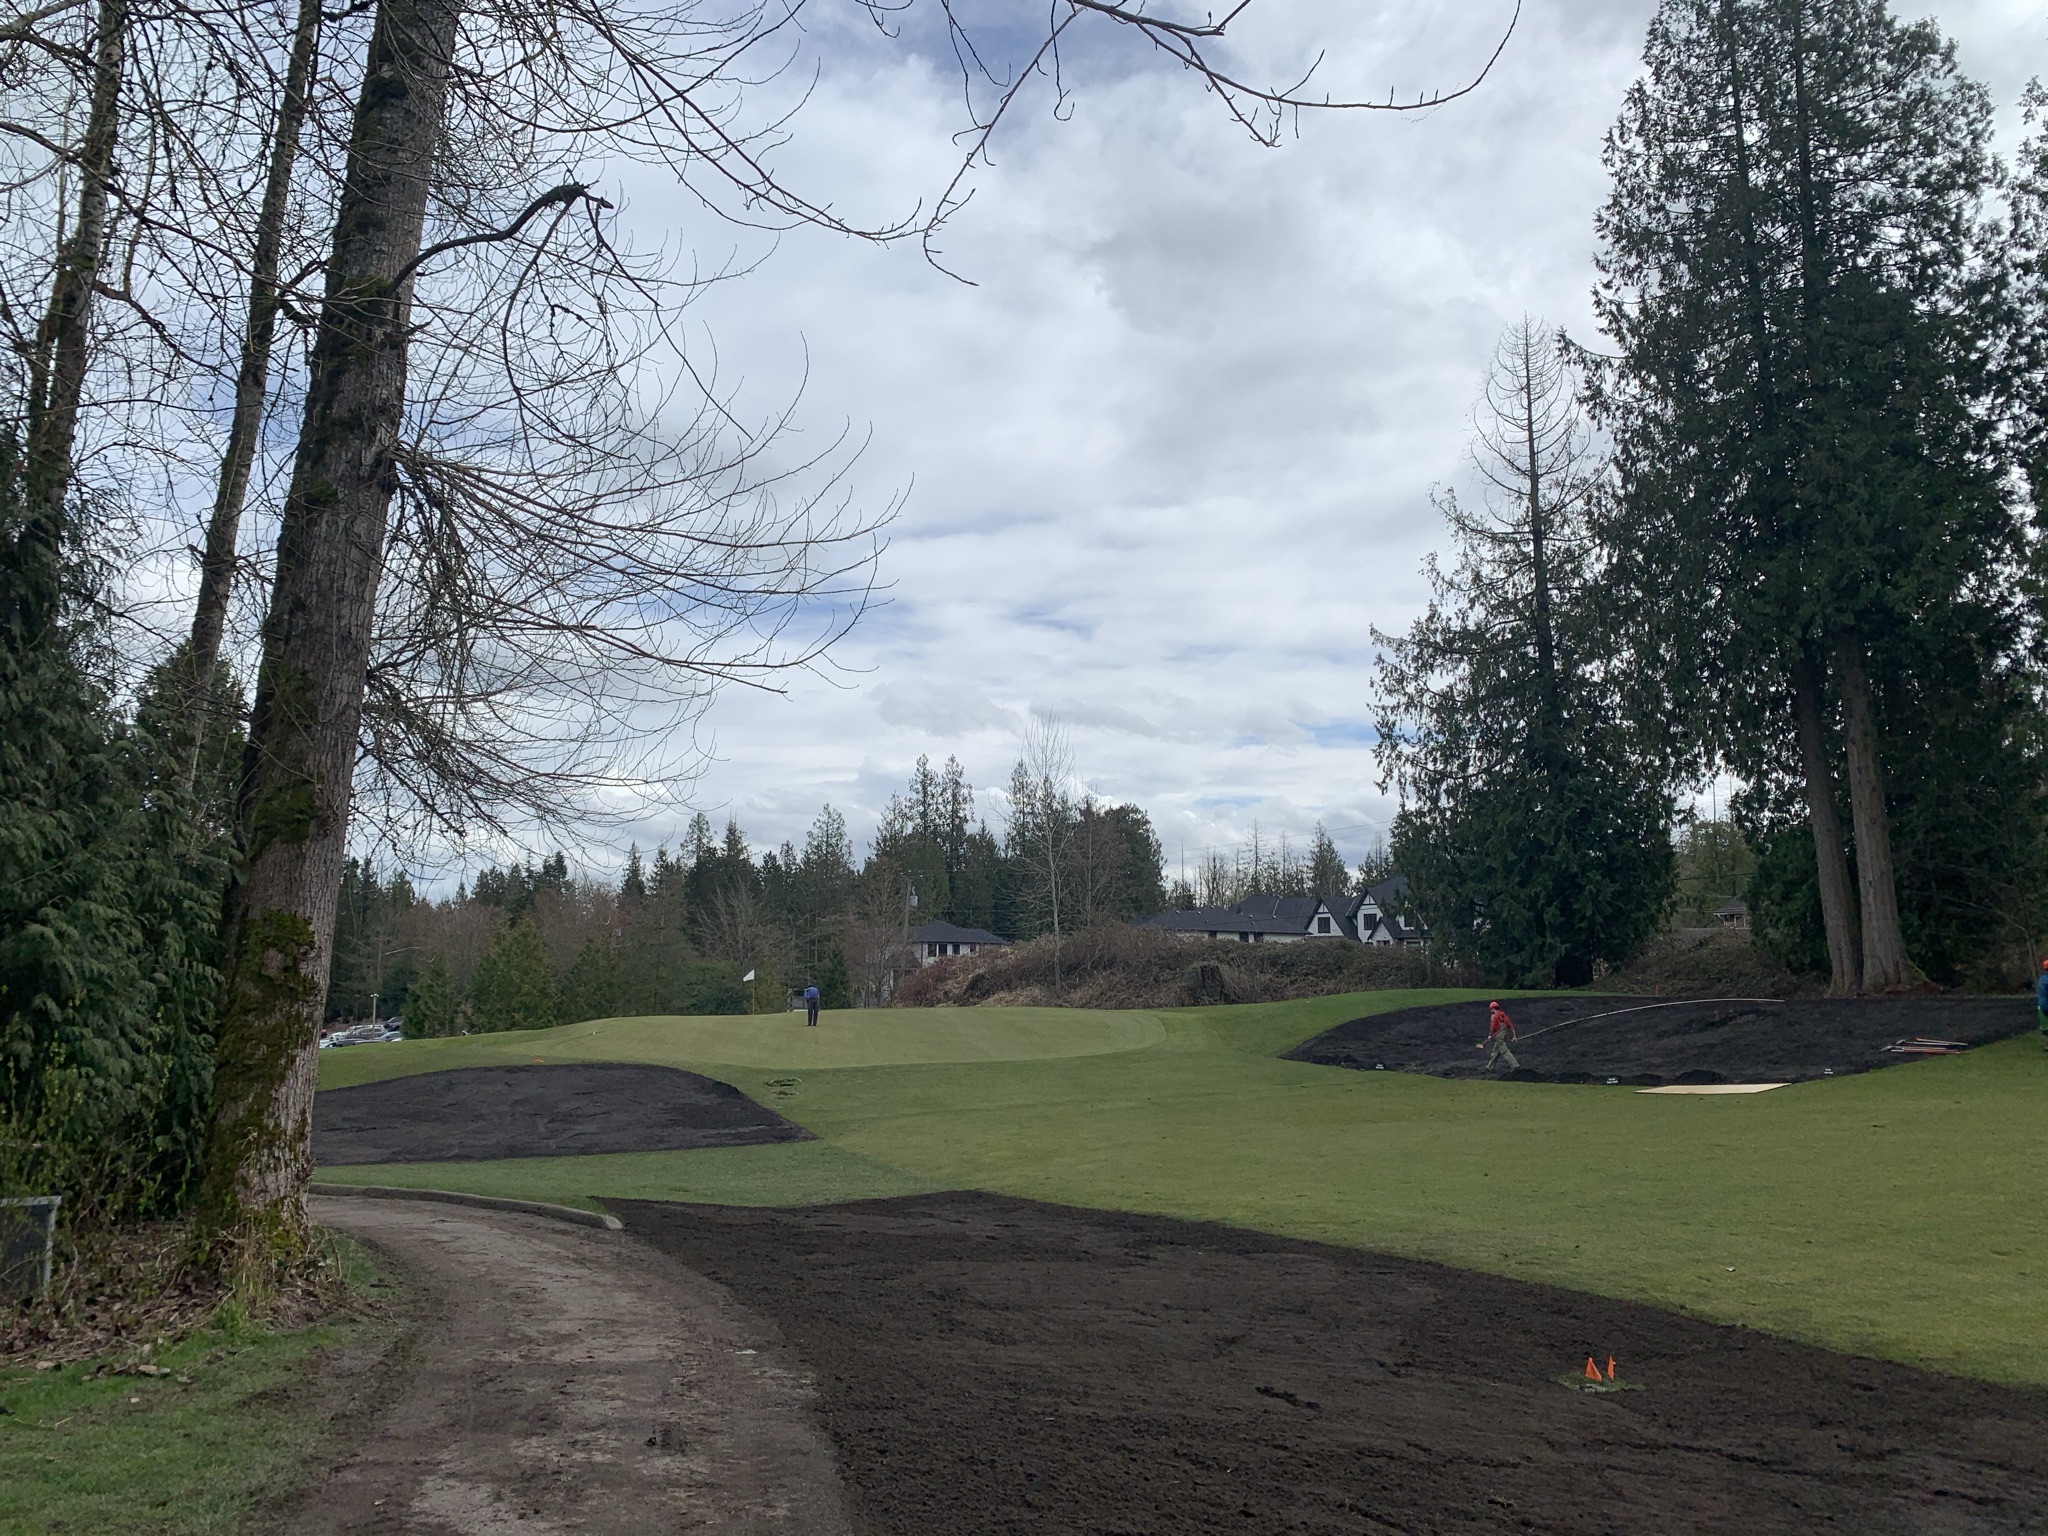
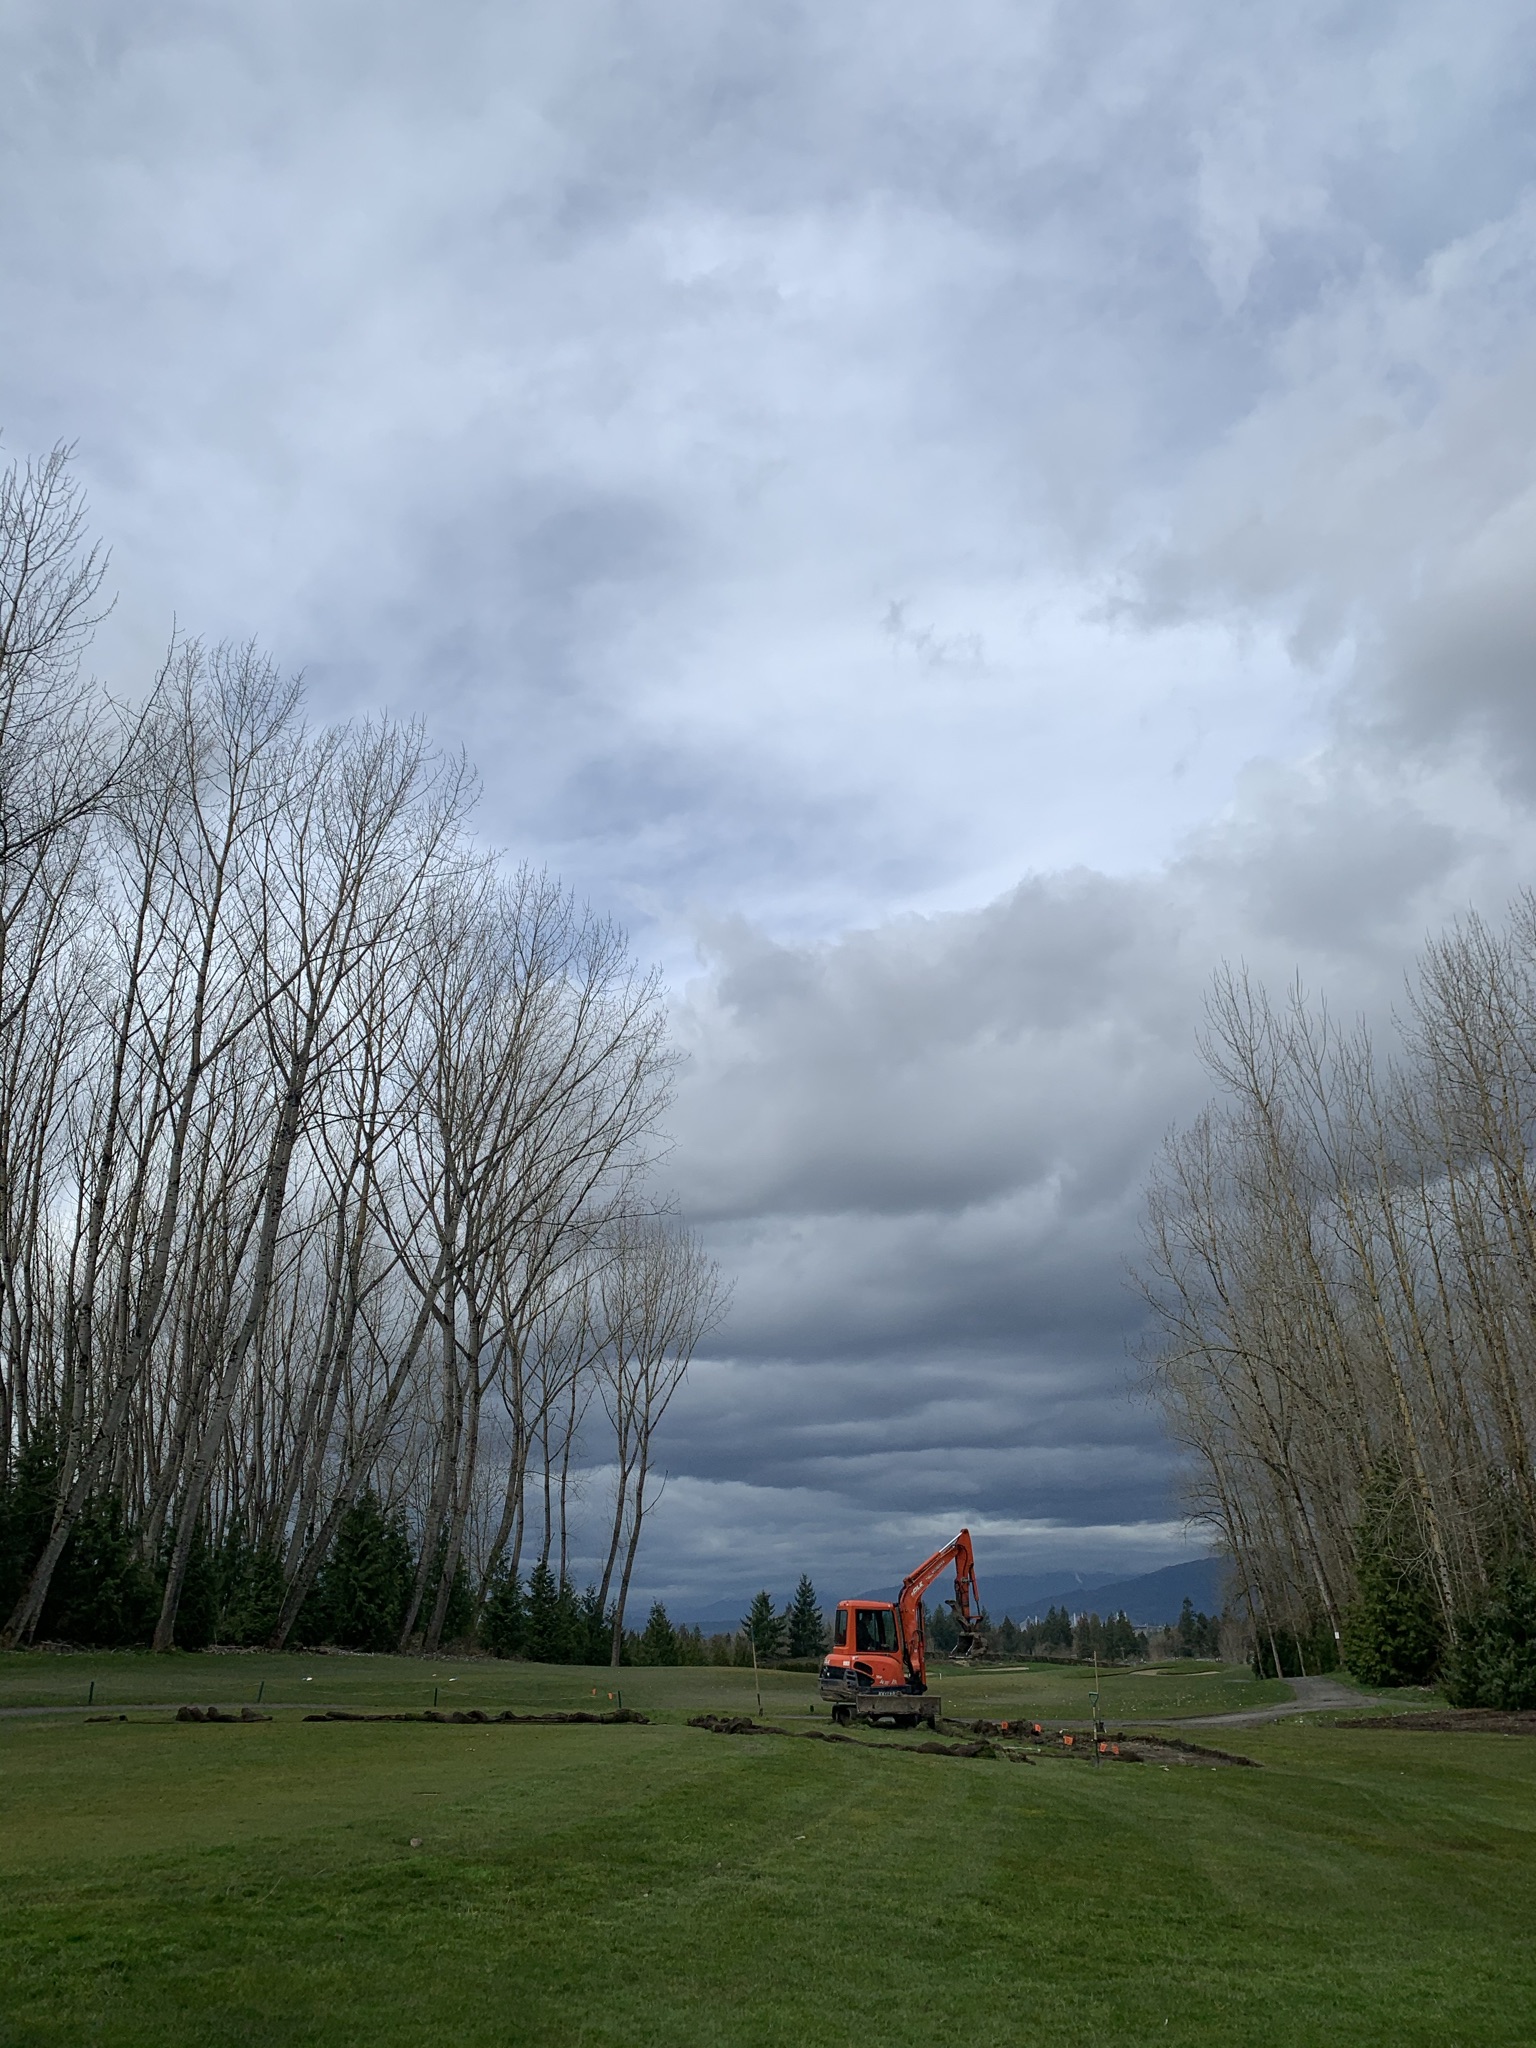
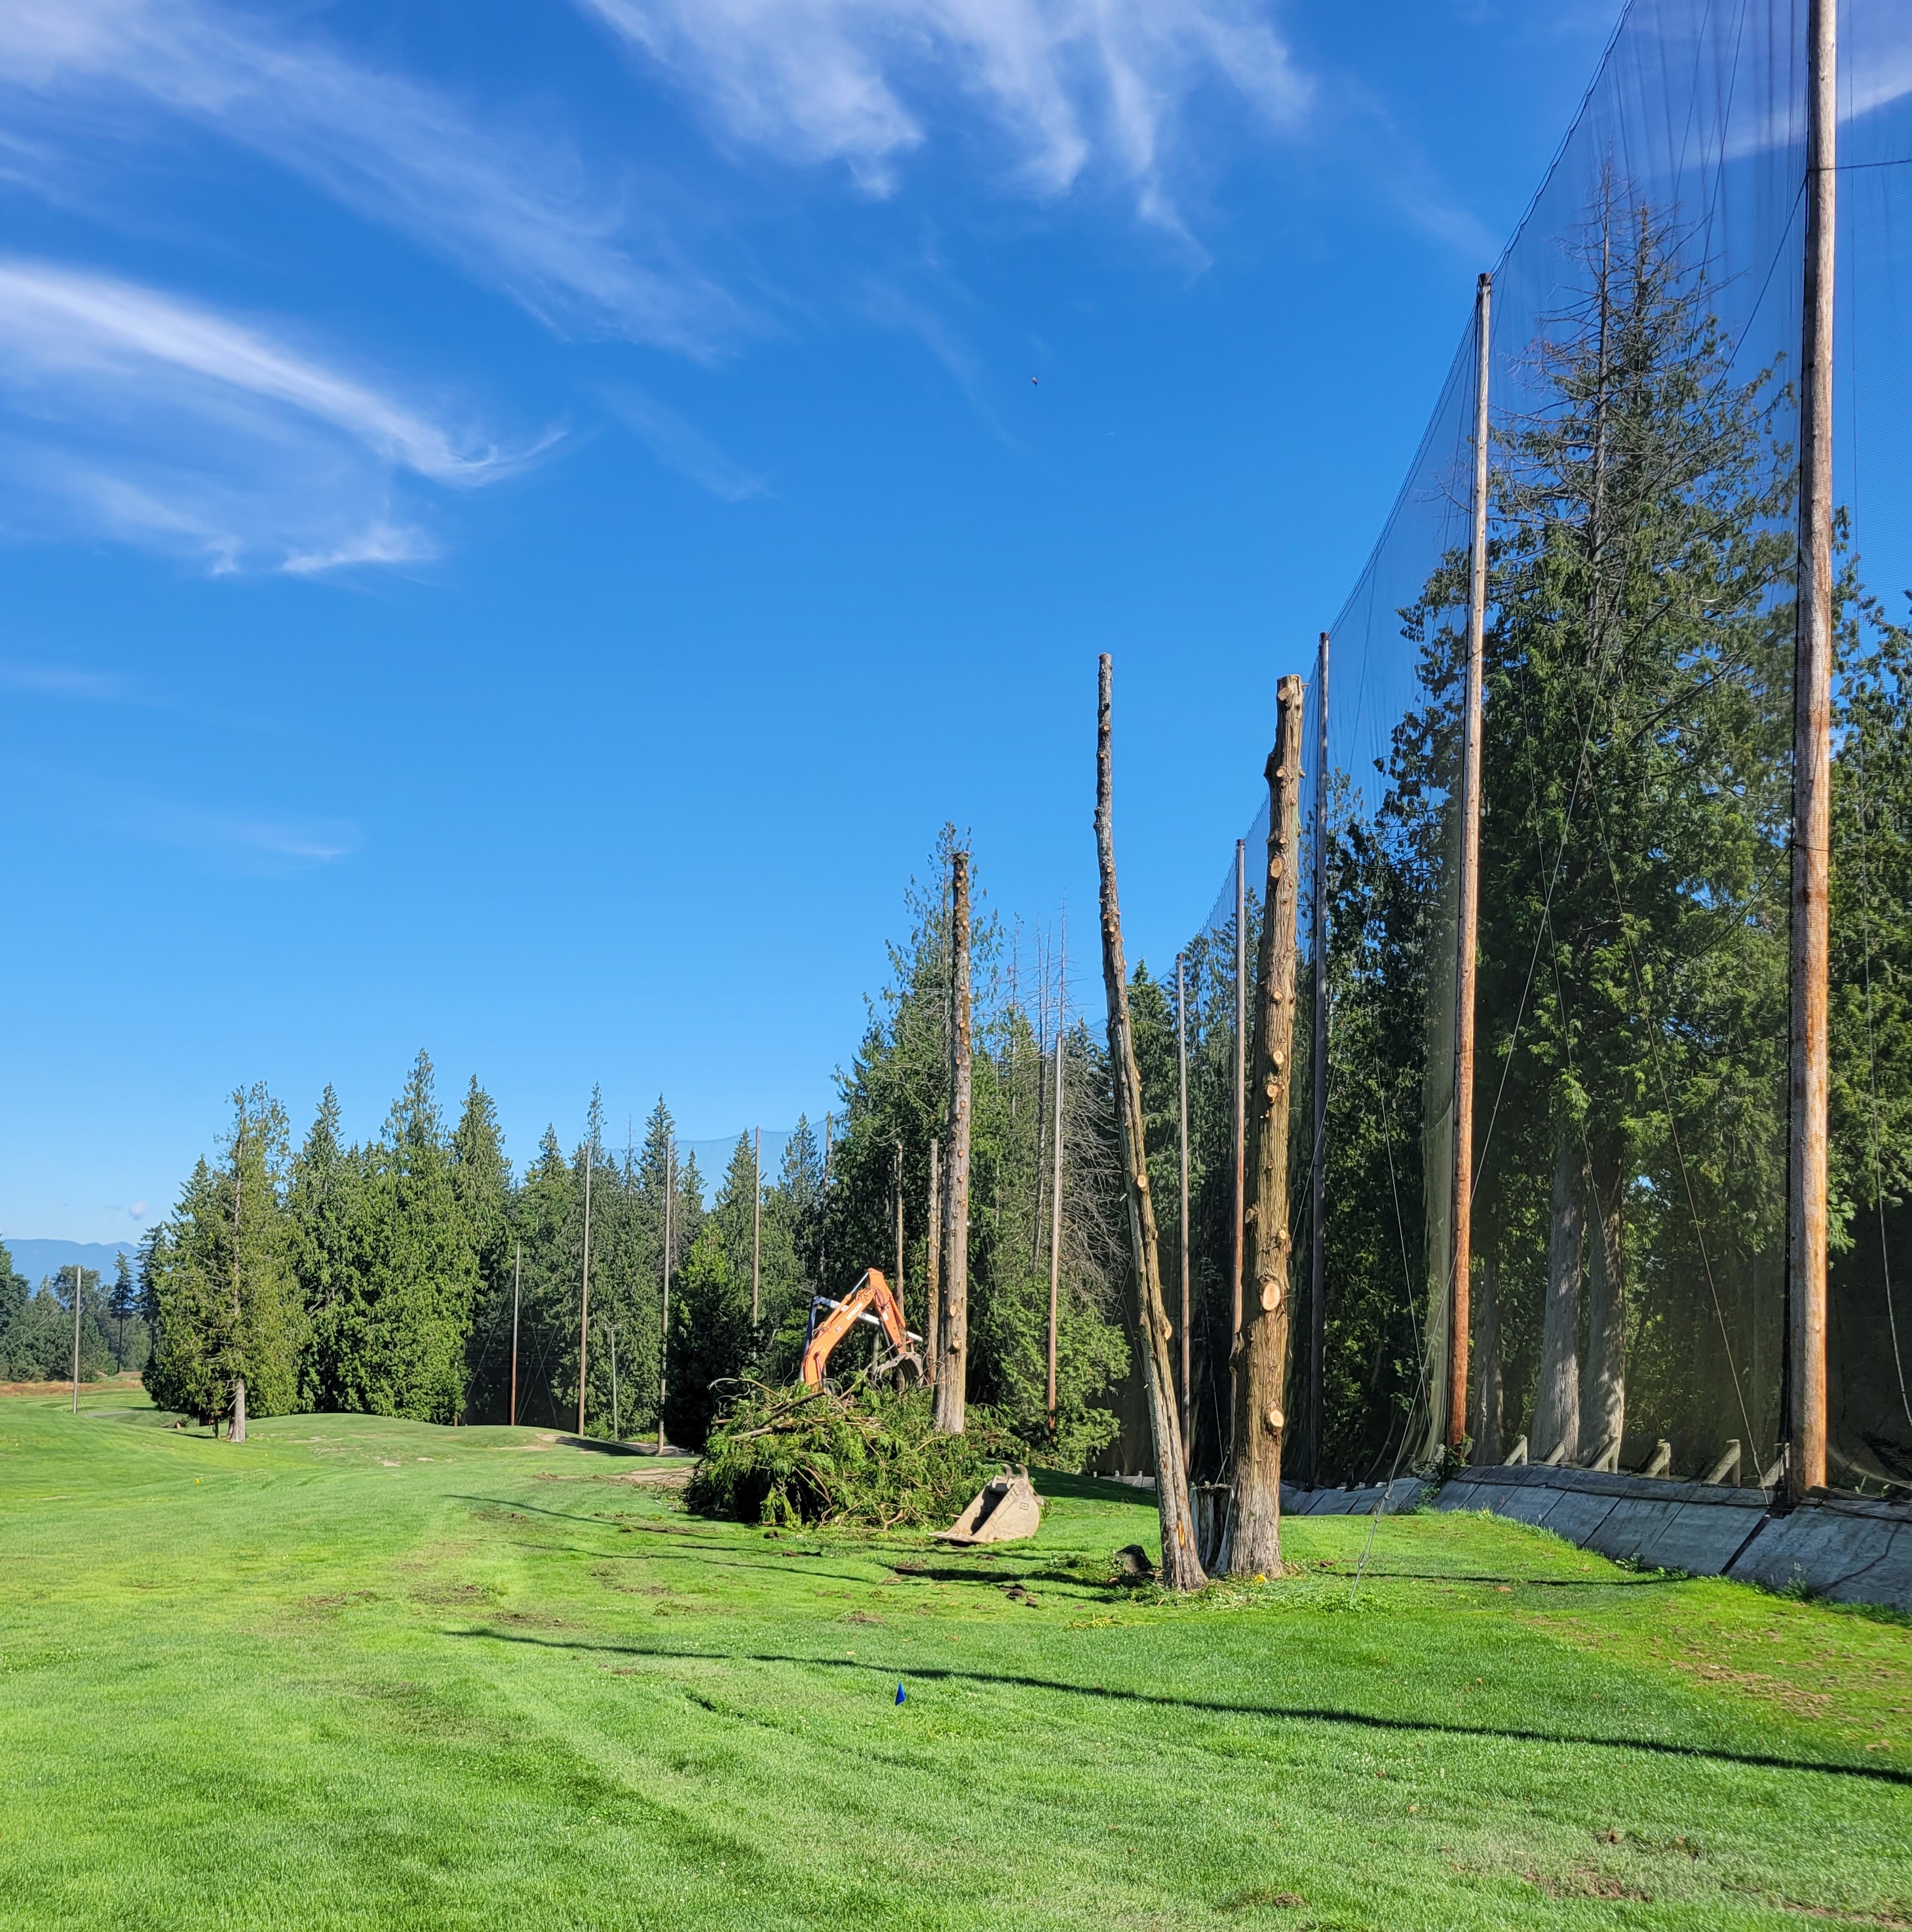
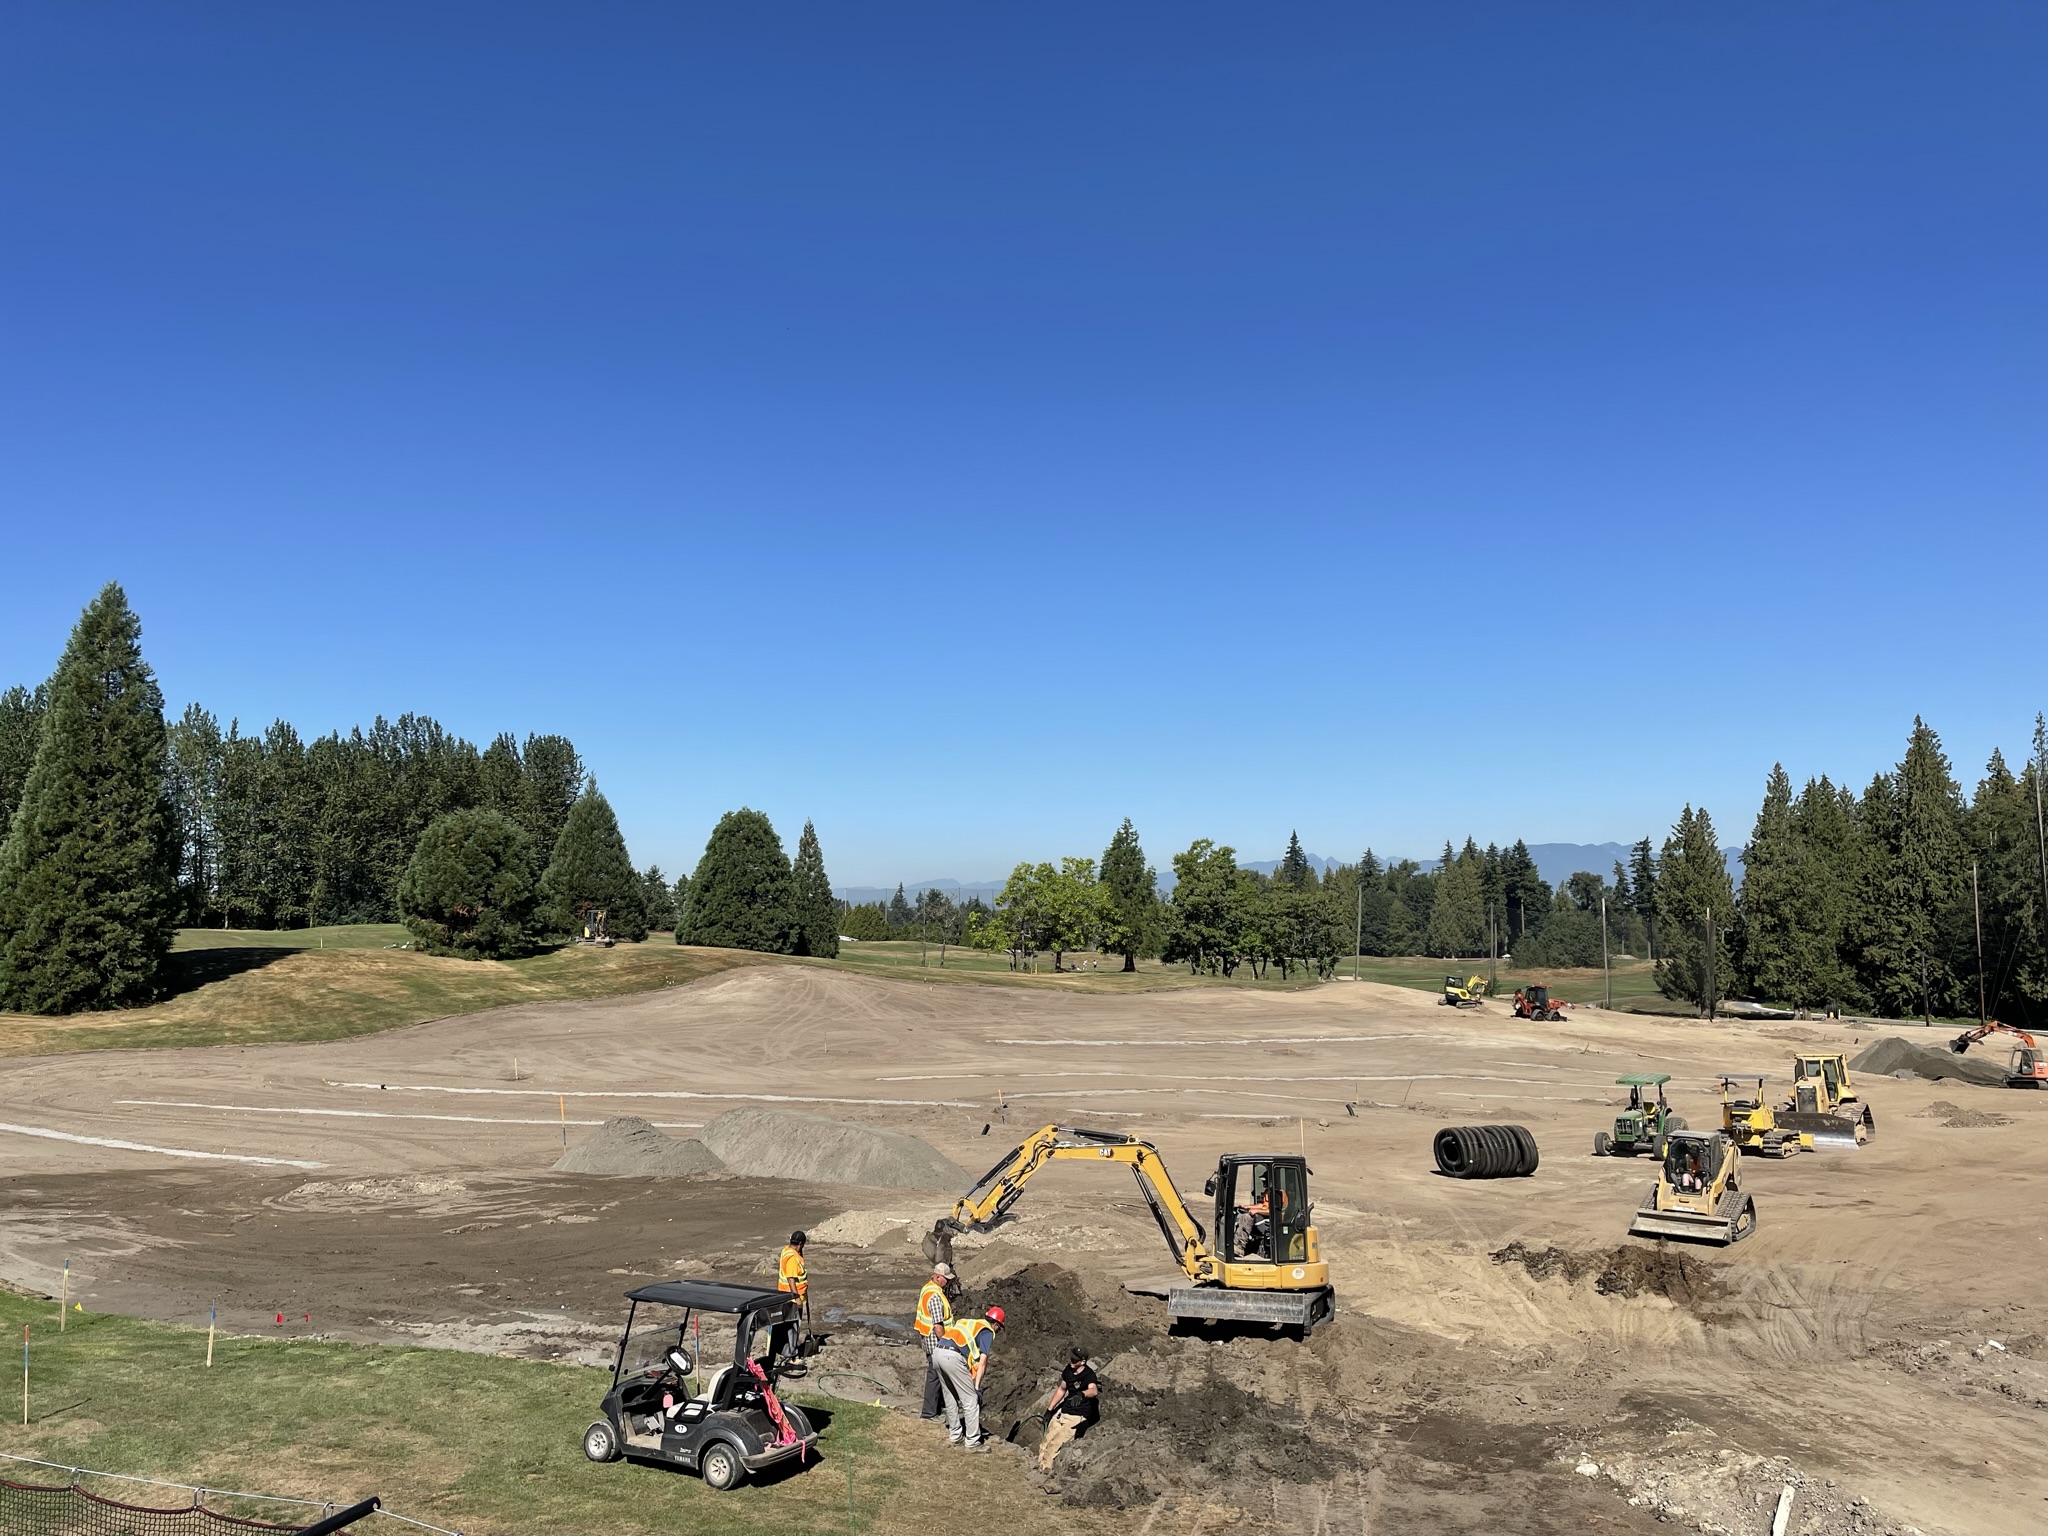
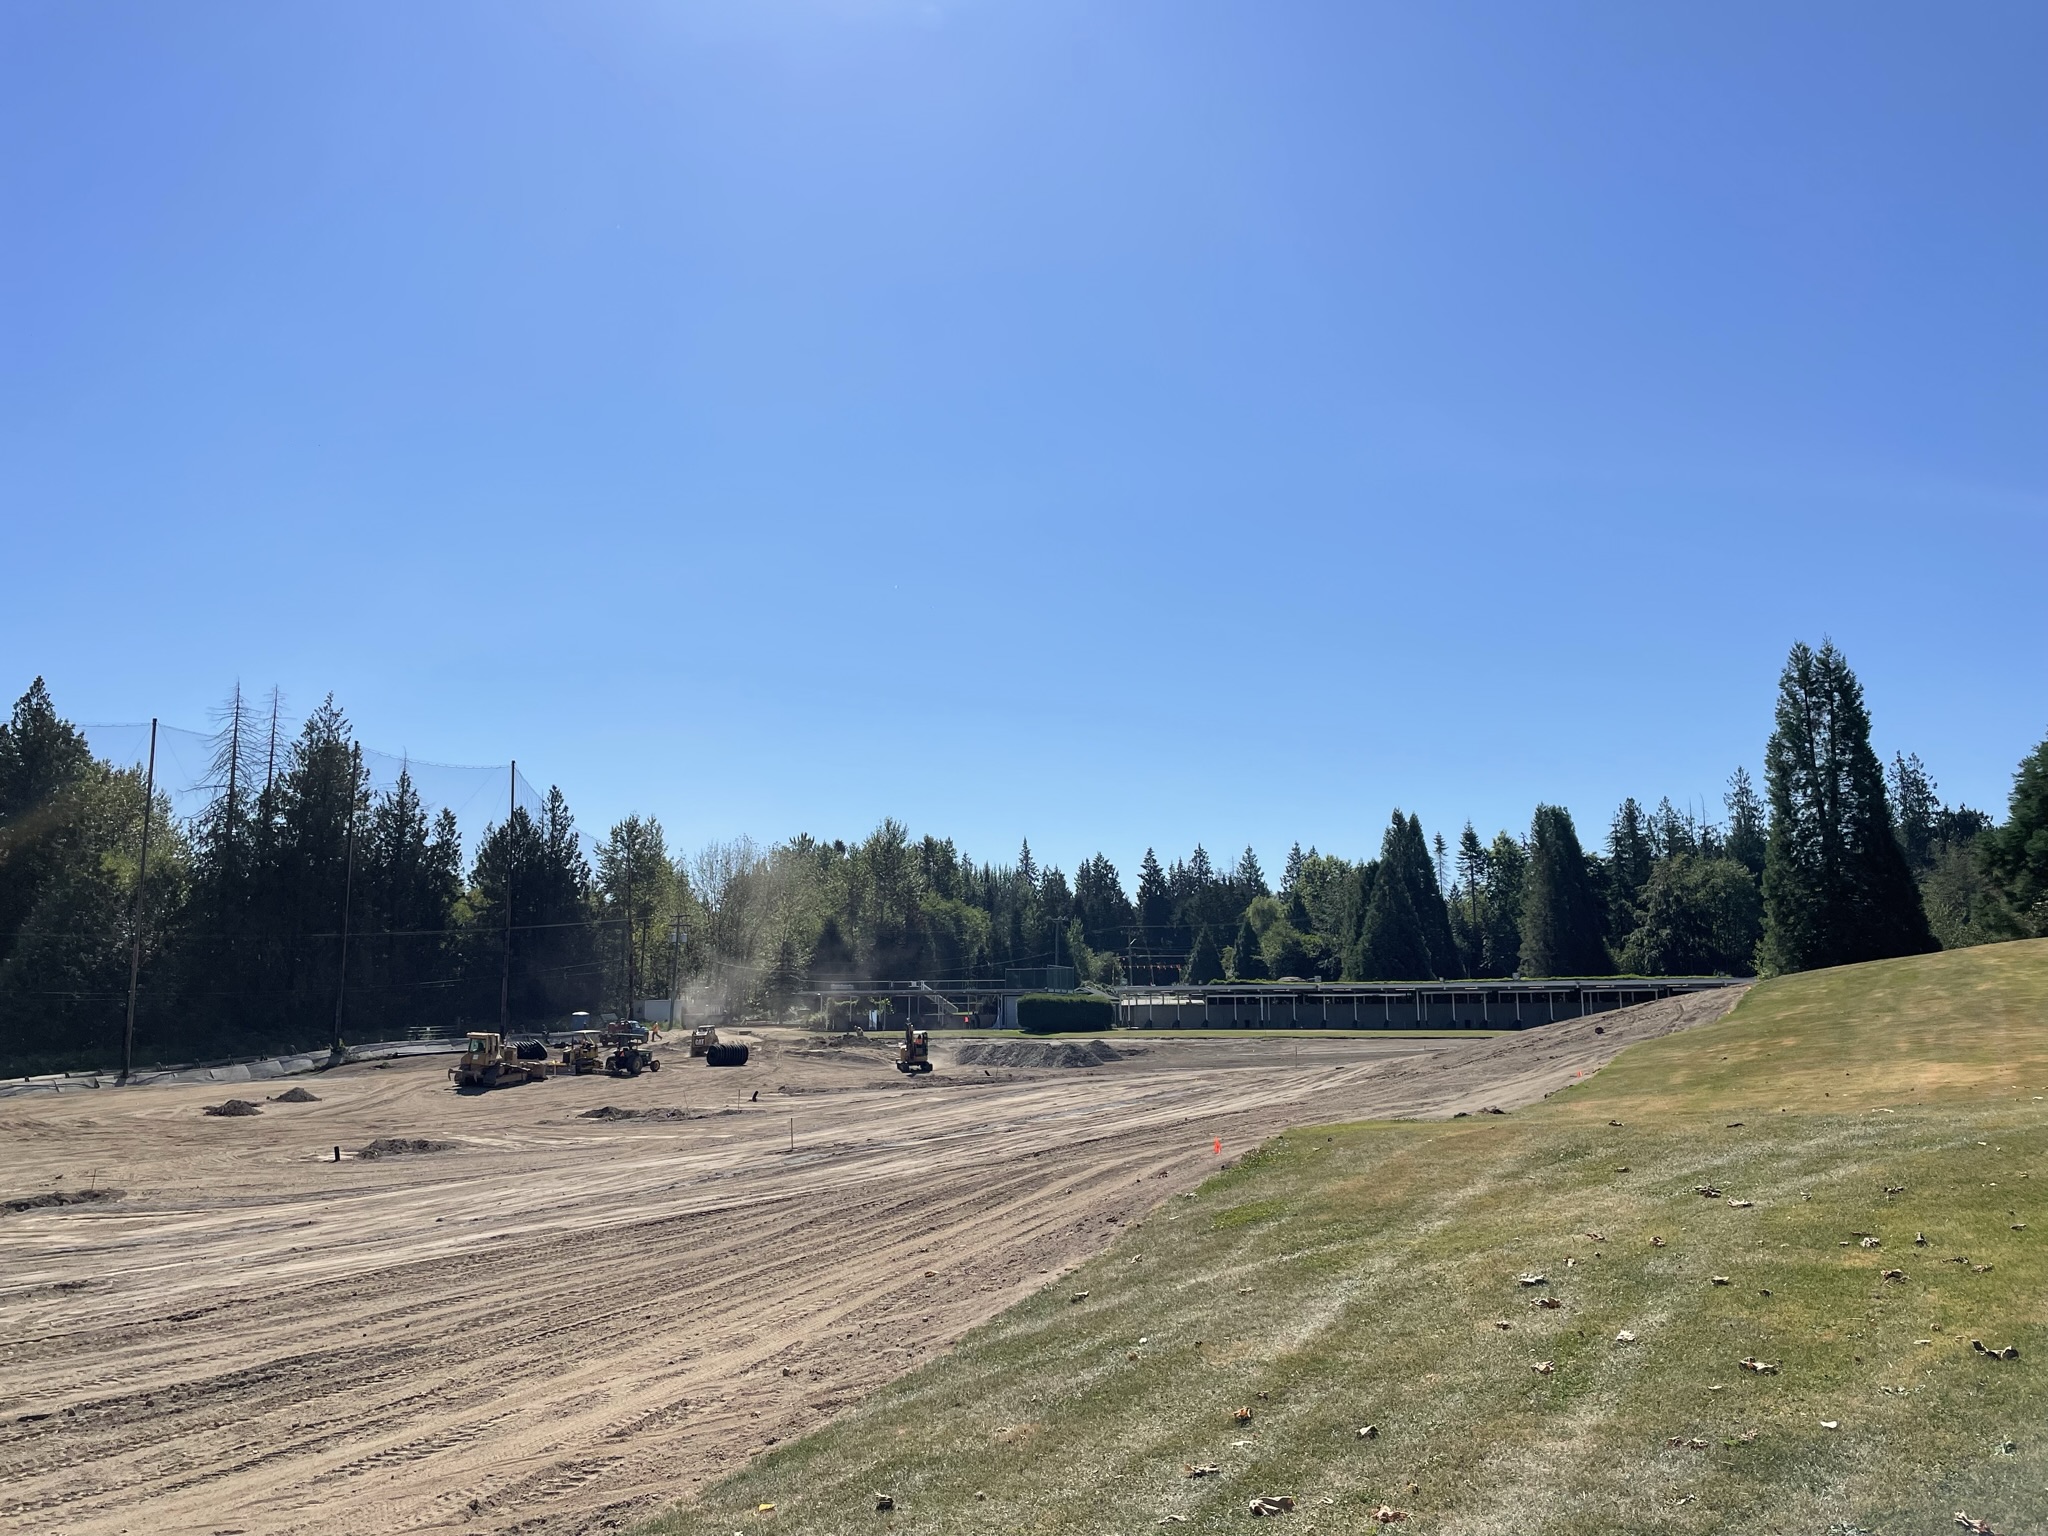
To start the range project, we removed some trees from inside the driving range area. Several of the trees had been deemed unsafe since one of the trees fell in a storm earlier in 2022. With fewer trees on the range, the area will be significantly brighter at night for your practice sessions and will increase your ball flight visibility. 

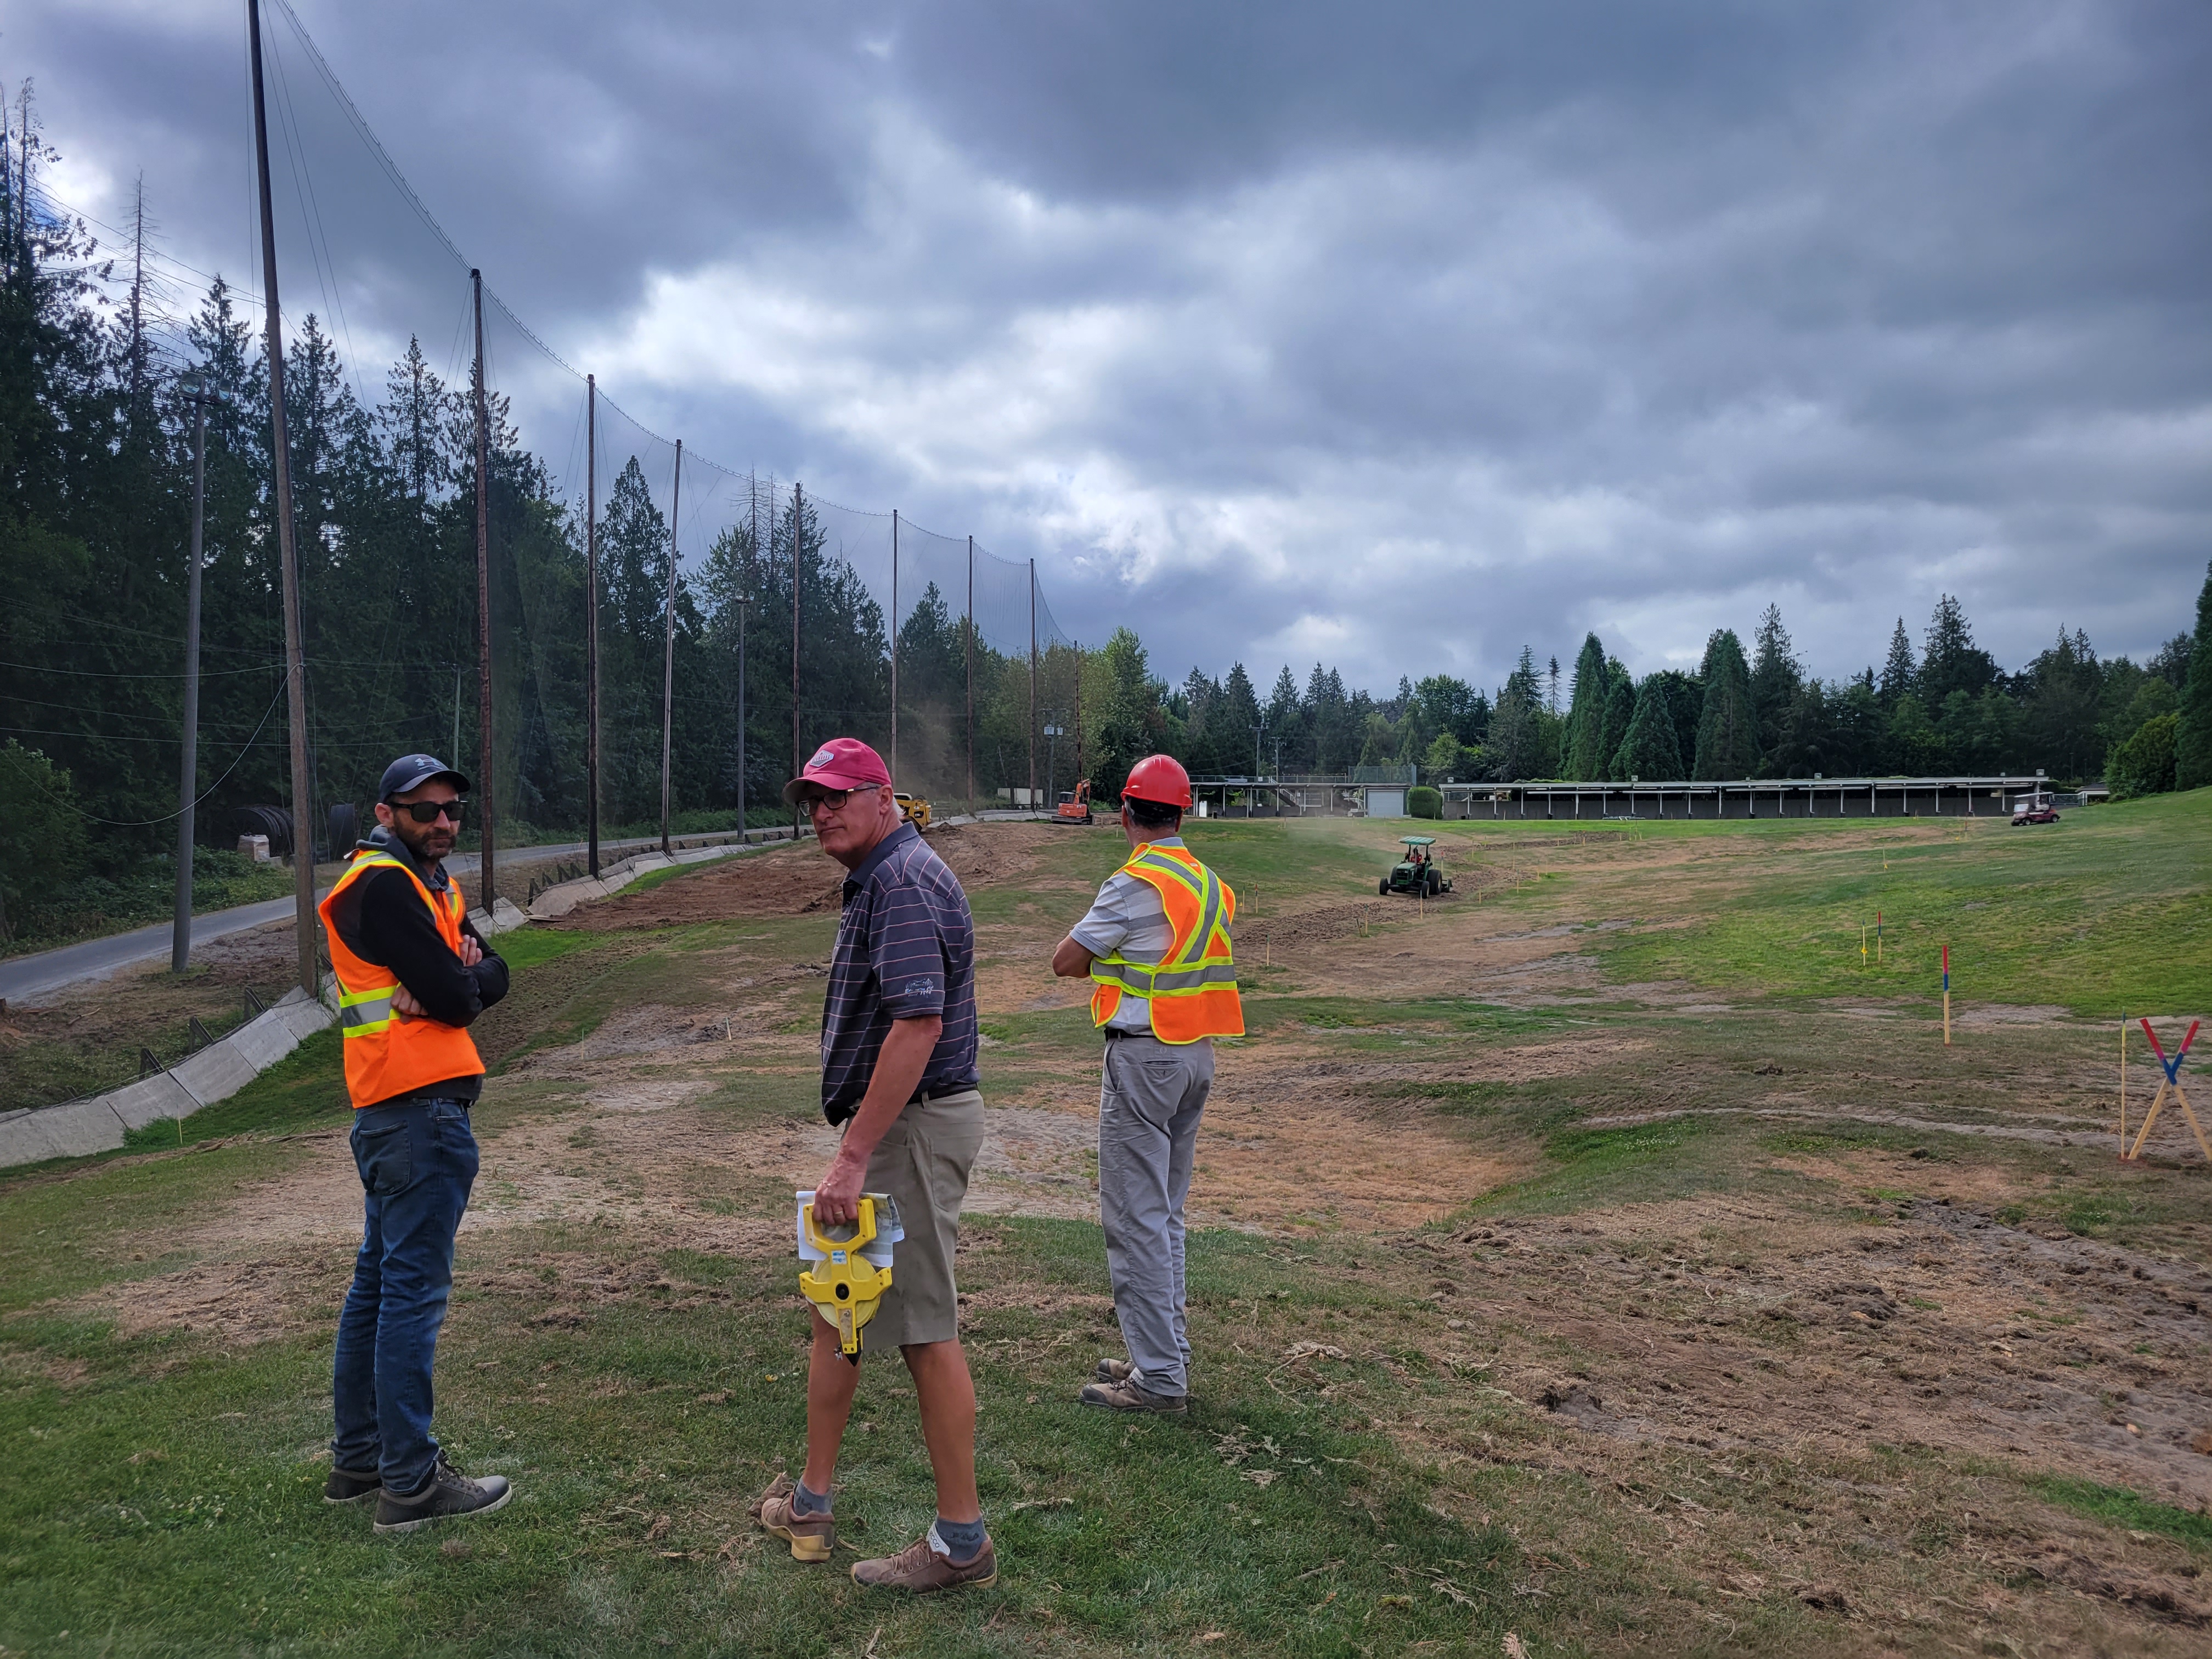
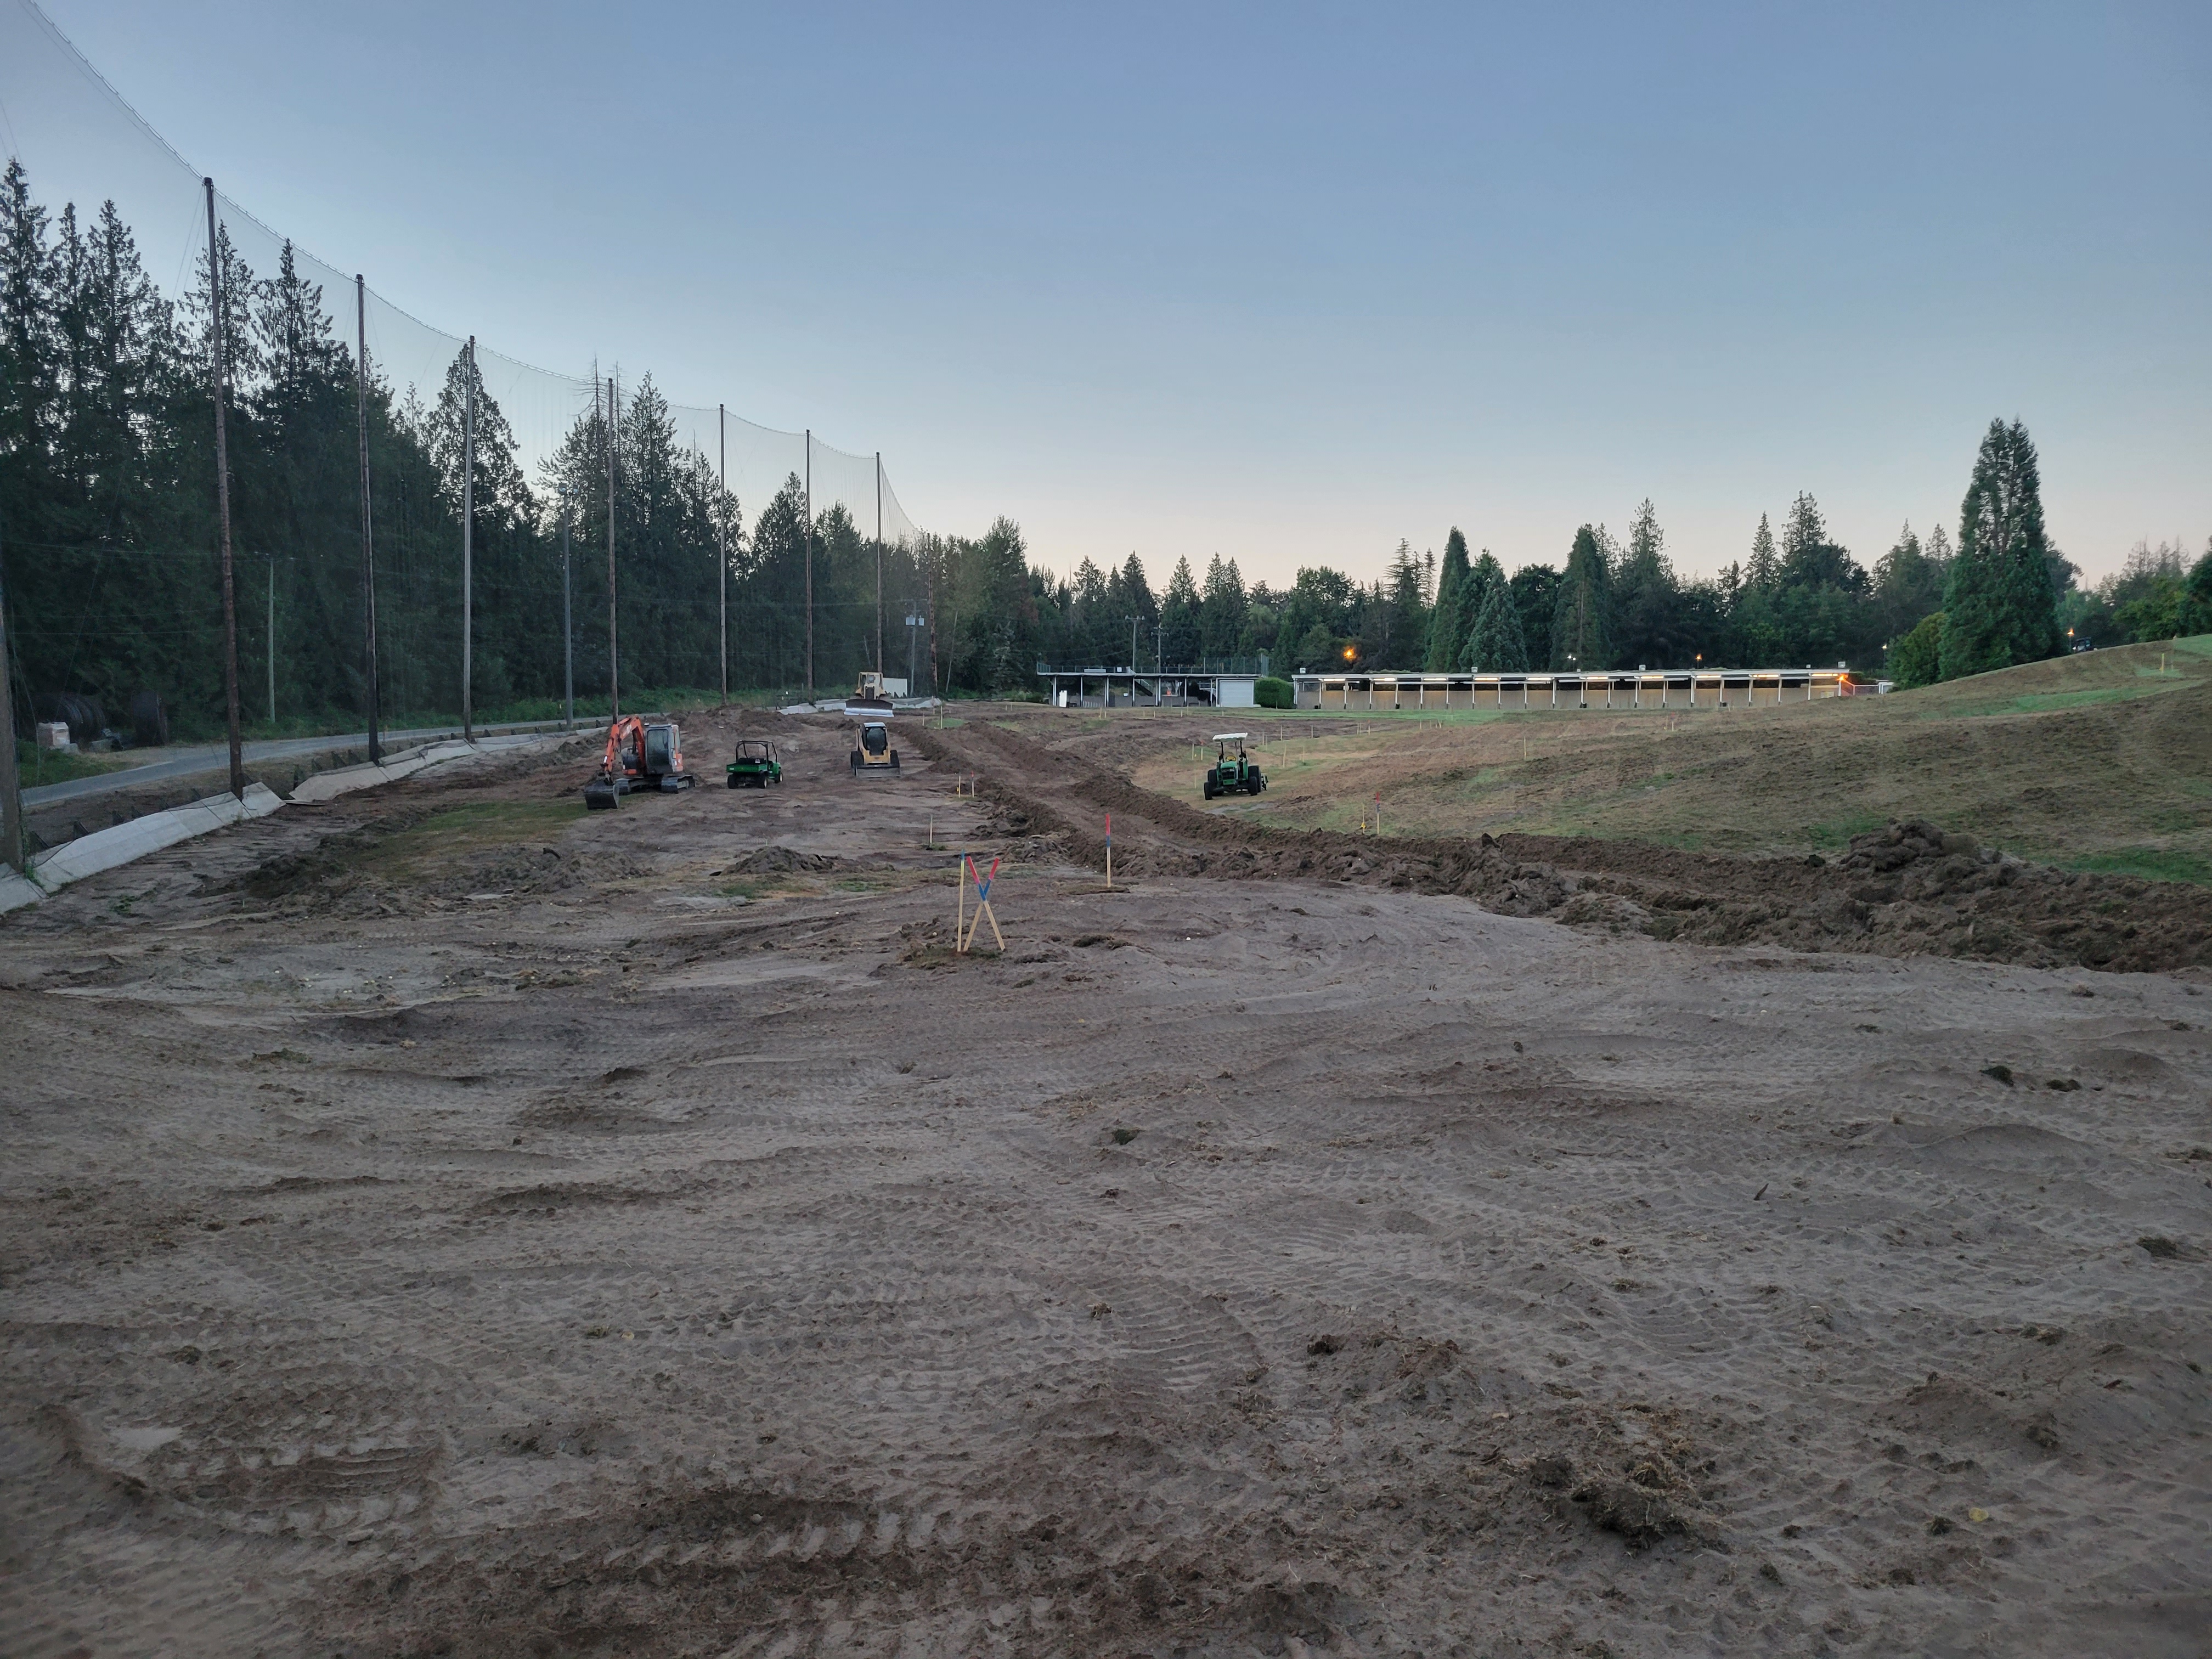
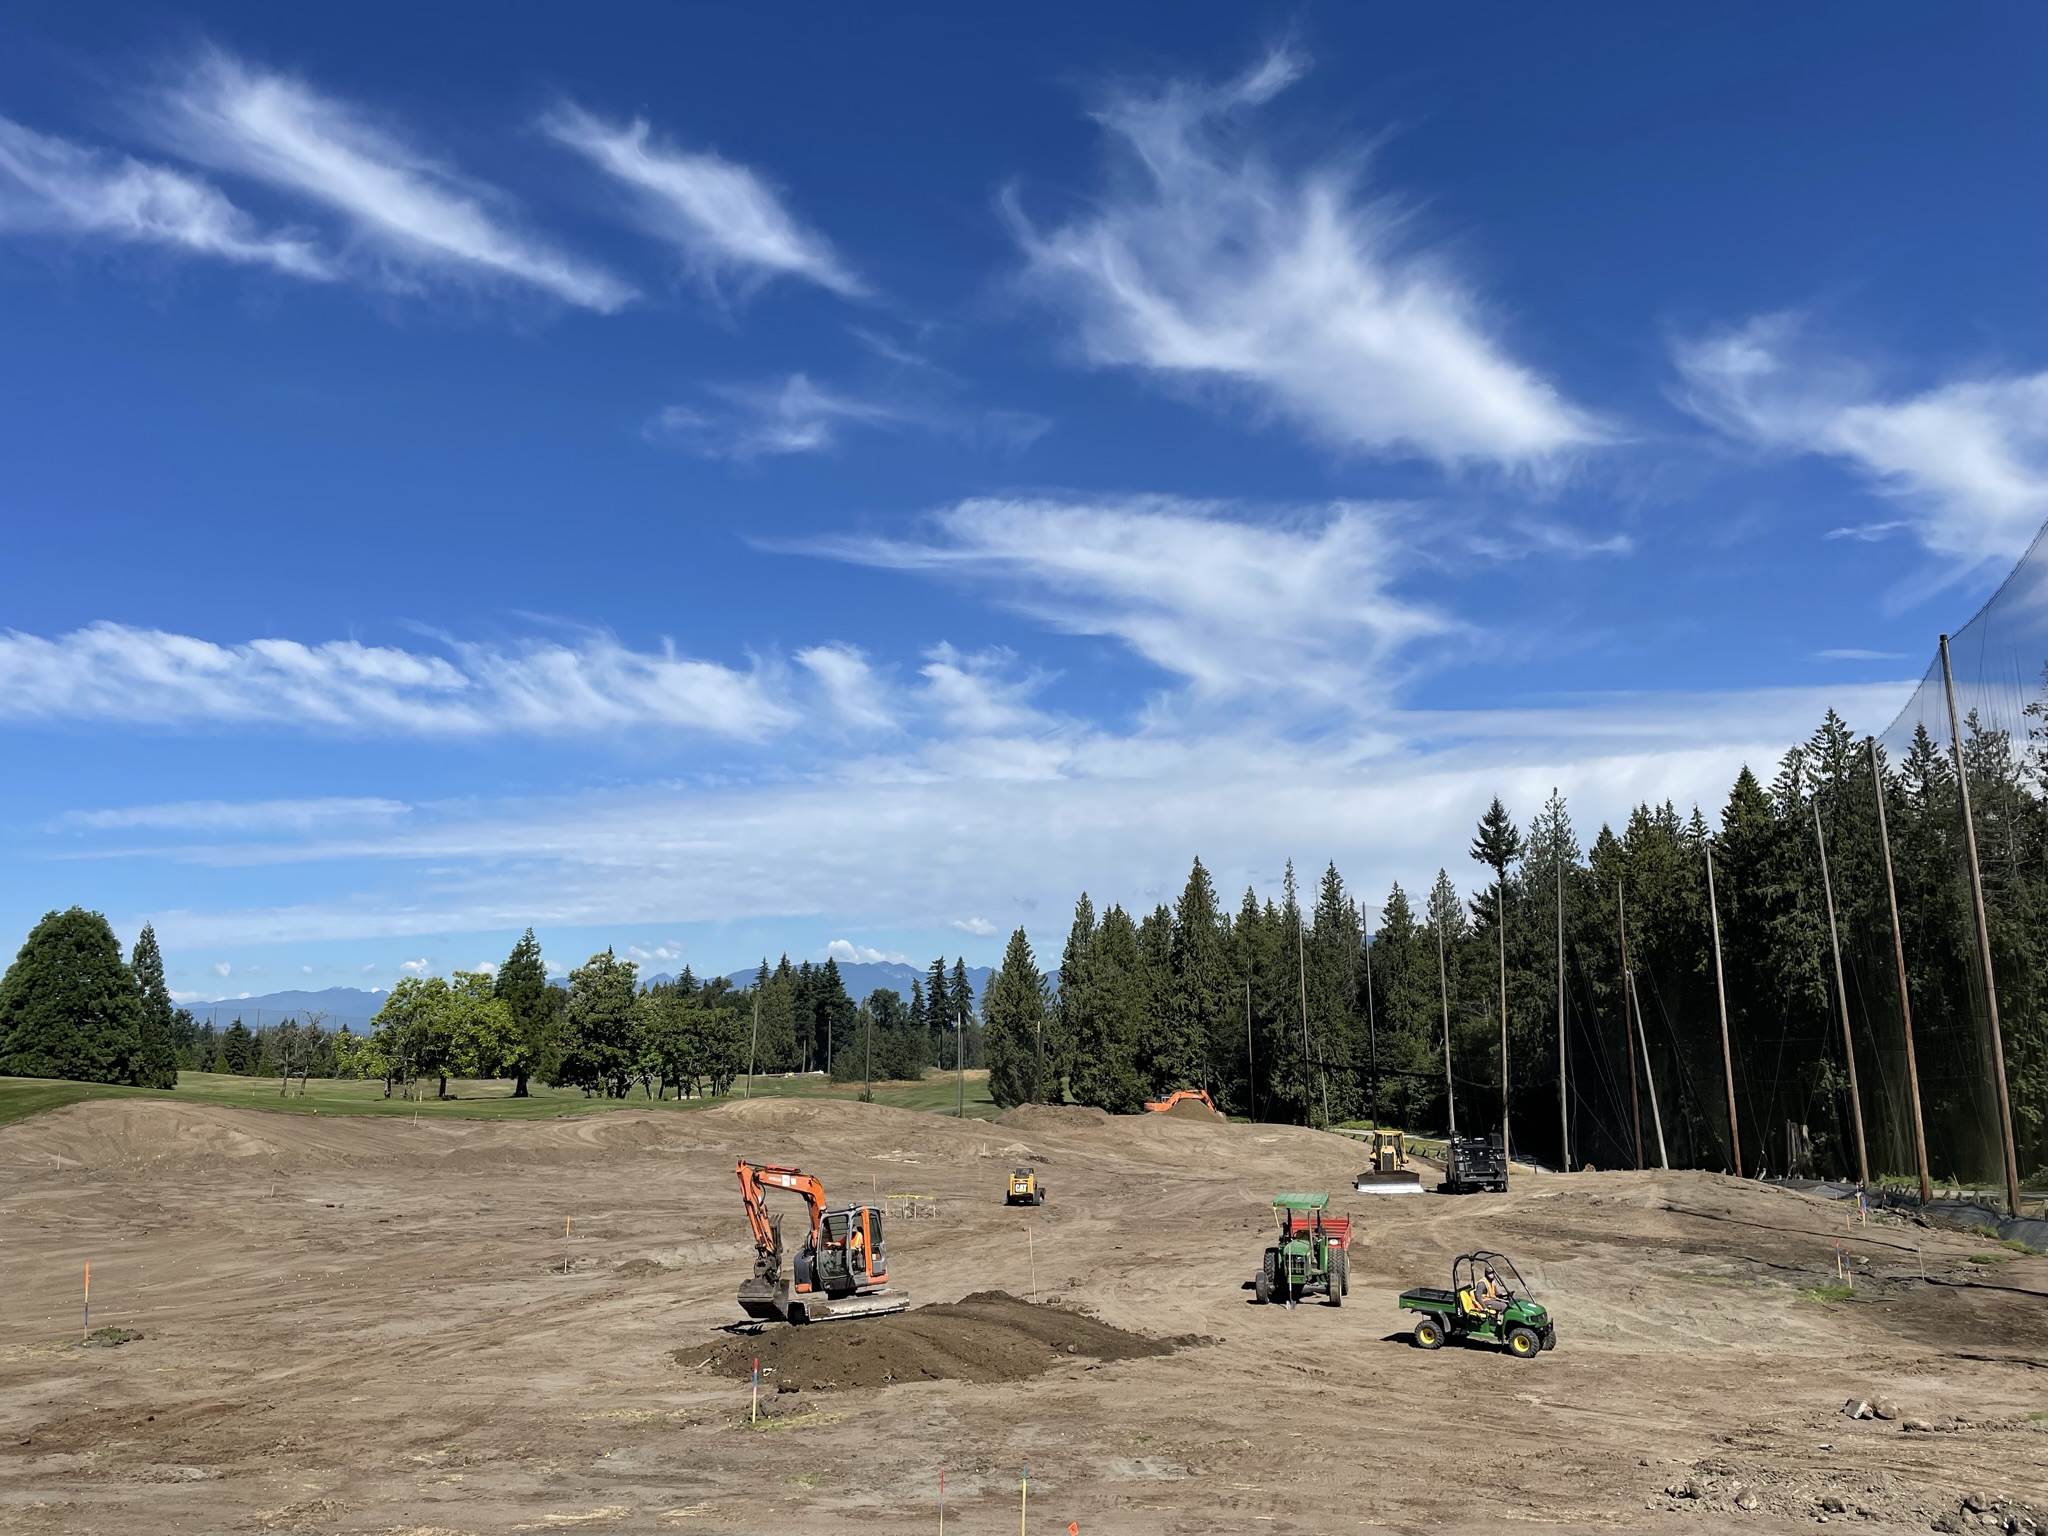
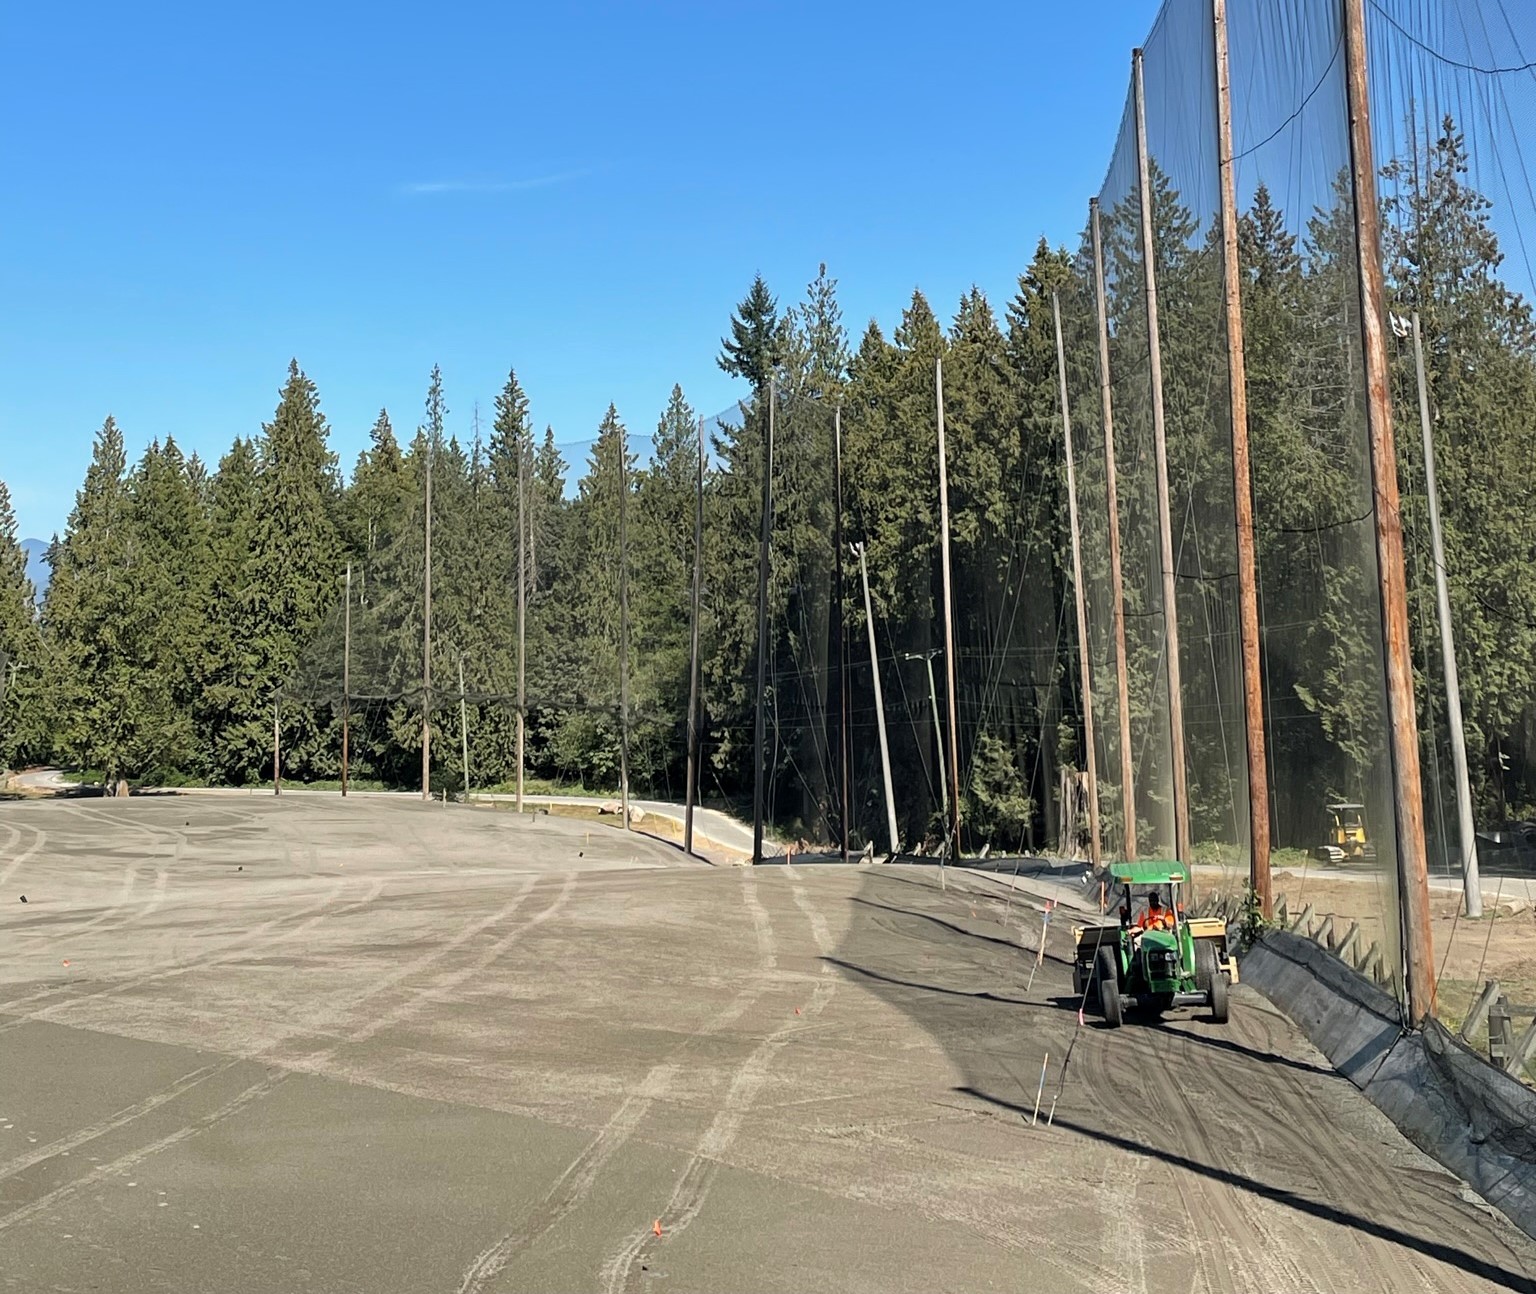
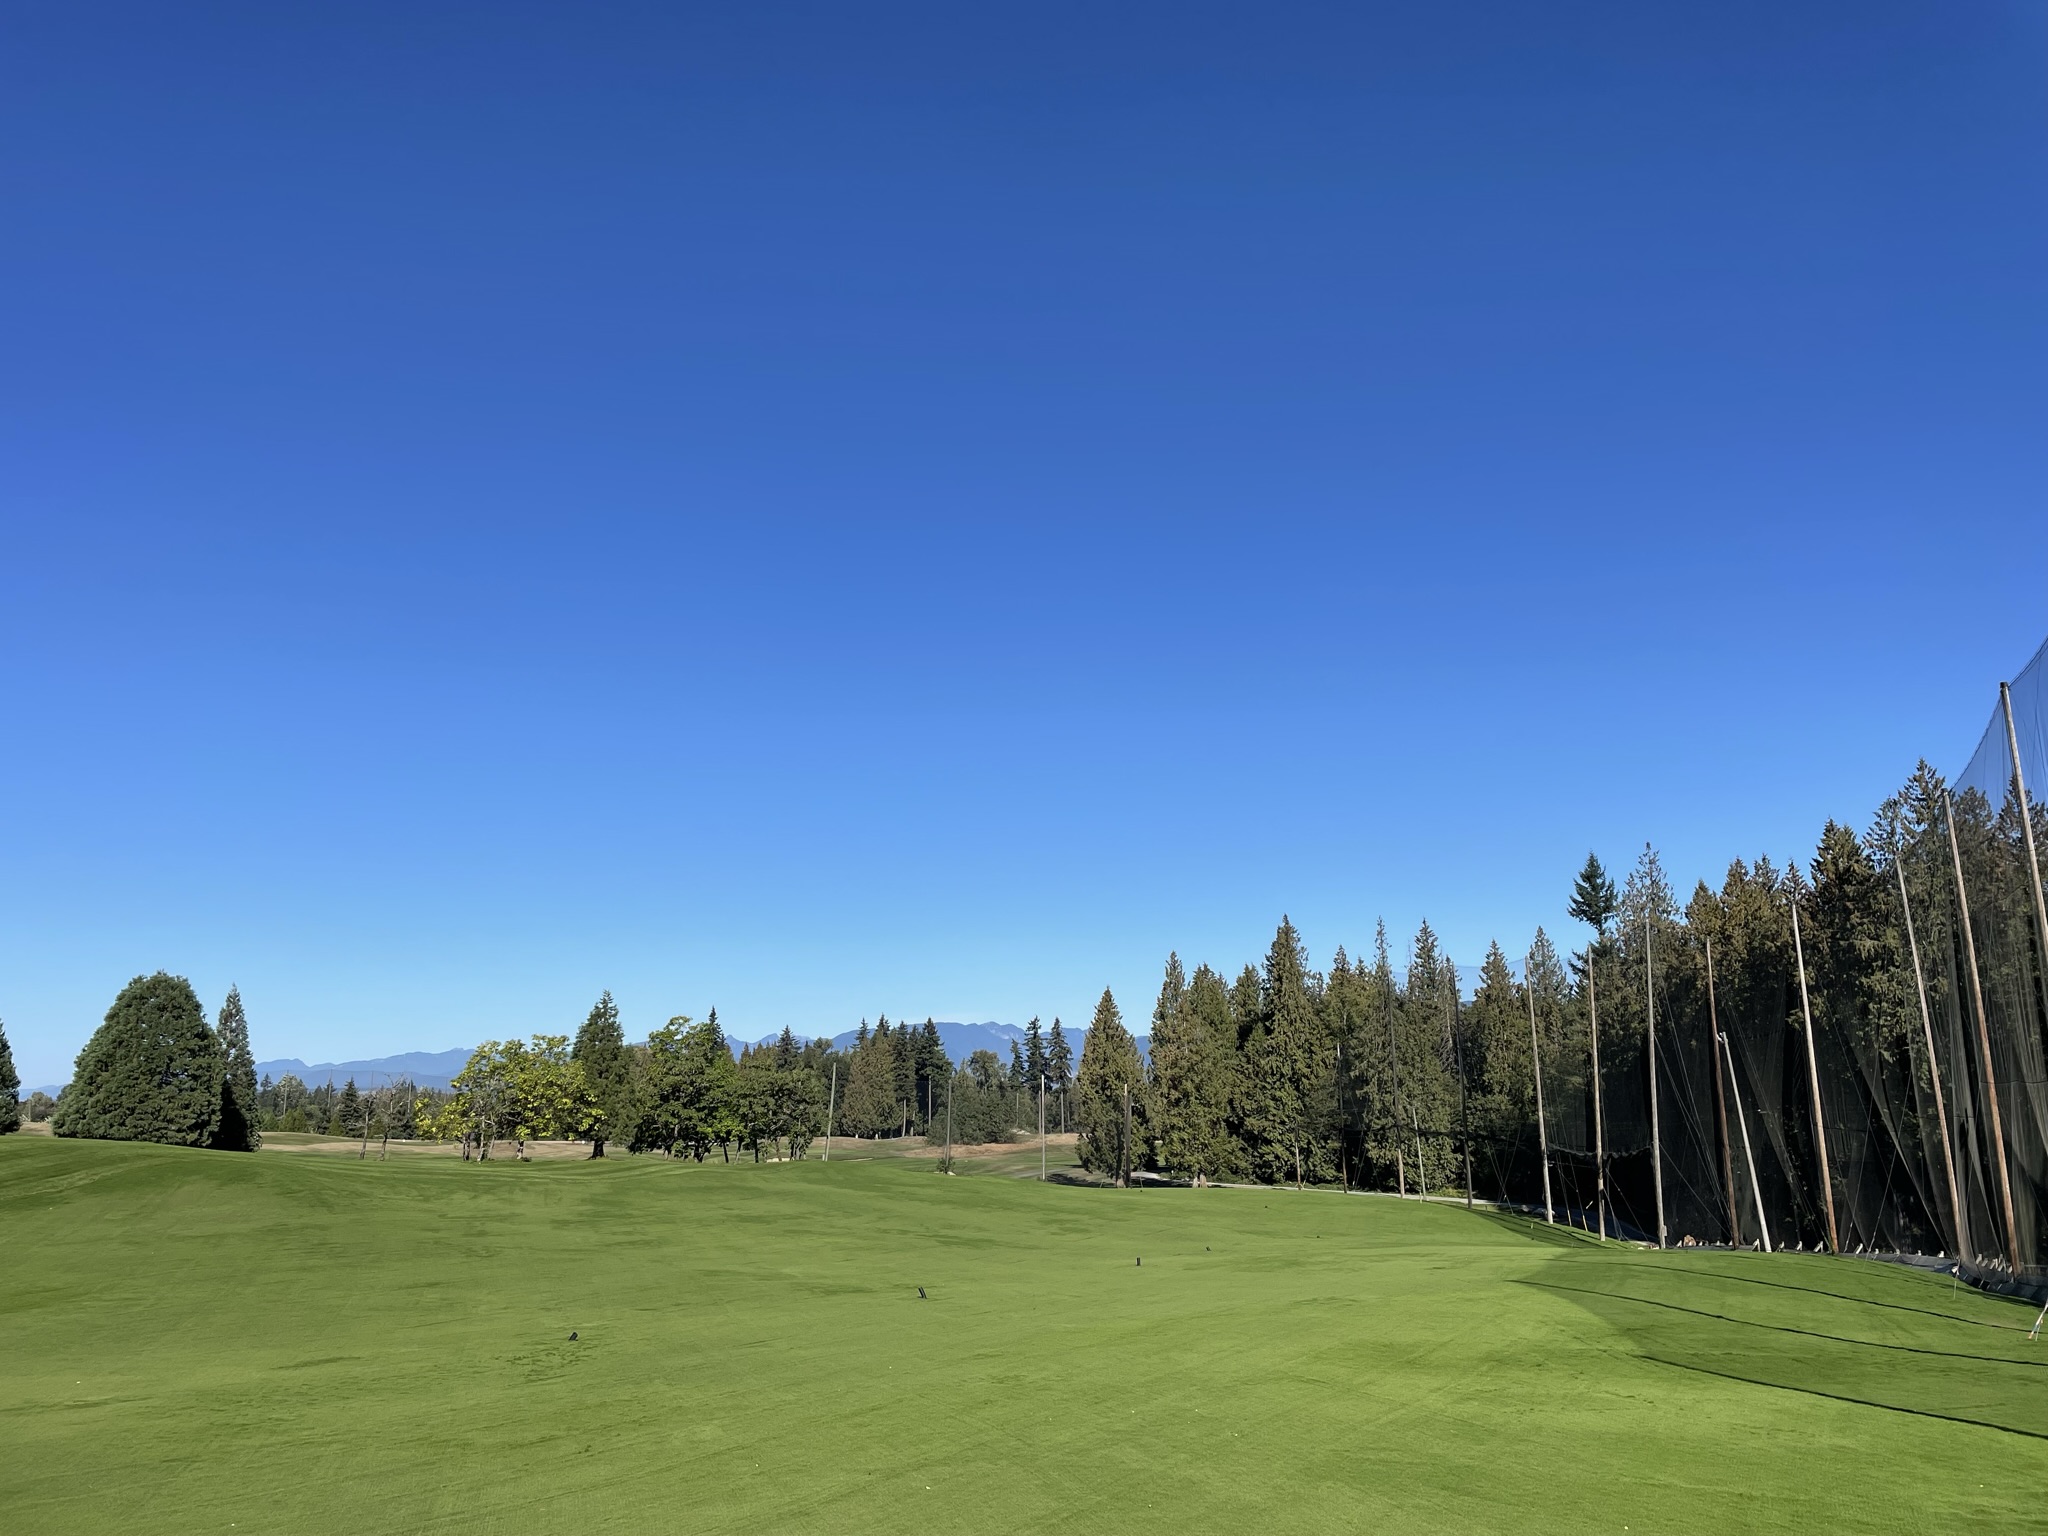
To further reinvigorate the range, we removed all of the grass. We graded and leveled the entire surface of the range which will greatly improve drainage and visibility. The mound near the 200-yard mark was removed so you will be able to watch your ball flight all the way to the back of the range which will definitely enhance your practice sessions. To finish it off, we restored the top 6 inches of the entire range with fresh sand and topped it with new turf. It's going to look and play so much better than before!

Tree Removal
Range construction
Back of Range
Range reno 2
Range renos
Range Reno 3


Update September 6, 2022

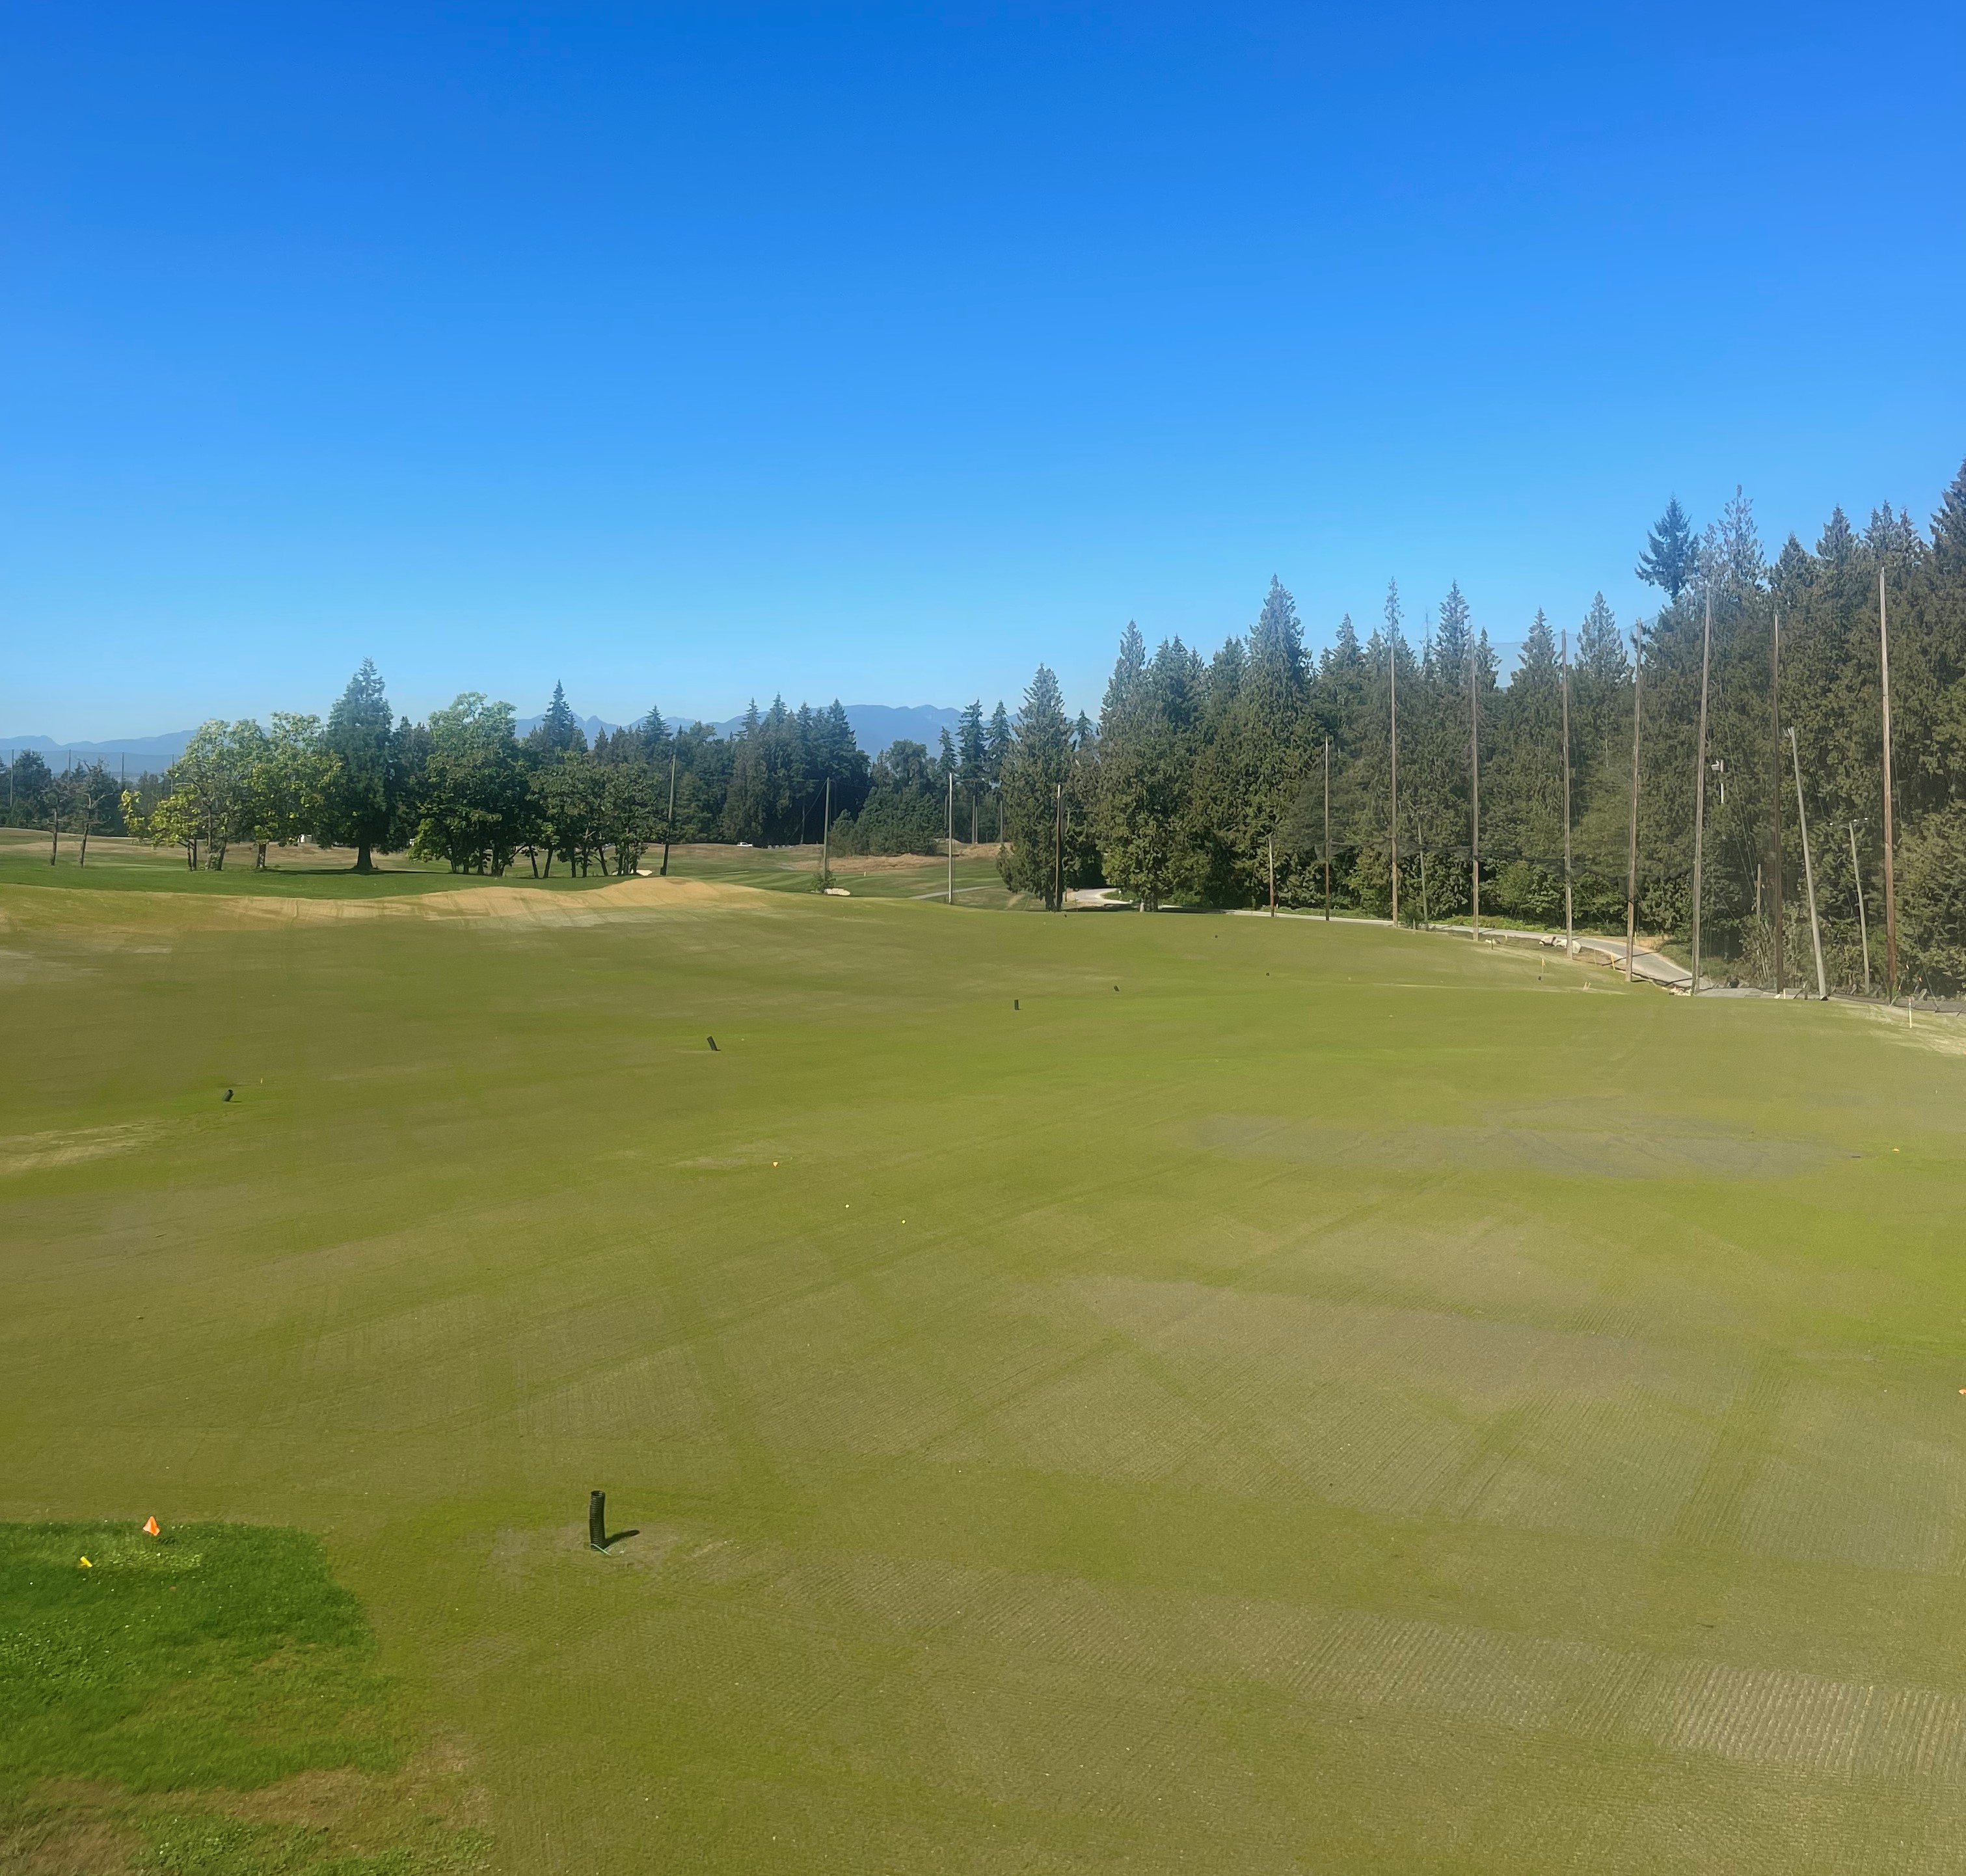
We were able to successfully smooth, fertilize and seed the entire range by the end of August. One week after spreading grass seed we are thrilled to share that we are seeing green! 


Range Smoothed
Seeding
Turf growing


Update September 26, 2022

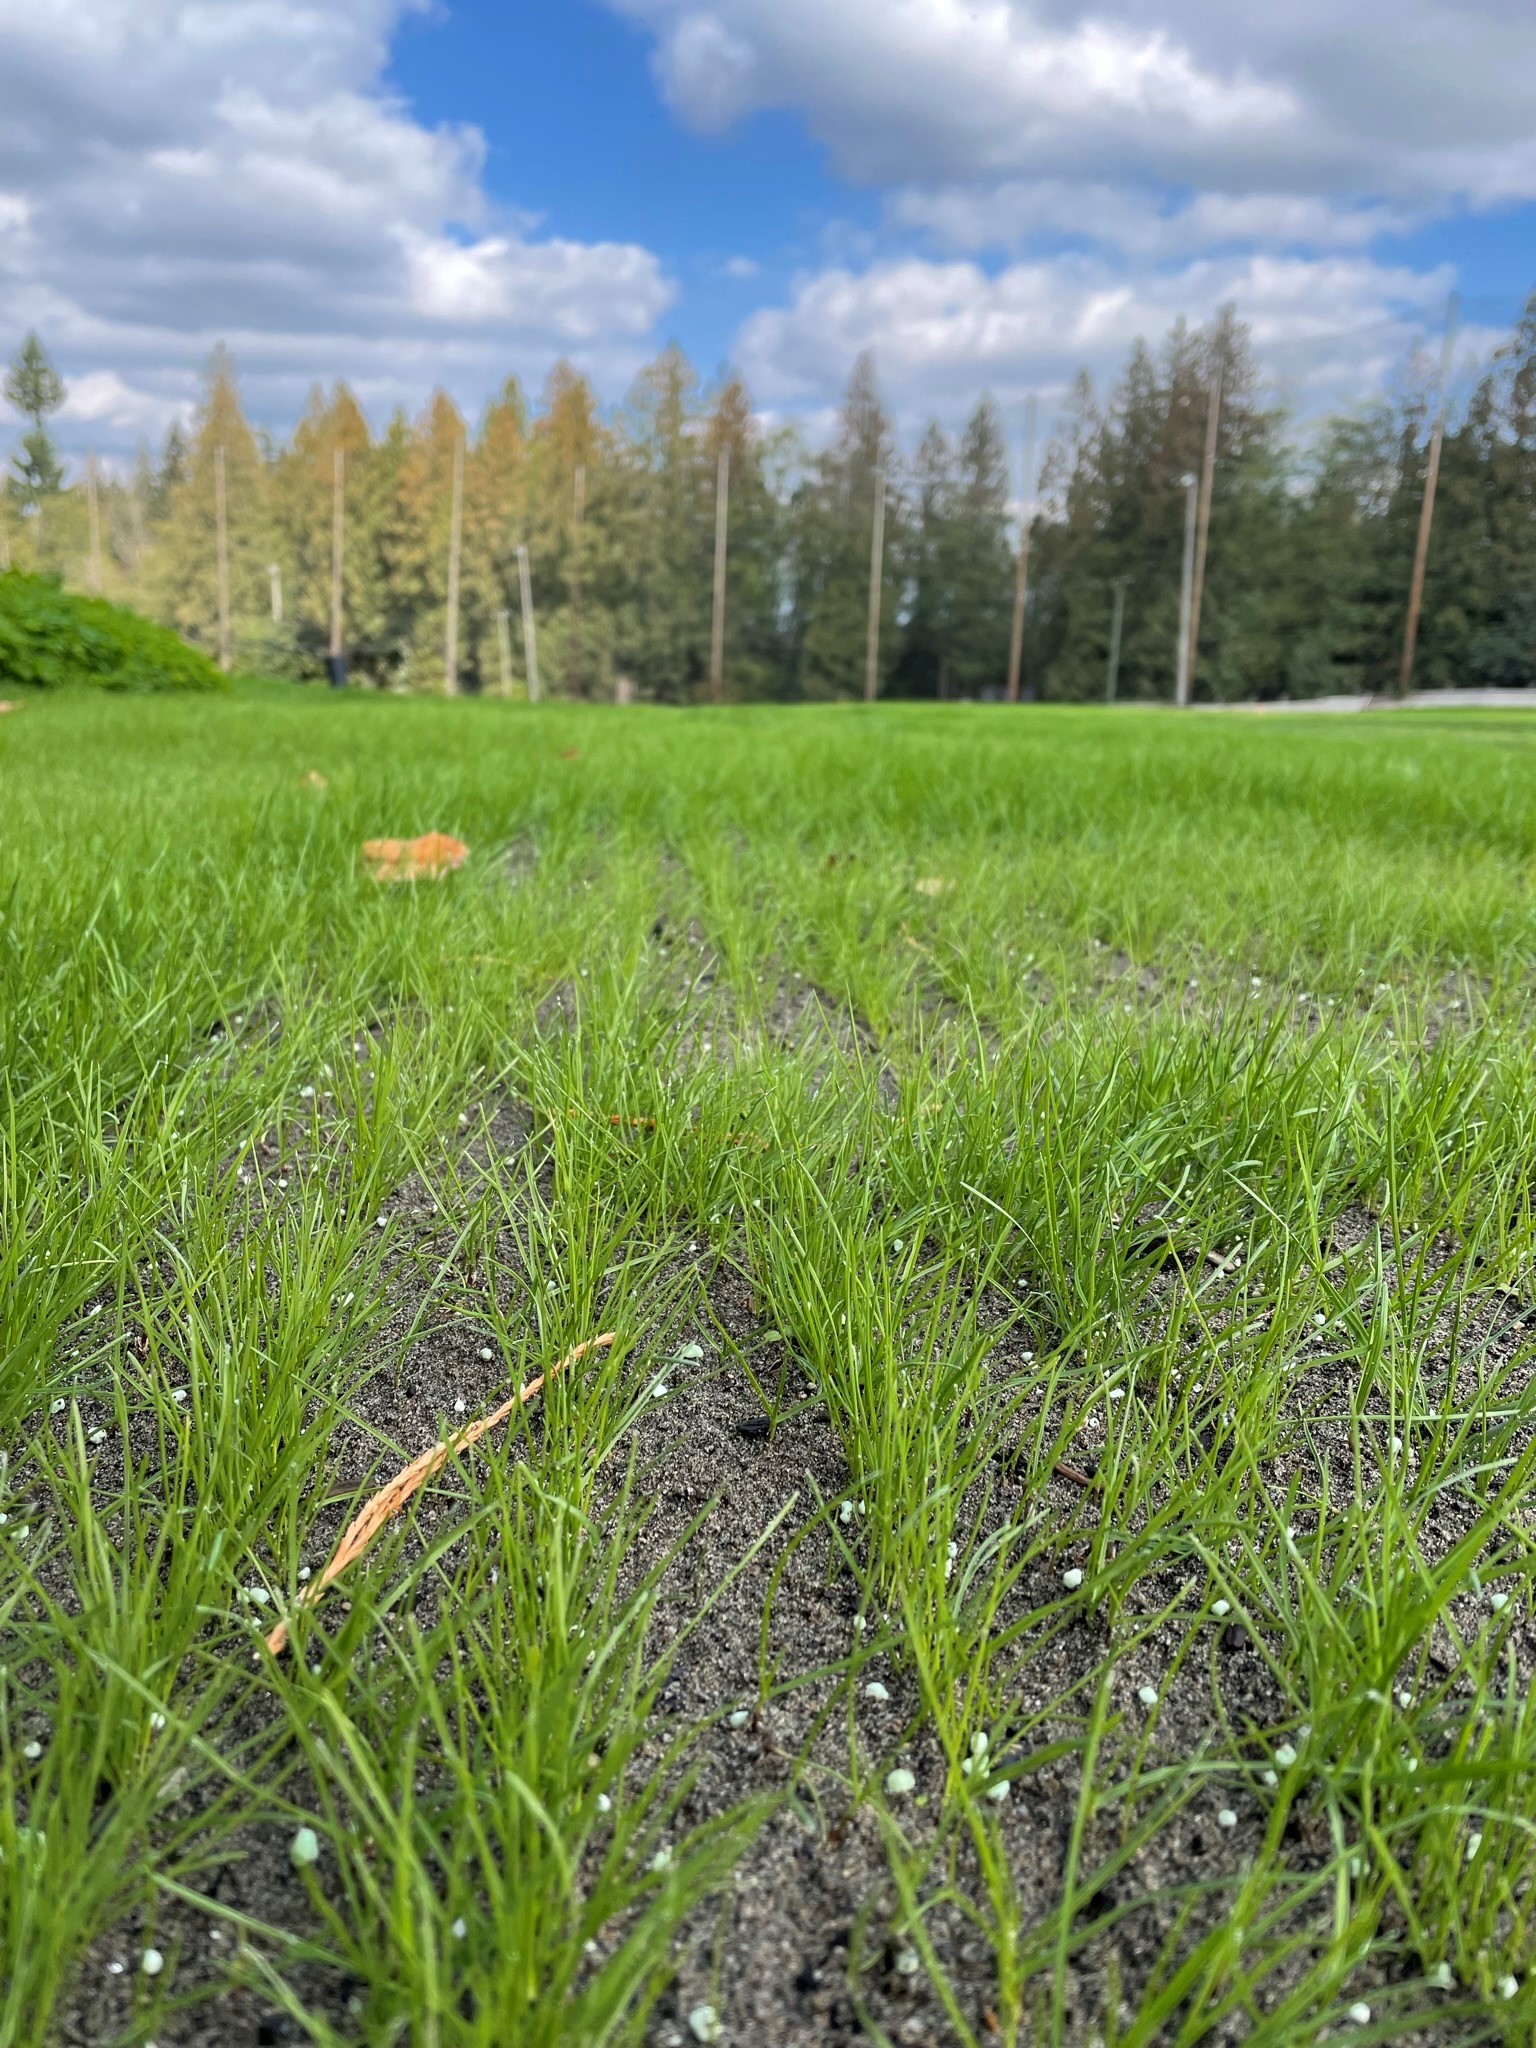
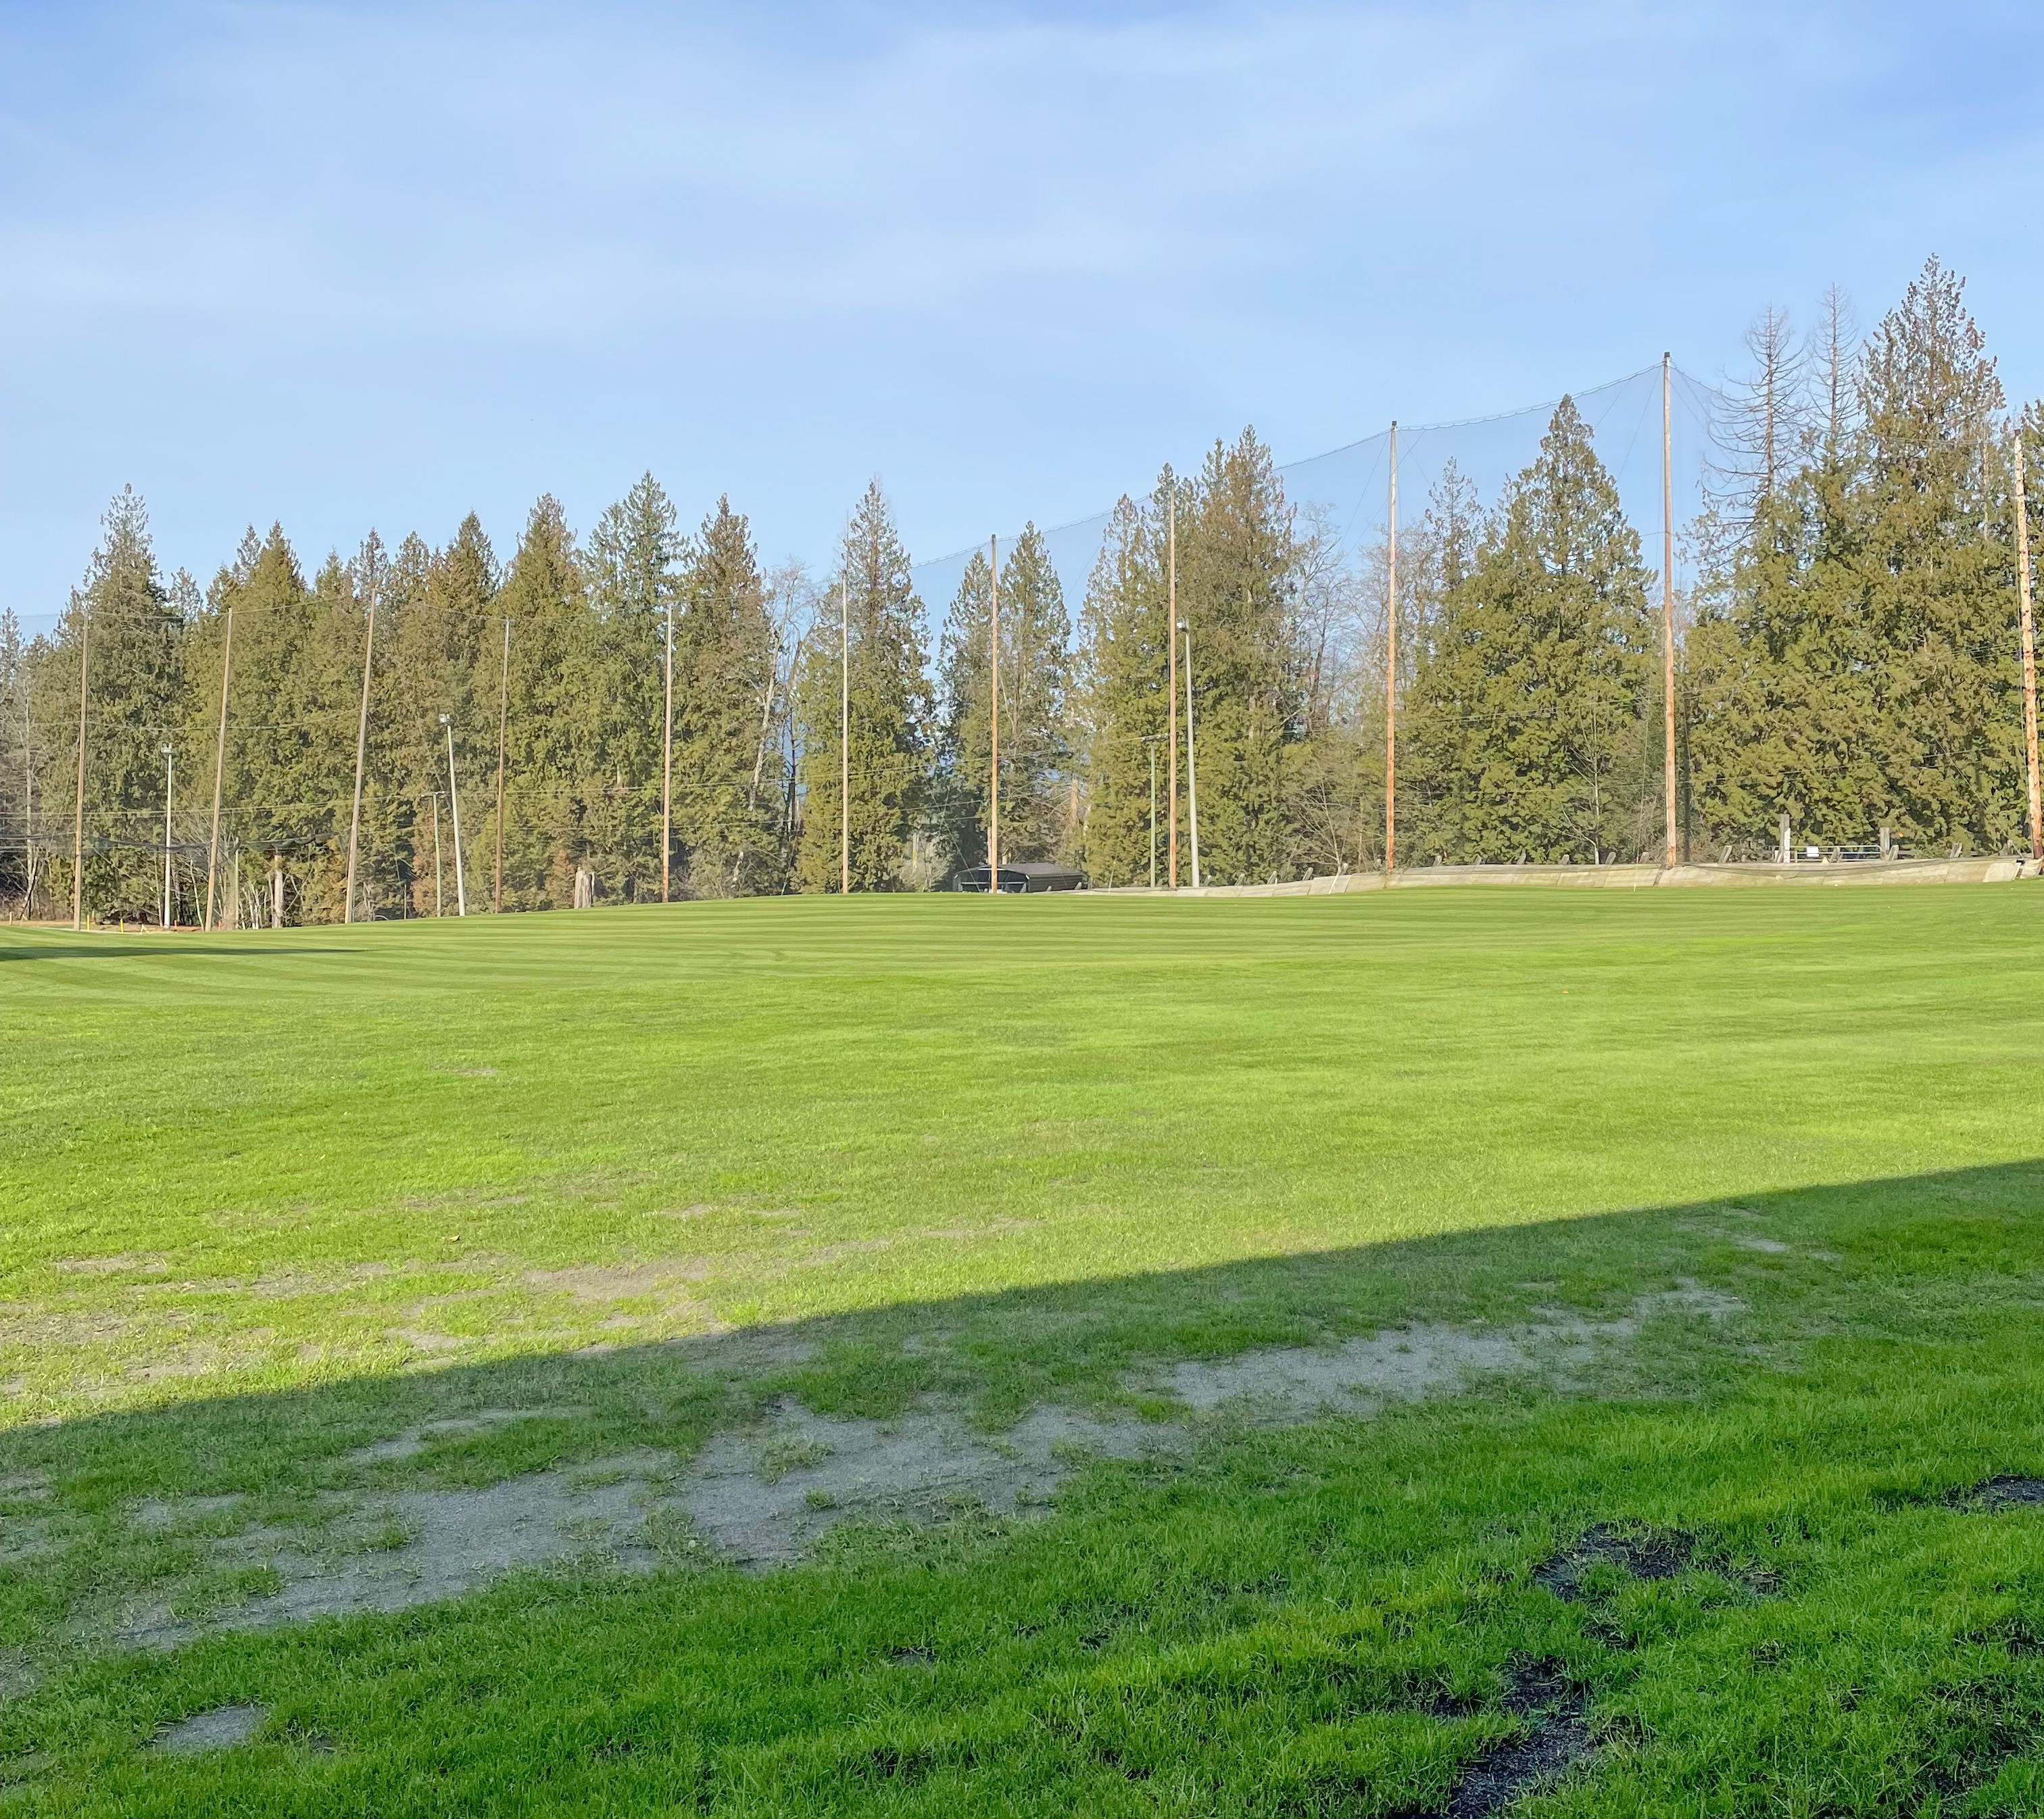
The new grass continues to grow with the beautiful September weather that we have been having. In fact, we are having to water the grass a little more than we would have expected for this time of year! While the weather has been great for grass growing, the grass is not as far along as we would like to see it at the moment.

From a distance, the grass looks perfect. But as you can see, up close it is not as thick as we need it to be. The grass is still not established enough to withstand the typical machinery we would use to maintain the range such as ball pickers and mowers. Unfortunately, this means that the driving range will not be ready to open soon.

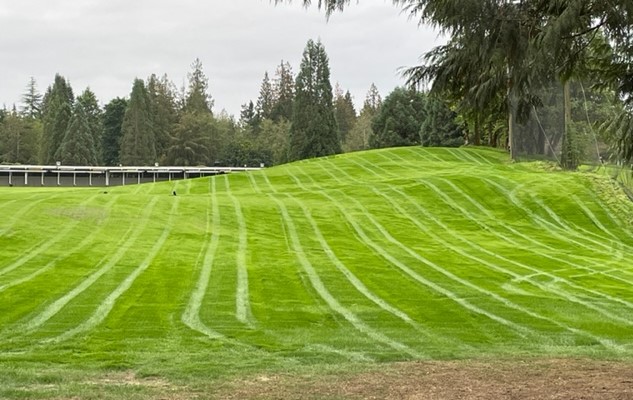
On a positive note, we were able to give the range its first haircut last Friday! Since our regular machinery is too heavy for the current conditions of the range, we were able to borrow our owner's household ride-on mower to get the job done! Thanks, Doug!


Grass growing
Close up
First cut


Update October 25, 2022

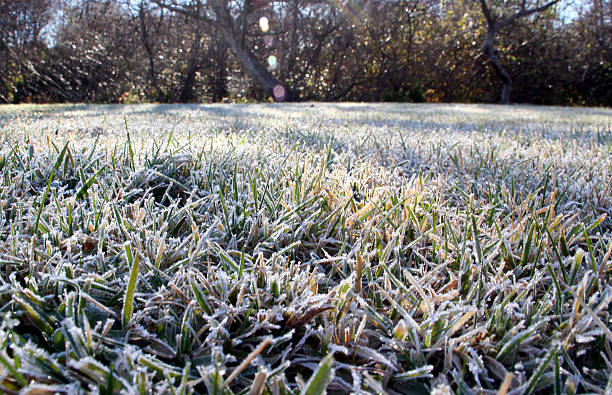
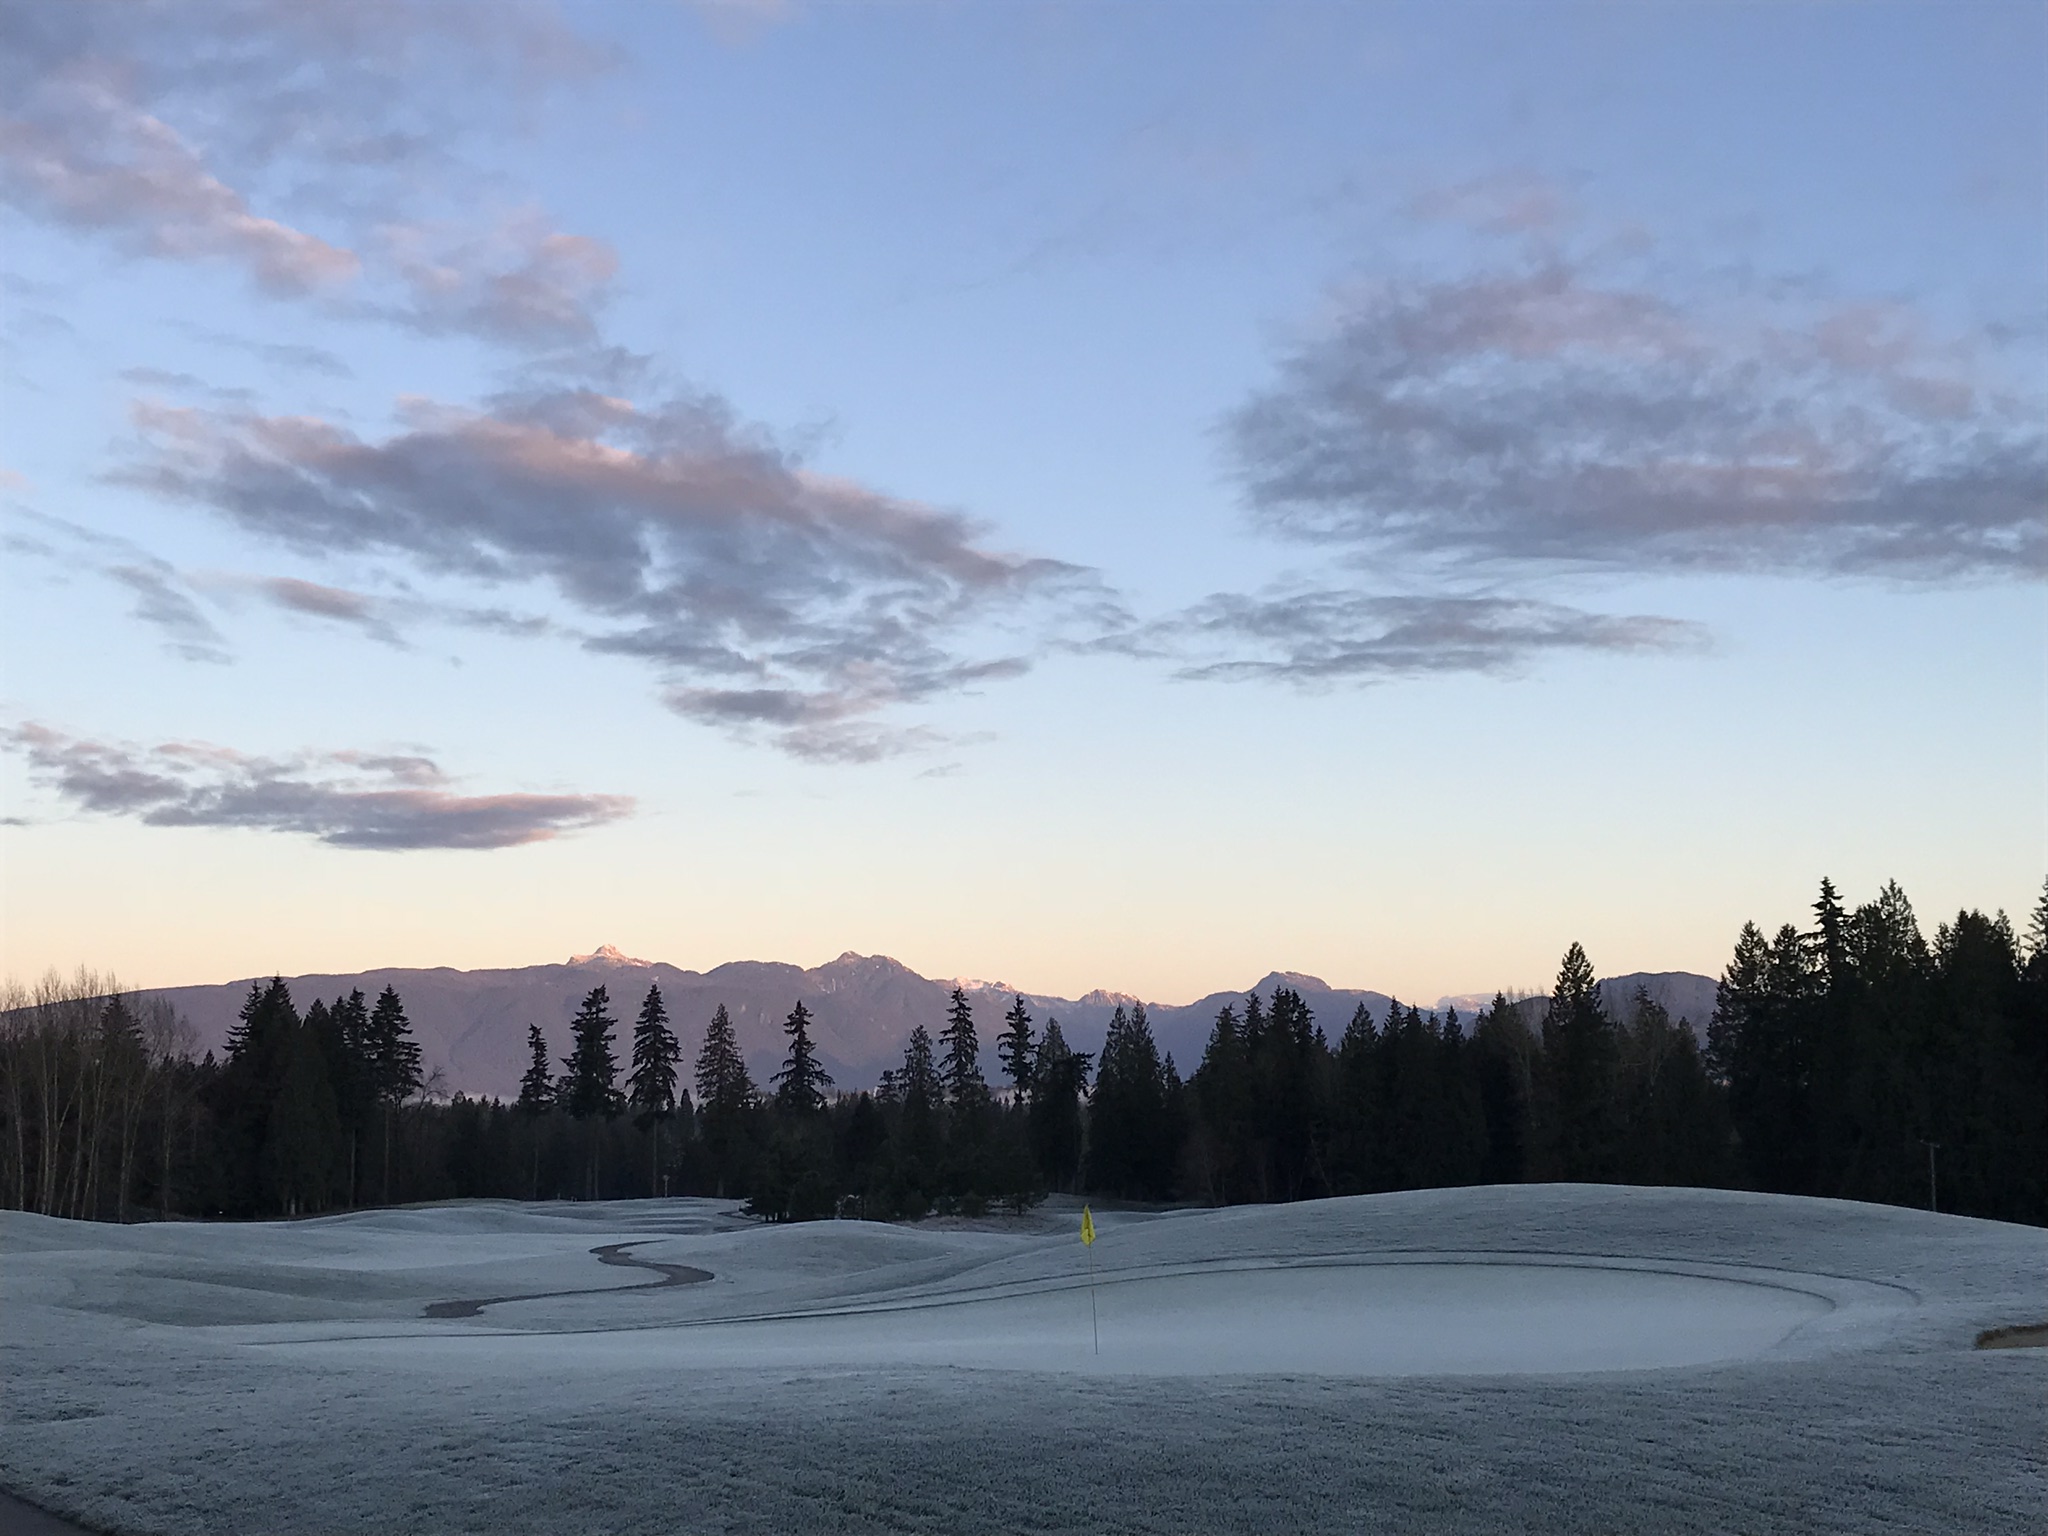
The good news: we had an incredible start to fall! The not-so-good news: despite our perfect weather, the turf in the range is still not as established and strong as we need it to be to comfortably reopen without damaging all of our hard work. Unfortunately, that means that the driving range will remain closed this winter with an anticipated reopening in the spring of 2023. Thank you for your patience as we complete these much-needed enhancements to the Range. We miss you and can't wait to have you back--we know that you will be thrilled with our enhanced facility!

Driving Range
Driving Range
Striped


Update April 13, 2023

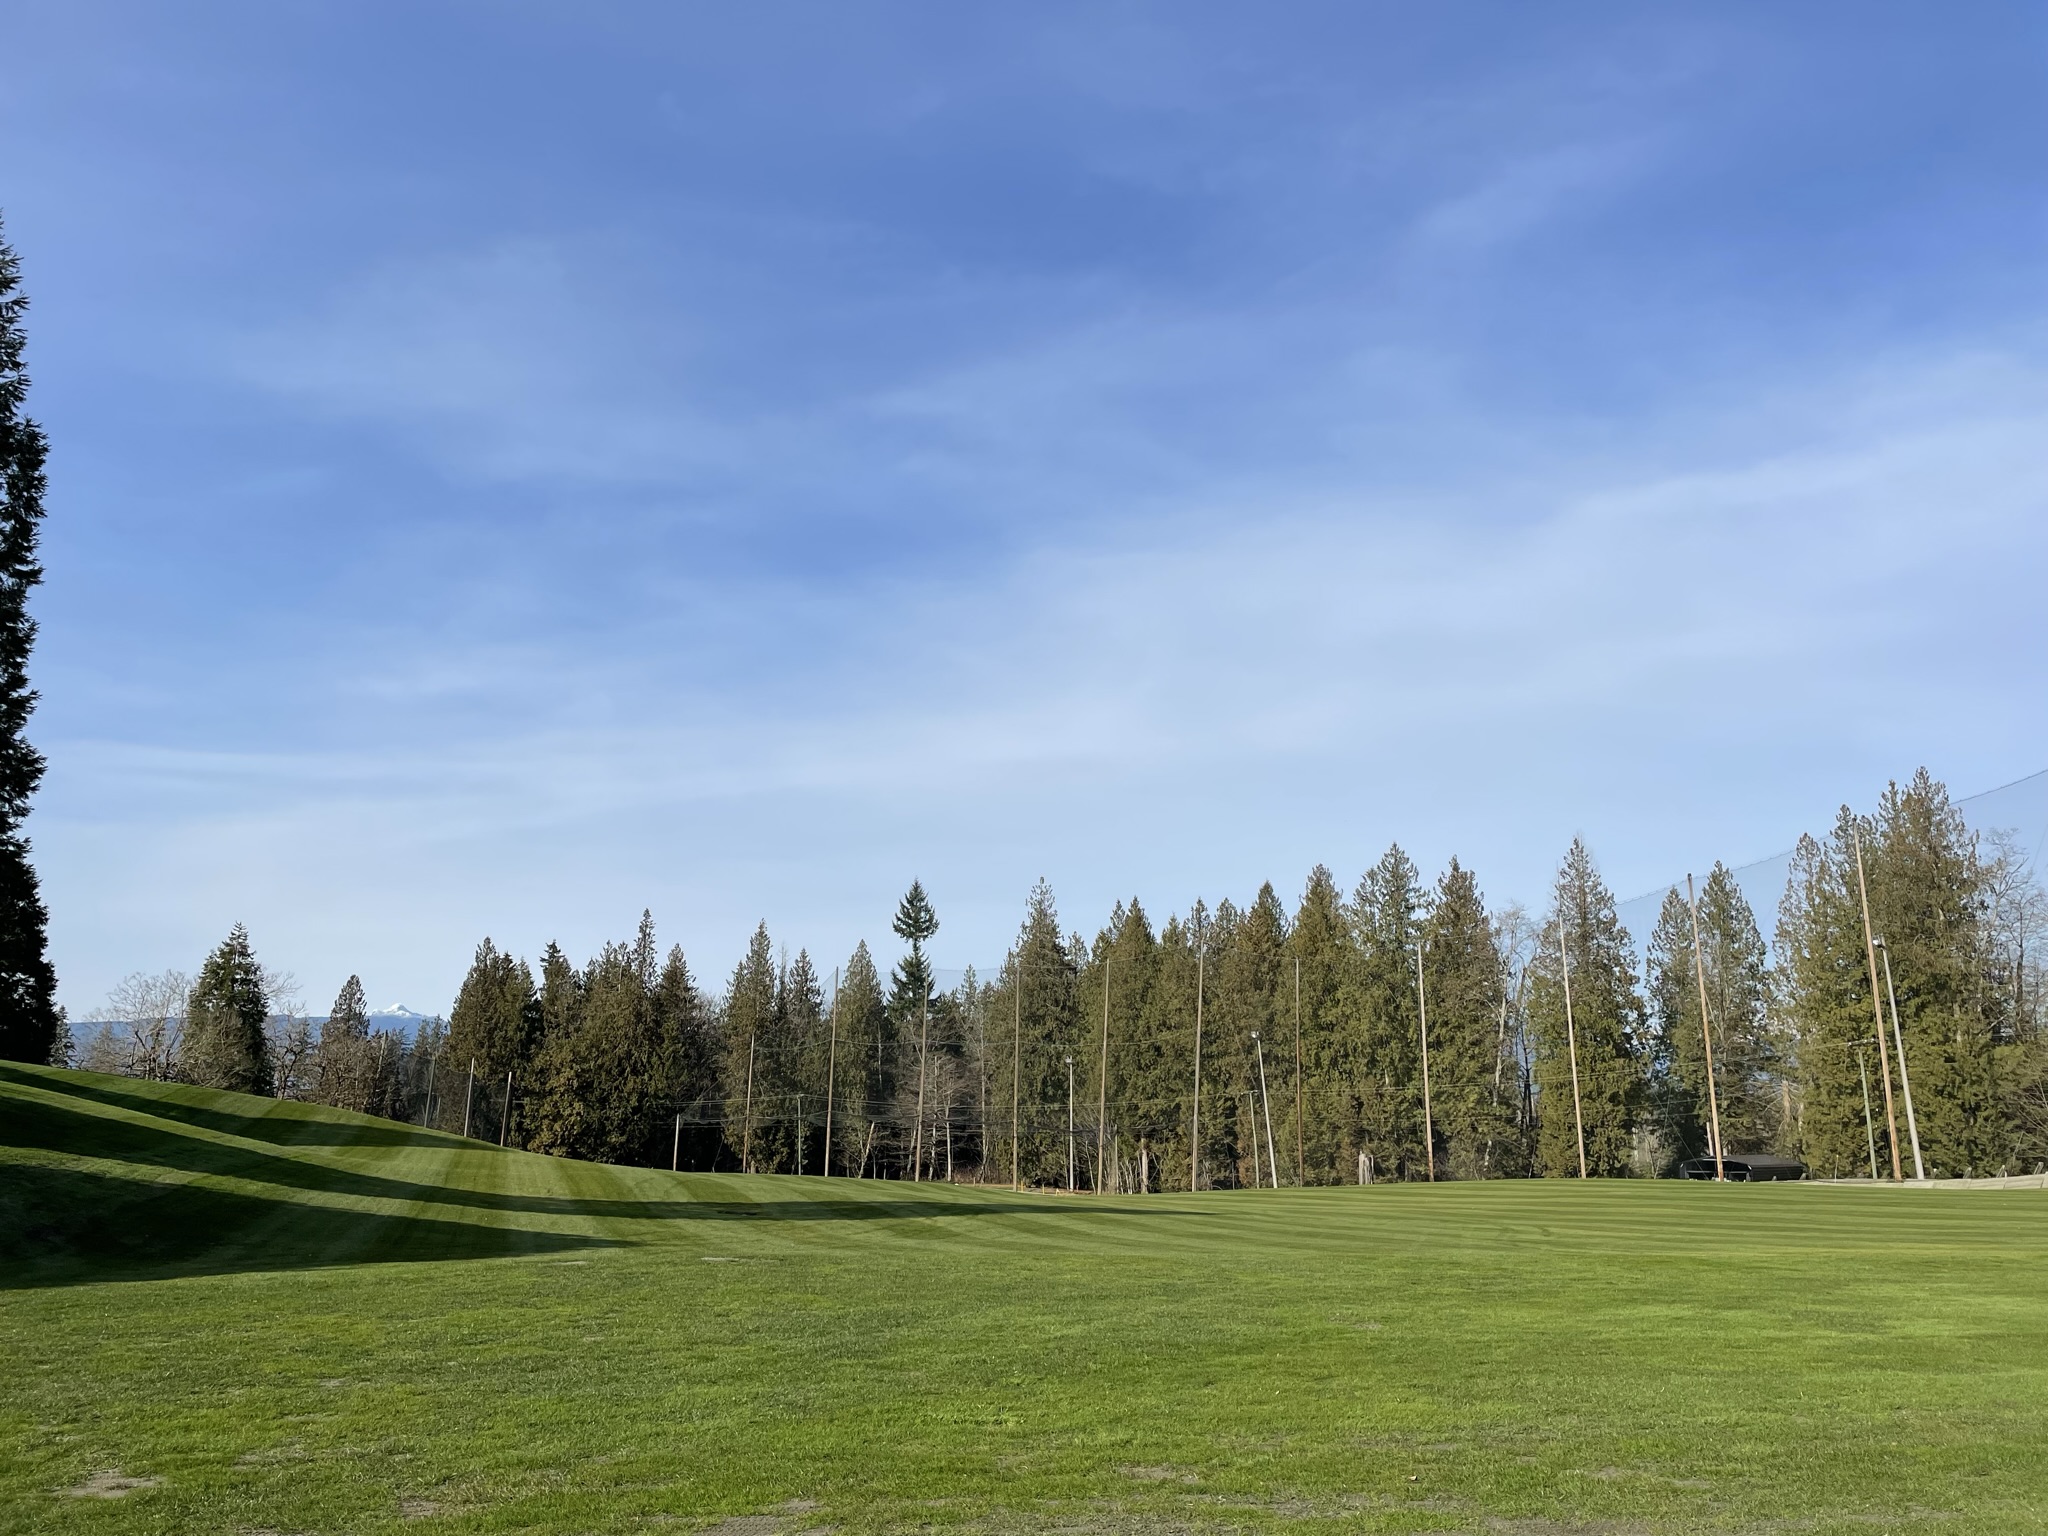
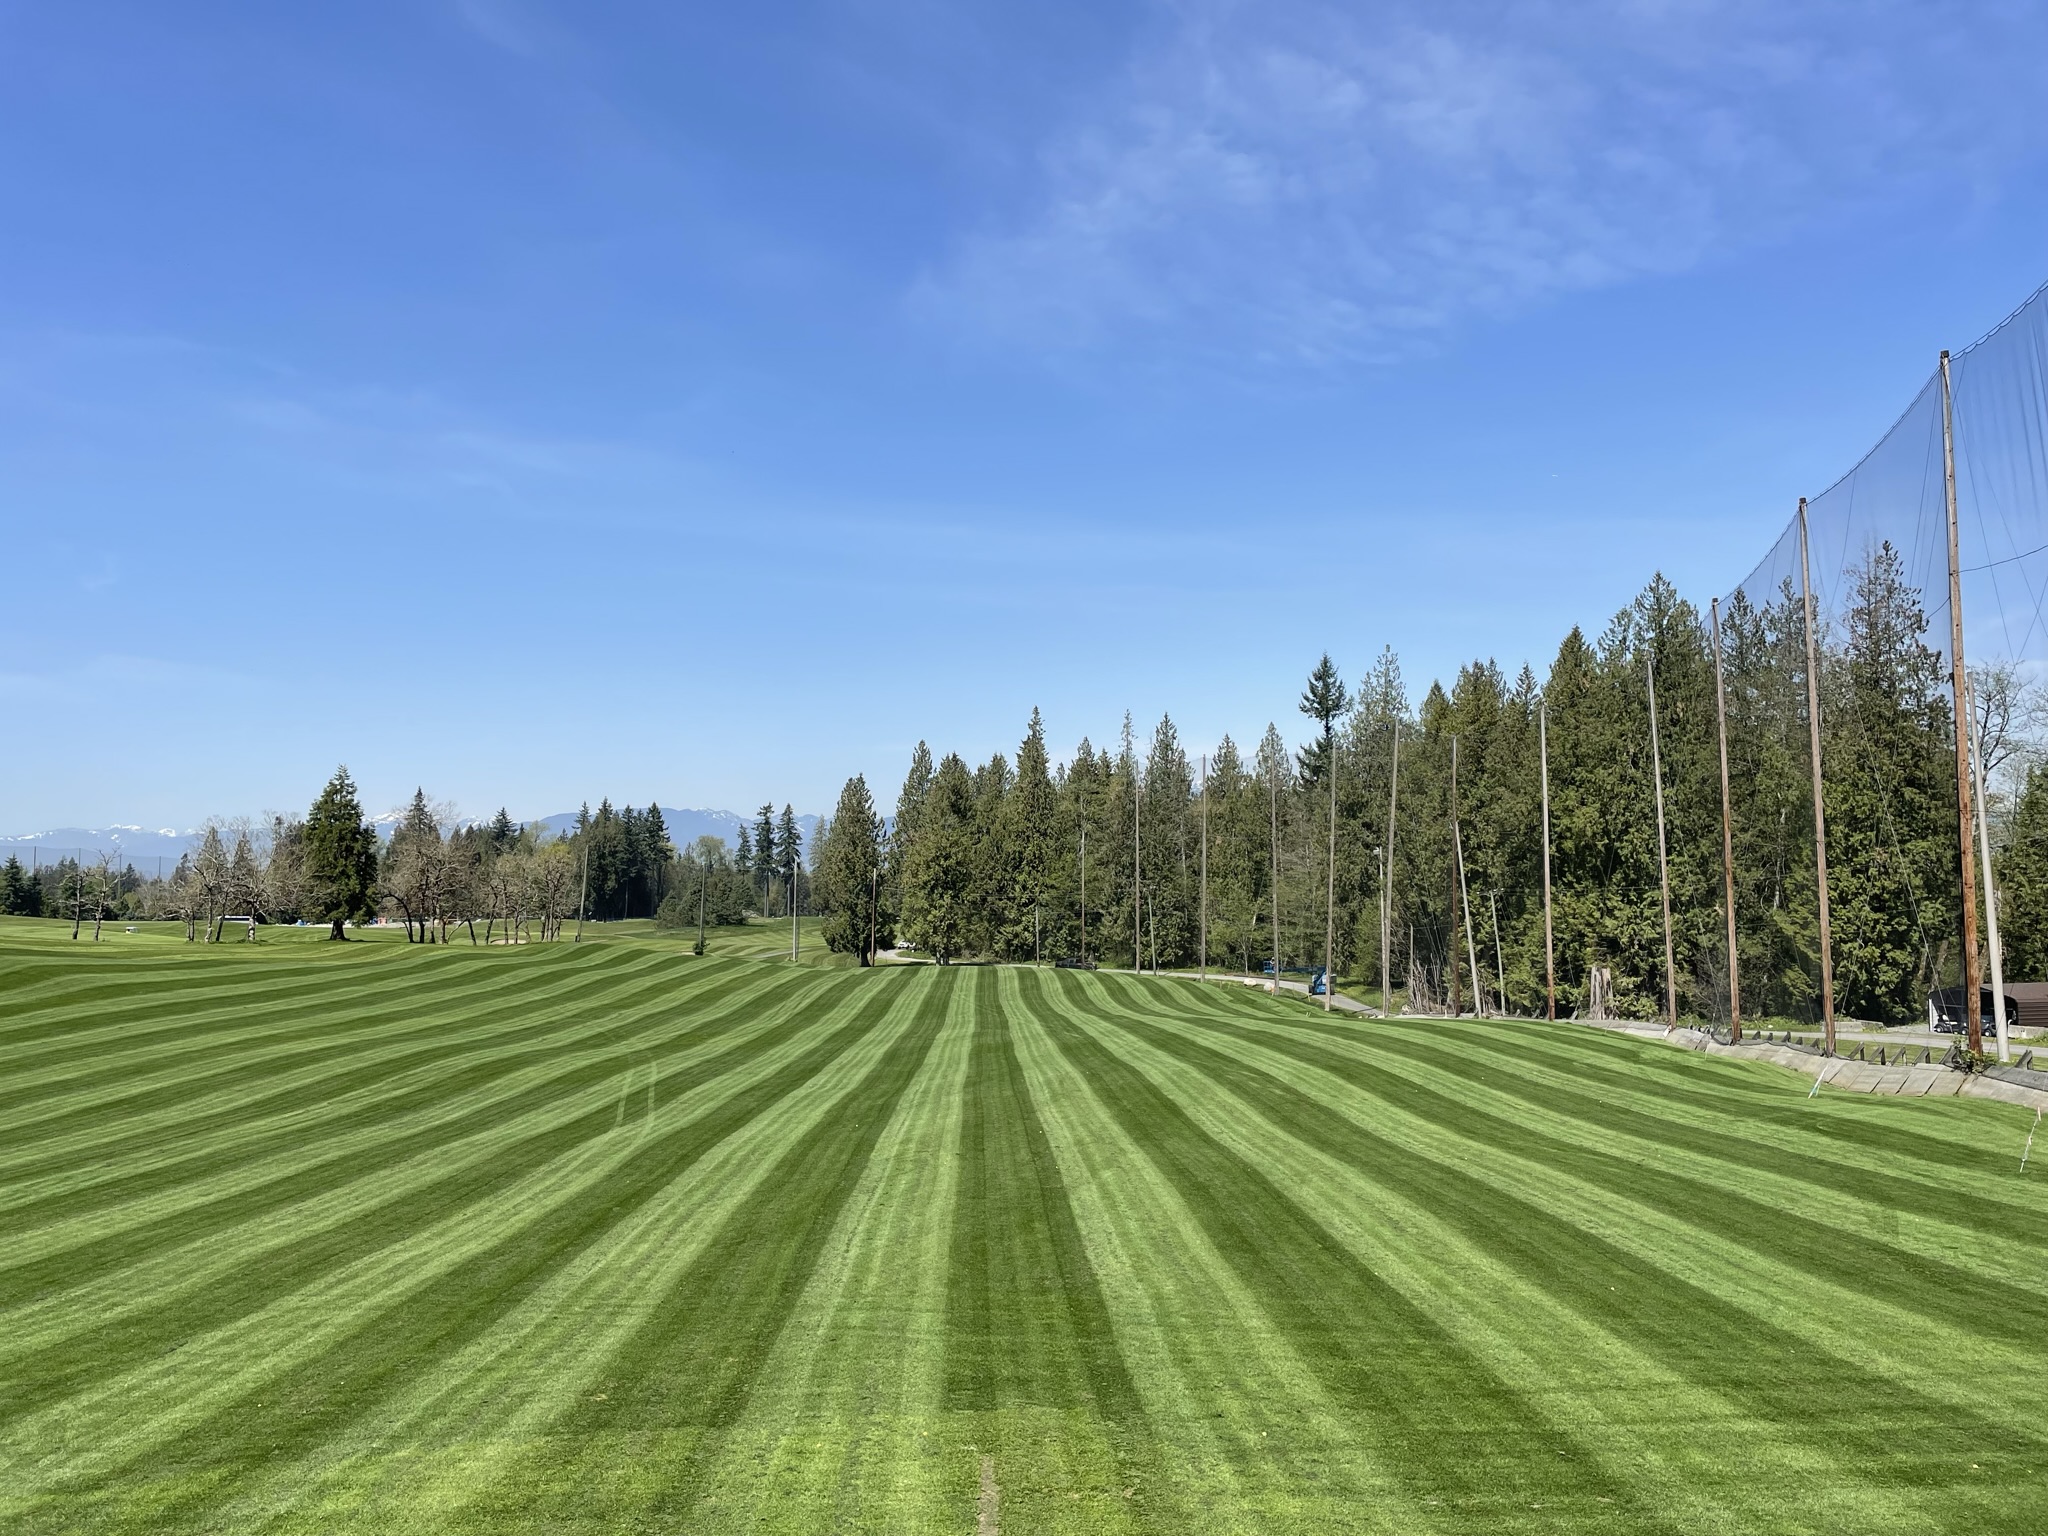
We are working hard on the finishing touches of the range including pressure washing, painting, carpet cleaning, installing new mats and demoing range robots! Unfortunately, the turf is still a little patchy. We are waiting for the cold spring weather to pass so we can overseed and have nice thick grass growing in soon. At this point, we are hoping to open the range by mid-May! It's looking really great out there! 

Update May 1, 2023

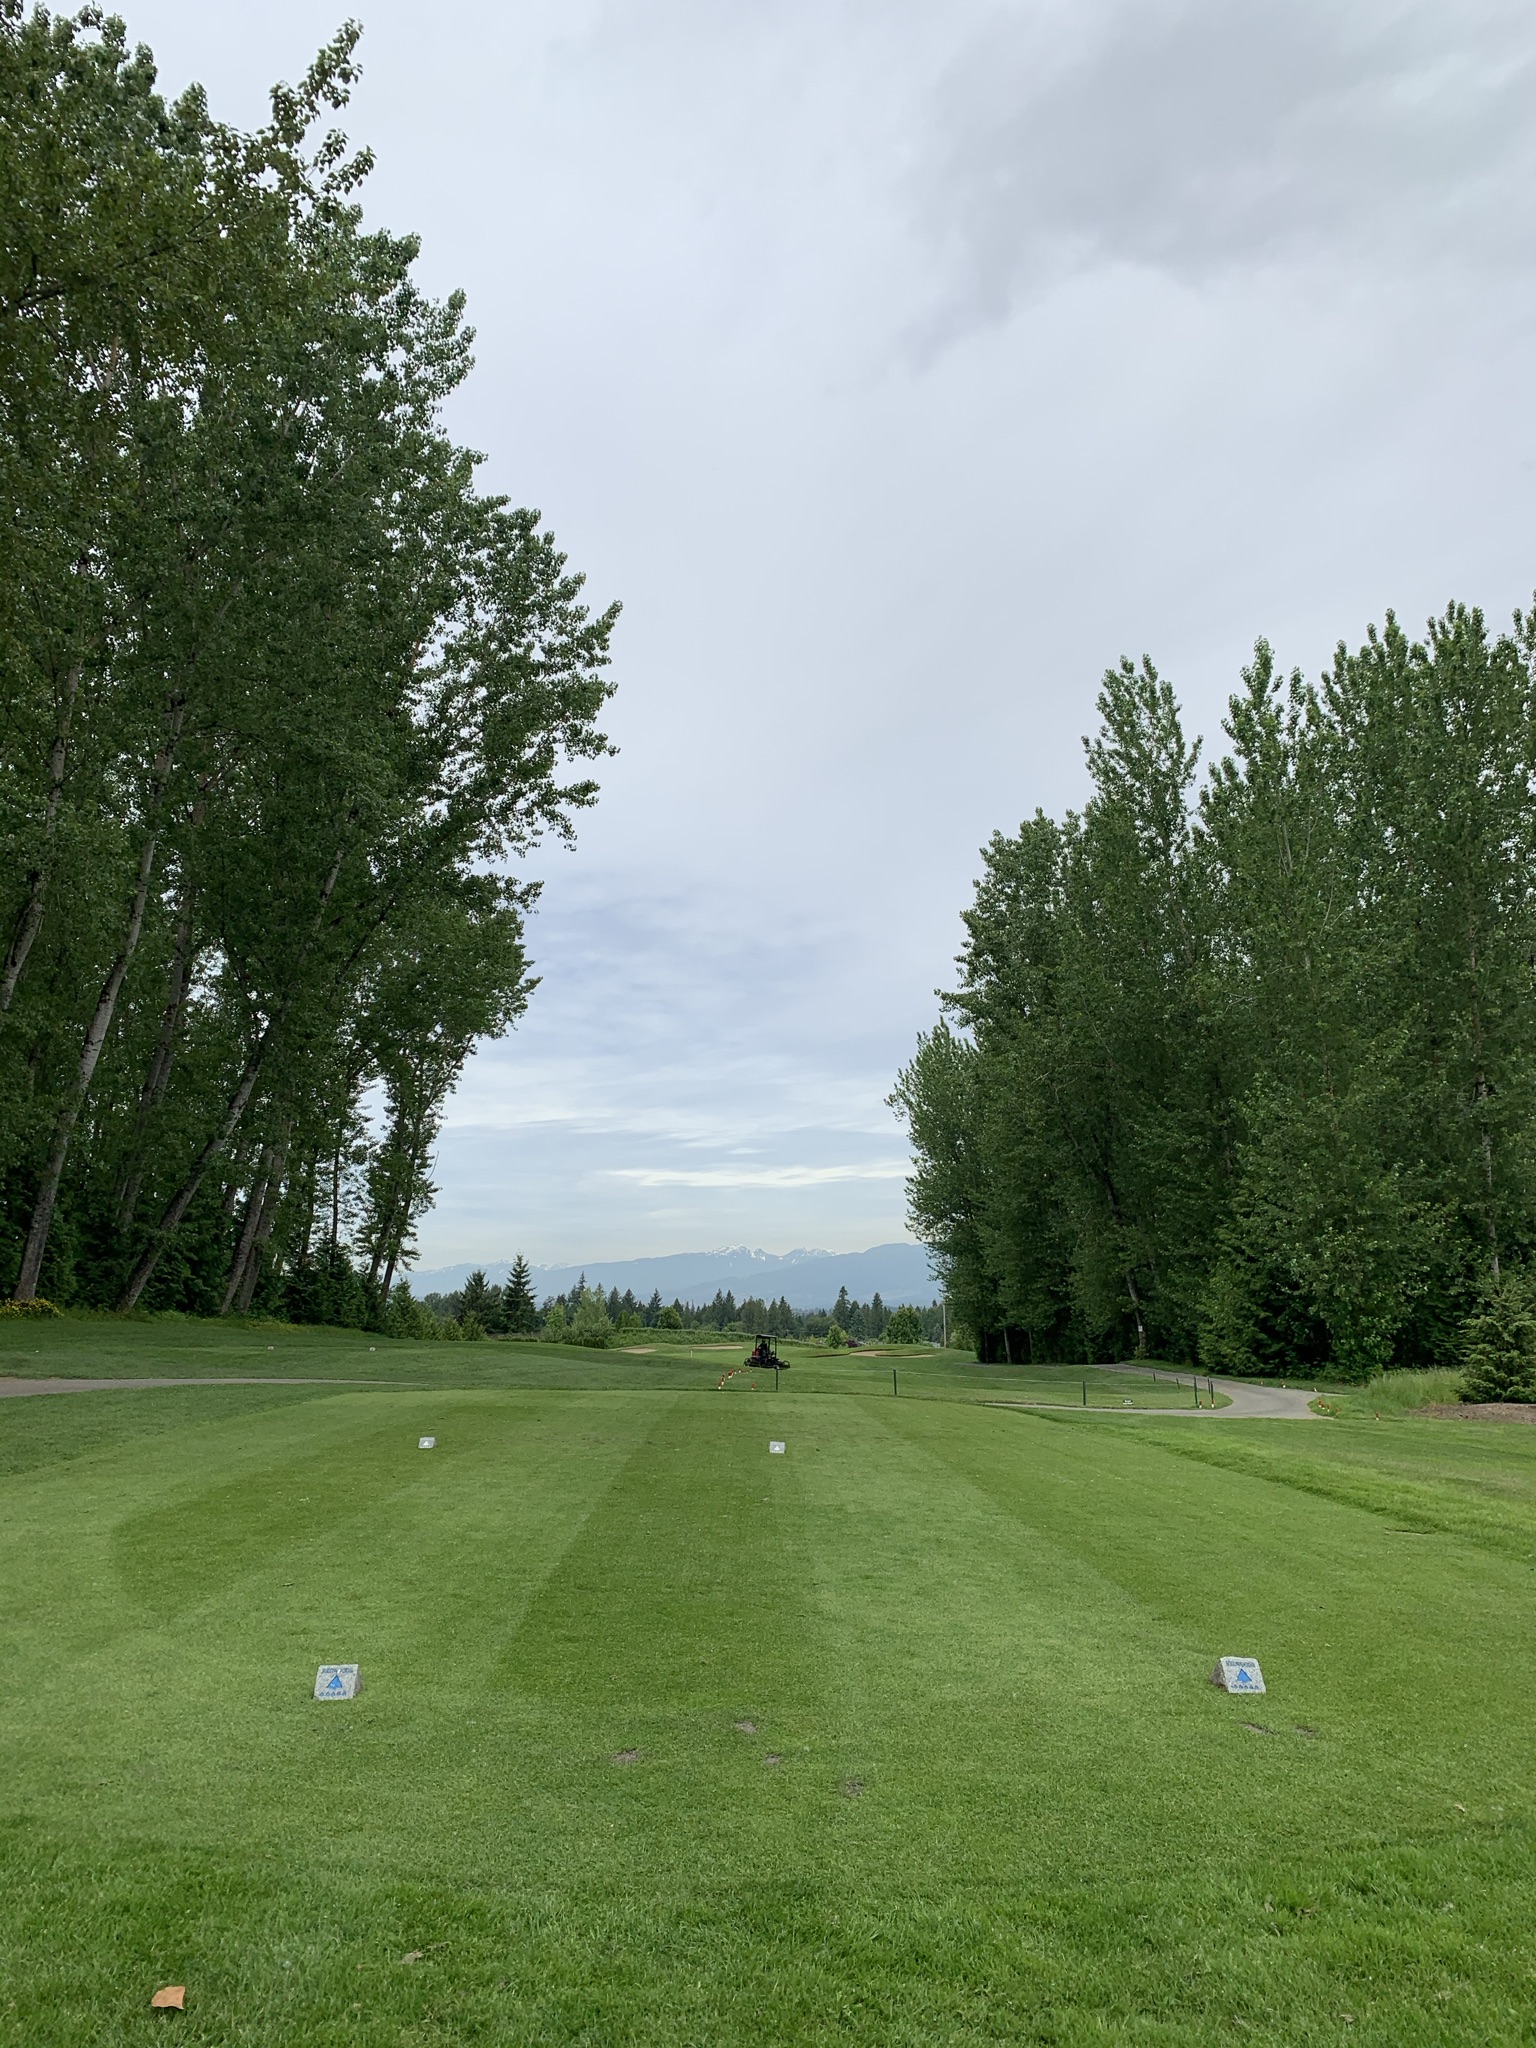
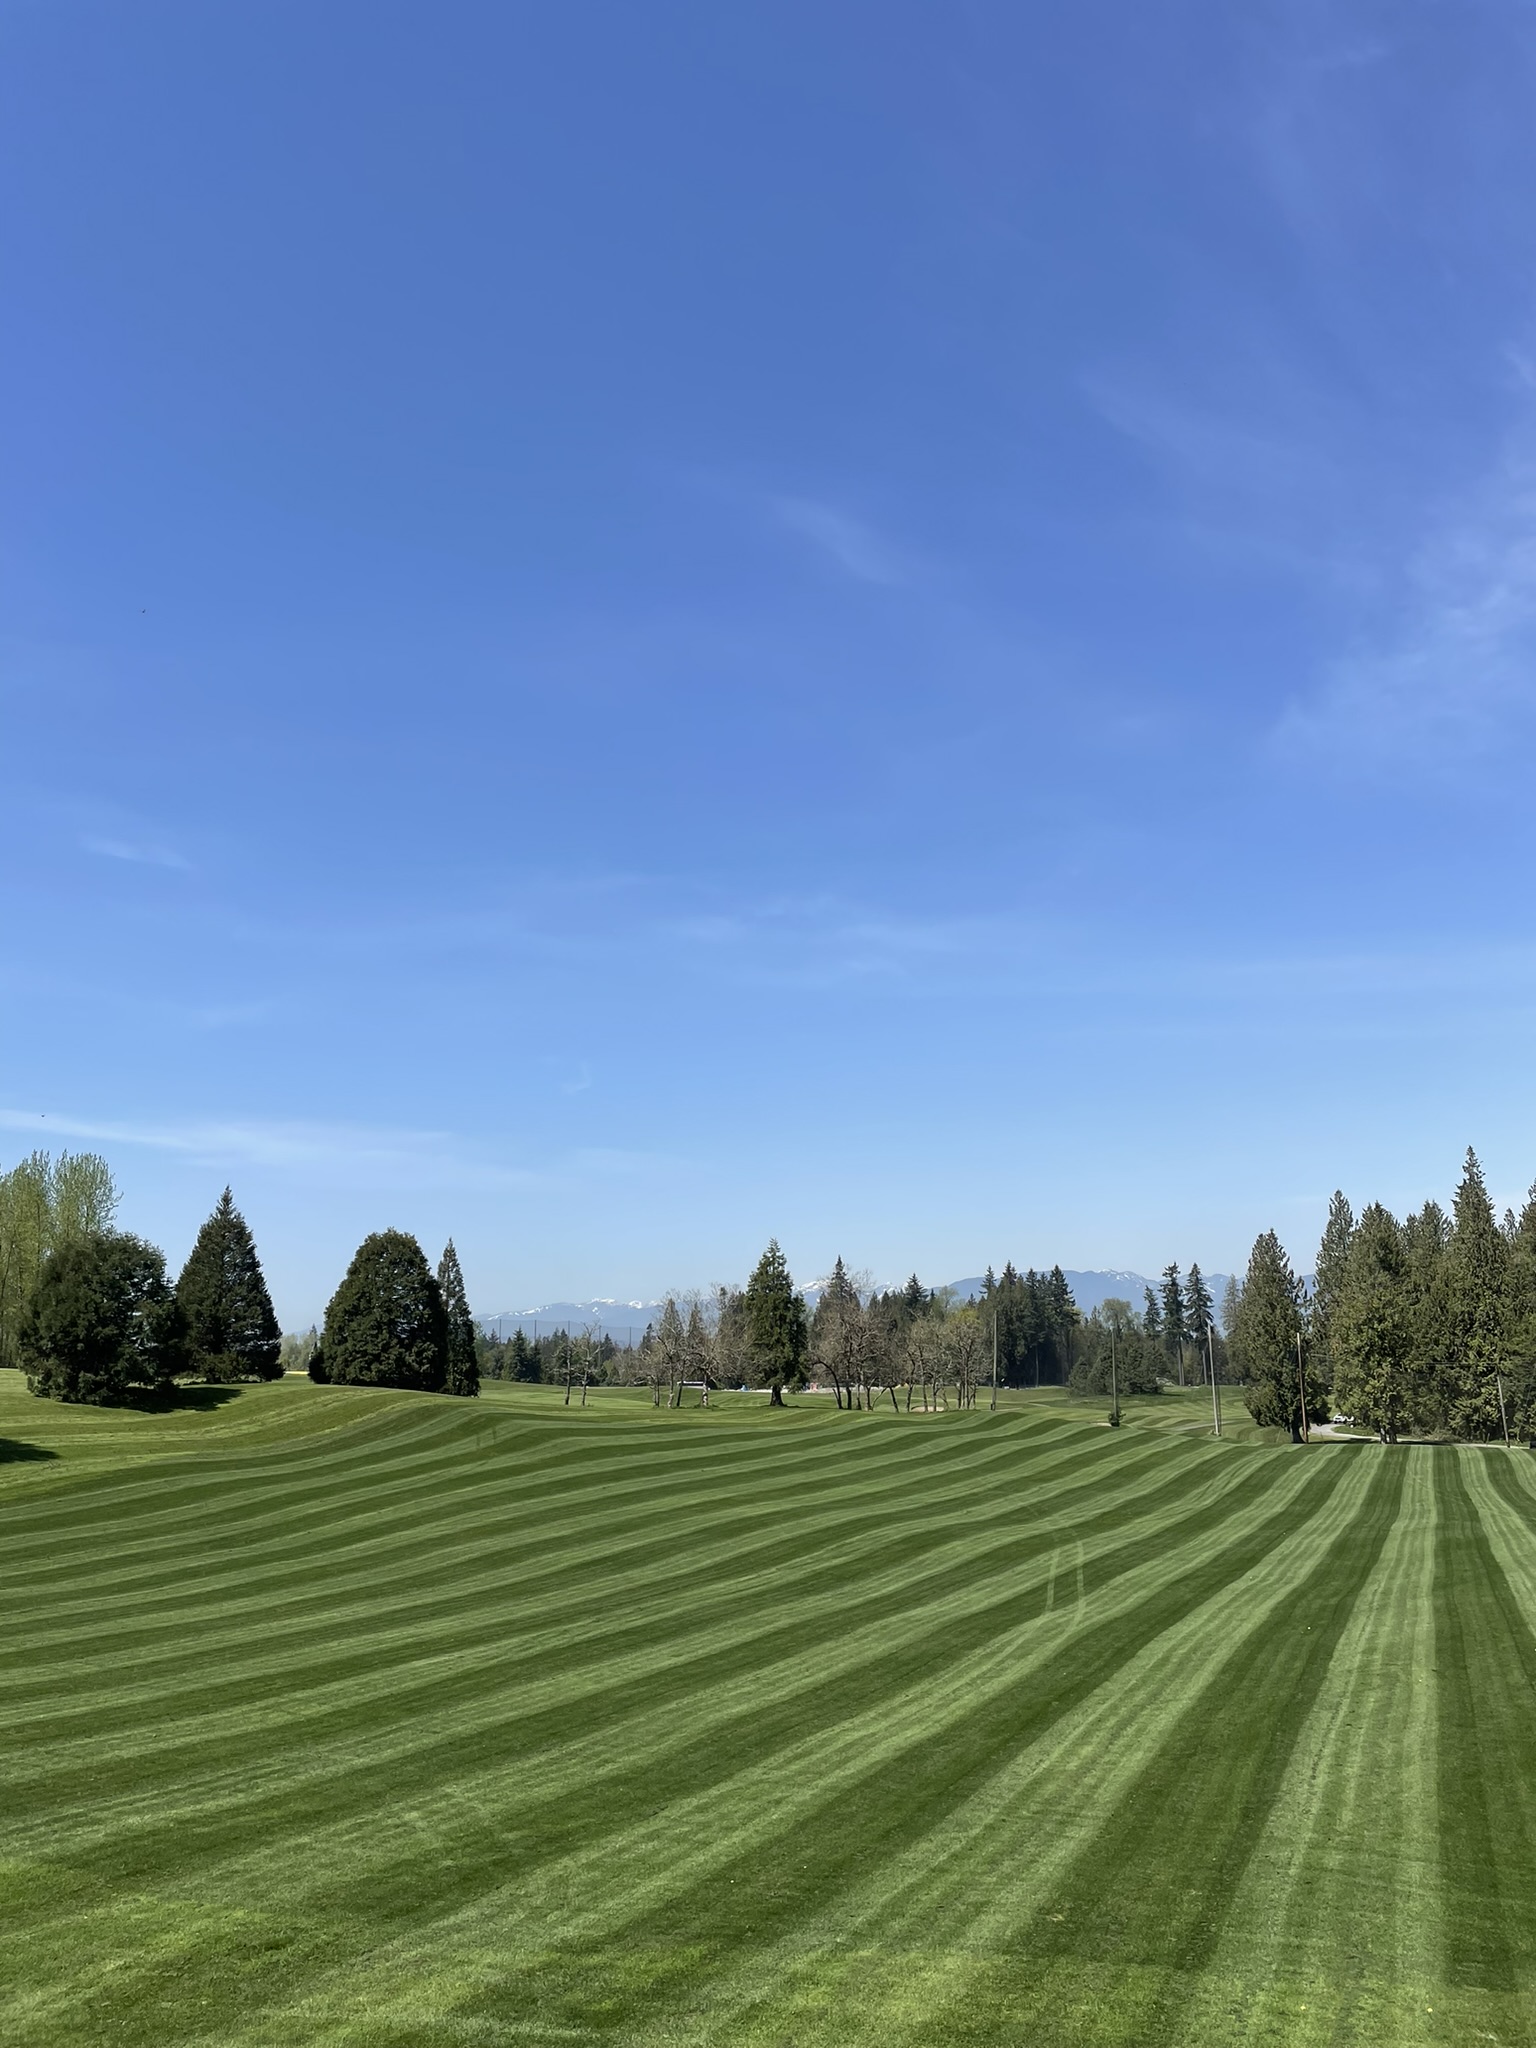
The cool spring weather is finally cooperating! We were finally able to overseed the range and do some last-minute irrigation adjustments. So shine up those clubs and get ready, the Range is open for daily use starting on May 11, 2023!  Here's a summary of what we have done:

  • levelled and graded the entire range
  • installed new drainage and irrigation
  • built up a sand base so the turf naturally drains better
  • installed new LED lighting for evening practice
  • added new yardage markers
  • removed some trees and bushes for increased natural light
  • cosmetic enhancements: pressure washing and painting the range, as well as cleaning and repairing the stall carpeting

It's been a long road but we are excited to have you back! Learn more about the hours of operation.


Update May 11, 2023

It's true, after an extended closure, the driving range is now OPEN DAILY! See you soon!

Range Reno 1
Range Reno 2
Range Reno 3


frosty grass

It's that time of year where us west coasters either wake up with puddles on the ground from all night rains, or we need to scrape the frosty car windshield before heading to work in the morning!

We are all probably familiar with scraping the windshield, but what does frost do to grass?


Frost typically develops on cold, clear nights when water inside of blades of grass freeze. As you can imagine, being frozen from the inside out causes the thin blades of grass to become very fragile and prone to damage, especially under pressure from heavy objects.

Now what does this have to do with golf?

To state the obvious, grass kind of plays an important role in golf. Frosty grass can be pretty easily damaged but the most at risk turf is really short grass such as on a putting green. The simple act of walking on a frosty green can rupture the plant cells causing severe and lasting damage to the turf. Damage like this can cause turf to die, but it can also weaken the turf enabling it to become more susceptible to diseases later in the season; neither is a good scenario. 

Since frost often appears on clear nights, a sunny morning often follows which can be super tempting for golfers craving a round in an otherwise dreary fall. 

Now let's look at a typical round of golf: the average foursome takes 300 steps on every single putting green, according to the United States Golf Association

IMG 6099

When walking on a frosty green, you might be able to see your footprints, but it probably doesn't look like anything has actually gone wrong with the playing surface. However, in a day or two each of those 300 steps could start to show signs of serious damage to the turf. In reality, it's really unlikely for only one group to play golf on a sunny day so let's imagine that ten foursomes play before the frost melts. Each of those frosty greens now have 3,000 or more damaging steps on their surfaces. That is a LOT of potential for significant turf damage. 

When we choose to go on a frost delay, we don't take the decision lightly. We are simply doing our best to protect our greens from potential damage so that they are in fantastic condition for our golfers during the rest of the season!

What can you expect during a frost delay at Redwoods?

We aim to keep our golfers informed as much as possible. As soon as we know that there will be a frost delay, we will notify all golfers on the tee sheet immediately by email--this is why it's important to have your customer profile fully updated with your current email info! Once we know the exact length of delay we will send out another email with your new tee of time. Pretty simple! When playing late fall and winter golf, we recommend checking your emails before you leave the house, even if it doesn't look frosty where you are. With our tree lined shaded fairways and tiered course we tend to see a little more frost than our neighbors. 

We hope to see you on a sunny day soon!

2021 Golf Course Enhancement Updates

The 2020 winter was wet... and not just a little wet. We saw a much higher than average rainfall all winter long. At the same time, we had an extremely high volume of golfers on the course. This combination took a huge toll on our golf course and to be totally honest, it needed some love!

Fast forward to early 2021: we identified a number of spots around the property that were in dire need of some upgrades and the Redwoods Turf Care team set to work making magic happen out on the course!

Over the next few months we laid over 70,000 square feet of beautiful green sod, and applied 1,600 tonnes of sand in these projects alone! To say that it was a busy spring would be a bit of an understatement. Keep reading to learn more about a few of the areas that we tackled this spring!

Hole #4 Rough

You know the spot to the right of the fairway where you lose your ball as it rolls into the ravine? We fully repaired this entire area including new soil and sod. But you probably shouldn't be here anyways!
Hole 4   Hole 4 complete

Hole #9 Green Surrounds

This area around the green was often a little soggy in wet weather so it got brand new drainage, soil and sod. Now it's looking and playing great!

Hole 9 complete Hole 9 complete

Hole #10 Tee

The area around the tee boxes on hole 10 was another spot that tended to get and stay wetter than we would like. New drainage, soil and sod to the rescue!

Hole 10 complete Hole 10 complete

Hole #14 Corner

When you try and cut the corner on 14 you have quite possibly lost your ball in this exact clump of trees. To help you out, we removed the brush from under the trees, levelled the area and added soil and seed. The area now gets mowed regularly so the next time you try to cut the corner, your ball might just be findable!

Hole 14 corner Hole 14 corner

Hole #14 Green Surrounds

The slope beside and behind the 14th green had a tendency to stay wet all year round. This made maintenance tricky when combined with the severe grade of slope. We smoothed out the area to make it a bit more forgiving, and we added drainage, soil and sod! Now you hopefully won't lose your ball in any wet, unruly rough!

Hole 14 Green hole 14 green complete

 Hole #15 Tee

You know the shortcut between #14 green and #15 tee box? This area was in very rough shape and in serious need of some TLC STAT! We removed the top 8 inches of turf and soil, then added a bunch of brand new drainage, soil and sod to complete the renovation perfectly!

Hole 15 Hole 15   

If you know anything about golf course maintenance, you know that it never endsas soon as you finish a project, another needs your attention! We still have a long list of areas that will also be getting upgrades such as drainage, soil and sod or areas that will be regularly aerated and topdressed with sand to continuously improve drainage and overall turf health over time. It's safe to say that it will be a very busy winter! That being said, we are extremely proud of our Turf Care team and thankful for all the hard work they put in this season to get the course in better shape than ever before!

Thanks Team Woods!

Our PGA of Canada Teaching Professional Jordan Fletcher shares some great practice tips just in time for Summer!

Jordan Fletcher1

Practice Makes Perfect! (Or close to it)

Summer is coming, time to get the most out of our practice time.

Practice makes perfect, and nowhere is this saying more applicable than in the game of golf. Don’t underestimate the value of practice. On a daily basis, I see how busy our practice facility is, but are you practicing the right way?

It’s hard enough to find time to play let alone practice so it’s important we make the most out of our practice time.

Pre-round warm up

Our pre-round practice routine will consist of more of a warm up then a practice session. Loosening up those muscles that haven’t been used in days or weeks will help ensure you’re able to get off the couch the next day. Be sure to give yourself at least 30 minutes to make some full swings, hit some chips and roll some putts before your round. Don’t spend the first 3-5 holes of your round warming up.

Block vs Random practice

When you’re at the driving range what type of practice do you do? Generally, what I see down at the range are people using “Block” practice which is when you repeatedly hit balls over and over without a routine and with the same club. Unless you’re sure you are doing things correctly you are most likely engraving some bad habits. I ask my students, “when are you ever on the golf course hitting the same club over and over again without some sort of pre-shot routine?” The answer is never. This comes back to using your limited practice time wisely. Switching from “Block” practice to “Random” practice will help you get the most out of your time.

Random practice is when you treat each shot as its own, similar to what it’s like on the golf course. Try switching clubs before each shot, choosing a new target, and going through a pre-shot routine. Remember, you’ll very rarely find yourself on the course using the same club over and over again so why are we practicing this way?

Play a round at the Range

If you have played a course enough times you know what club to hit on every hole and what you might have left after each shot. Try this on the range. Work through an entire round of golf (except putting) during your practice session. This is a great example of “Random” practice and a great way to quickly see results. This will also give you a chance to work through all of the clubs in your bag similar to how you would on the course.

Practice Facilities at The Redwoods

Have you tried the Redwoods driving range?

Hit a bucket of balls before your round, or if you don’t have time for a round, just make time to practice at the range and putting green. Practicing the right way will immediately help take shots off your score.

Our putting green area is located next to the clubhouse and first tee. The green is large and a very good representation of what you will encounter on the course. Our chipping/pitching green is located behind the driving range and is a great place to work on those delicate shots around the green.


An Area of the game that our teaching professionals see most amateurs struggle with are the short finesse shots from around the putting surface. This is usually the result of a poor mental image, technique, or a lack of attention.

Most players do not realize that a chip shot is basically a putt with a lofted club. There are a few set-up differences between putting and chipping, but the motion is identical.

Grip

Both set-ups start with a neutral grip, so one hand does not dominate the other.

Regardless of whether you're making a full or less than full swing, start with the shaft of the club horizontal to the ground. With the club head closer to your eyes, you will have a better chance of squaring the scoring grooves to your target.

Ensure that your palms are facing each other, place the handle in the tips of your fingers and place the pads of your thumbs on opposite sides of the center line. Check that the crease between both thumbs and index fingers are parallel to each other and point between your back shoulder and ear.

Angle of Attack

Most poorly struck chips are the result of a misconception of how to hit this shot. I see the majority of poor chippers trying to lift or scoop the ball into the air. They believe that they need to get under or hit up on the ball to elevate it off the ground.

The only shot where you strike the ball in an ascending direction is when the ball is teed up. And that is not because the clubhead is moving in a vertical direction, your just catching the ball on the upward arc of the swing. This is why you position the ball with a driver, closer to your front foot. Generally, it is near the instep of your front foot.

Getting the ball airborne when it lies on the ground is achieved with a descending motion. It is the loft of the club that elevates the ball off the ground.

Ball Positioning

The ball position with a chip shot should be towards your back foot. This position allows the club head to still be moving on the downward part of the arc. Place the instep of your back foot parallel to the target line and at the back edge of the golf ball for regular lies. Place the golf ball in the middle of your back foot for those less than perfect lies, and at the outside of your back foot for those nasty lies.

Hand Positioning

As you place the club head behind the ball, ensure that the scoring lines remain perpendicular to the target. Check that the face and the instep of your back foot are parallel to each other.

Keep the butt of the shaft at or slightly ahead of your zipper. This will cause the shaft to lean towards the target, with the handle in front or leading the club head. This is another position that will encourage a downward strike on the ball.

Your hands will still be in the middle of your thighs, but your wrists should feel slightly different. Your top wrist should feel slightly bowed while your bottom wrist will feel more cupped. Check that the back of your top hand and the palm of your bottom hand are facing the target when you take your grip, with the club parallel to the target. These changes (bowed / cupped) occur as you move the club head from vertical to behind the ball.

Posture, Spine Angle and Weight Distribution

With the ball positioned forward in your stance for your driver, your eyes are looking more at the back of the ball and your neck is slightly tilted away from the target. This maintains your shoulder line parallel to your target line and makes you feel slightly uphill, (as if your front foot is higher than your back foot). Some say that they feel slightly more weight on their back foot (not a bad thing).

For chipping, we want to reverse everything in the last paragraph. With the ball in the back of your stance, your eyes should be looking at the front of the ball and the base of your neck is tilted towards the target. If done correctly there is no need to shift your weight more to your front foot as the change of your spine and torso creates more downward pressure on your front foot. Again, this is another set-up feature that promotes a downward strike on the ball.

Now from this position, make a putting motion from the shoulders and arms. You will see the ball pop up in the air, carry to the putting surface, bounce a couple of times, and then roll to the target.

Summary

If you commit to these set-up changes, the only things that will need to change are the ball position, based on how the ball is positioned on the ground, and the choice of golf club dependent on the carry distance and how far you want the ball to roll once it hits the ground.

Use your more lofted wedges for shots that have minimum roll requirements and when you are further from the edge of the putting surface. Change to lower lofts as you get closer to the edge of the green and require more of a rolling shot.

To improve your chipping, first change your understanding to catching the ball on the downward arc with a lofted club to get the ball up in the air. Be consistent with your approach to gain consistency in your results.

If you'd like to contact one of our teaching professionals, please see our Meet The Pros page for their contact information.

Have you ever played a golf course in the hot summer months and noticed that some areas look a little brown and dry? Fear not! This isn't from neglect; it's strategic and (mostly!) on purpose, with a little help from Mother Nature of course. Here are two reasons why:

1. Irrigation:July at Redwoods Golf Course

Having certain areas of our golf course get dry and "brown out" was actually planned during the initial design and construction of Redwoods; many golf courses tend to adopt similar practices. When mapping out where the irrigation would be and how far it would cover, our topmost priority was and still is given to playable surfaces of the course: fairways, greens, and tees. We want these areas to be looking and playing their very best, even in the toasty summer months. Our irrigation is therefore focused on these areas, which allows lesser important areas, like the rolling hills separating holes, to go without significant amounts of water and ultimately leading to less unnecessary water usage.

2.  Turfgrass Types:

There are thousands of species of grass which have differing characteristics enabling grasses to thrive in different environments. The turfgrass that we allow to brown out is actually a species which is perfectly capable of surviving with very little water. Areas of the course, outside of our typical irrigation and not a priority playable surface, were strategically planted with a turfgrass that can better survive long periods of dry weather--the typical Lower Mainland summer drought for instance!Golfer teeing off hole #11 at redwoods golf course

Both practices of intentional irrigation planning and the planting of different species of turfgrass can be seen on the rolling hills that separate Hole #1 from Hole #18, and Hole #18 from Hole #11. While some may argue that the hills between #11 and #18 are in play (yep--that's where my tee shot goes too!) it is an area that wasn't originally intended for a well-placed drive. Our irrigation in all of these areas is focused on the fairways on either side of these browned out hills to reduce water wastage. We have also chosen to plant fescue grass on these separating hills which have the dual purpose of withstanding these long summer droughts and browning nicely to create a beautiful contrast between the bright greens of the pristine fairways and the golden browned hills between.

Next time you see dry, brown areas on the course, you know that the grounds crew isn't being lazy--the grass is meant to look that way, so book your tee time! 


Thanks to Cameron Watt for providing the details for this post!

Close